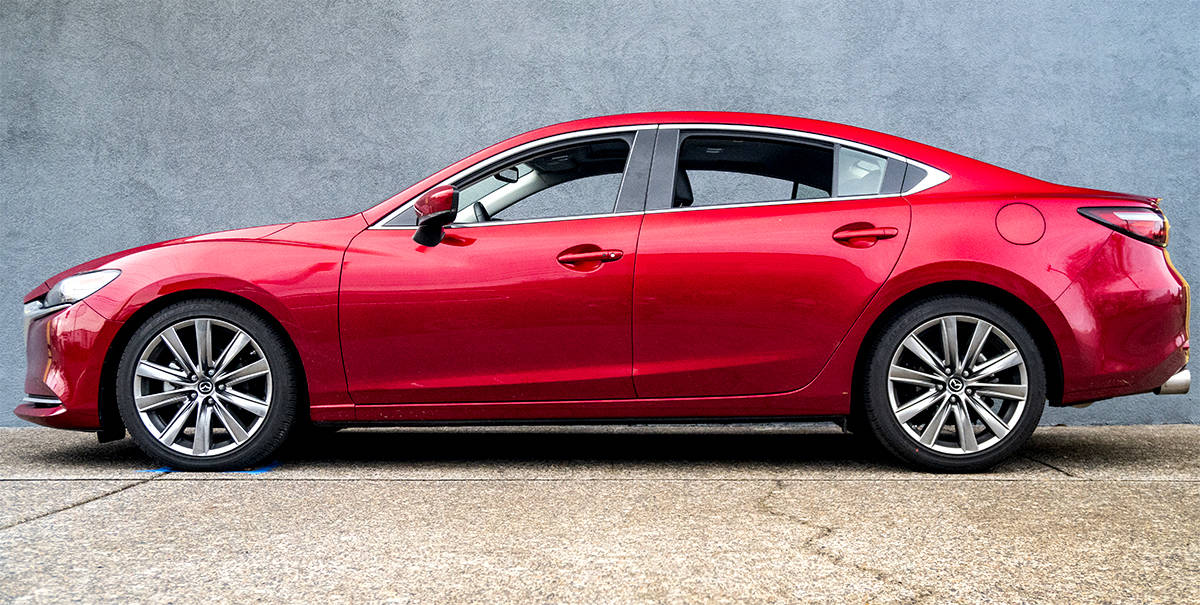
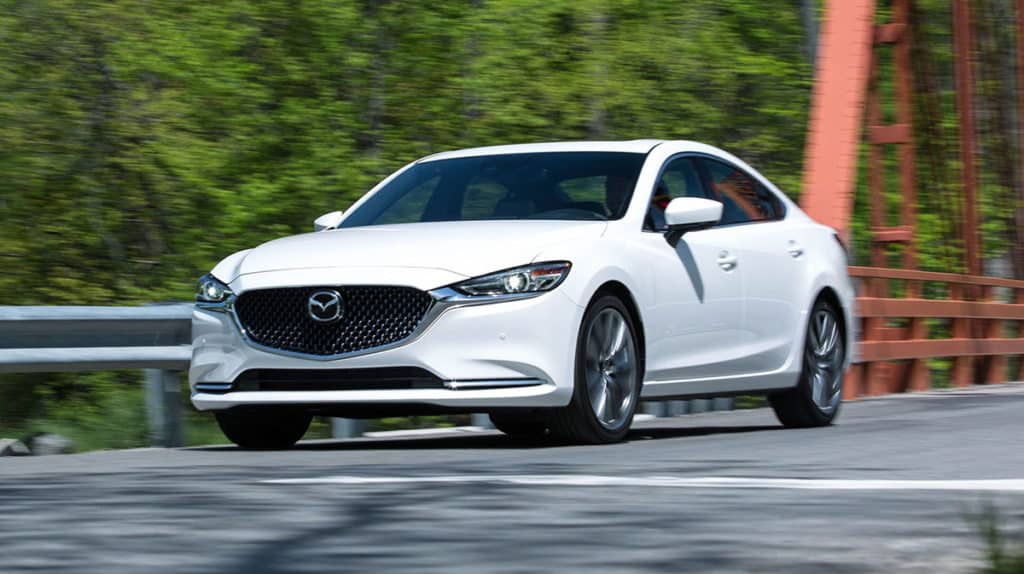
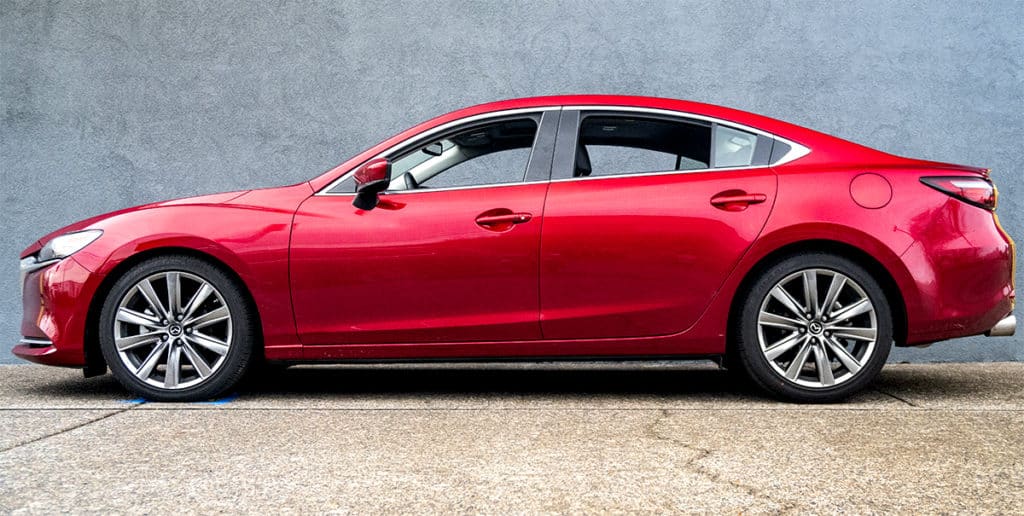
2018+ Mazda6 Performance Exhaust for the 2018-up 2.5T

Mazda did a great job bringing a turbocharged engine back to the Mazda 6 (Mazda 3 next please?), but may have done too good of a job of keeping it quiet. Say hello to the CorkSport 80mm Cat Back Exhaust and Axle Back Exhaust for 2018+ Mazda 6 equipped with the turbocharged 2.5L engine. If you’re interested in waking up your SkyActiv-T in both excitement and power, read on as we breakdown the newest CS exhaust.

As with all CorkSport exhausts, the goal of the Mazda 6 2.5T exhaust is to improve power and sound by improving the flow of the OEM exhaust. We started by increasing the size of the piping from 60mm to 80mm. That is an increase of over three-quarters of an inch to really help your turbocharger breathe better. In addition, the CS exhaust system eliminates the crushed areas present in the OEM exhaust and replaces the restrictive muffler sections with pass-through resonators. These resonators control volume and drone without affecting power output.
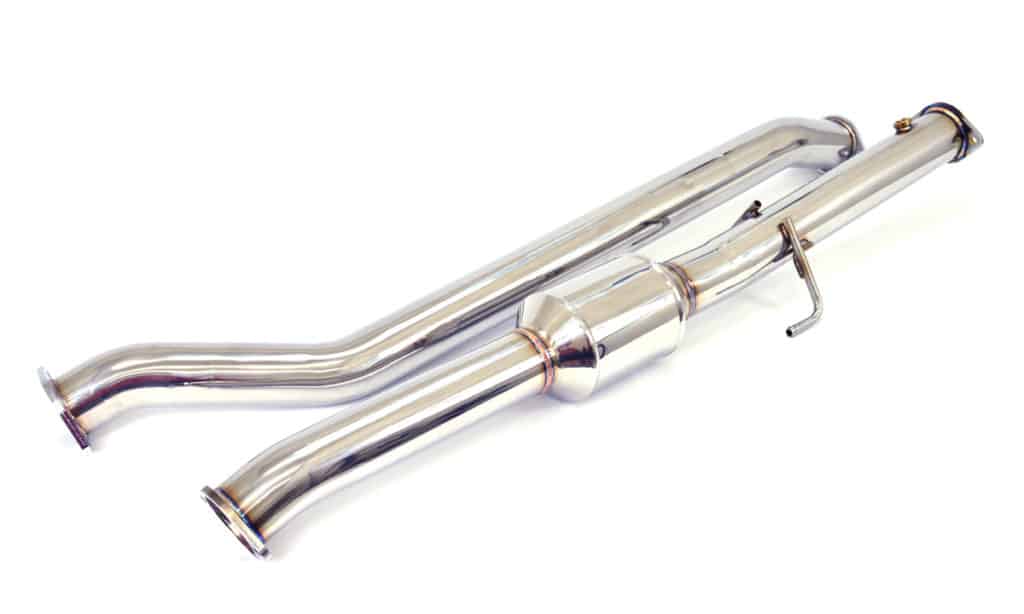
All that extra flow does mean a power increase. In our in-house dyno testing, we saw an increase in 5-6WHP just by bolting on the CorkSport  Cat Back Exhaust. Check out the dyno sheet down below to see. This increase came with no tuning changes, no check engine lights, and the only other mod being the CorkSport Short Ram Intake, which was installed for both tests. With the 80mm piping size, this exhaust is ready to support future modifications and would likely show more power gains with proper tuning.
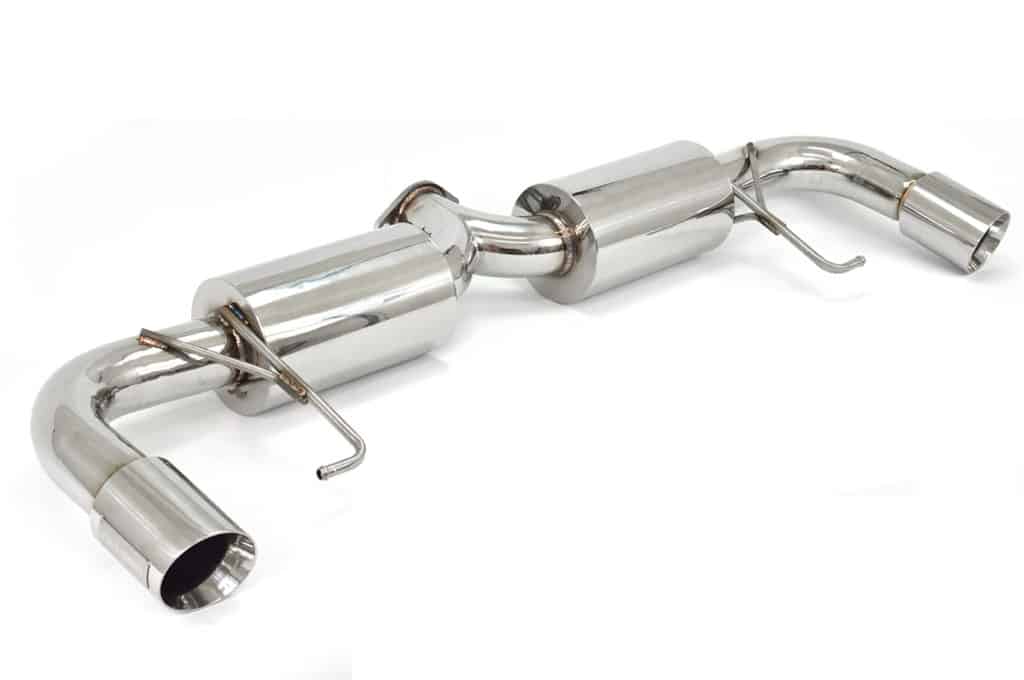
The CorkSport MZ6T exhaust is more than just function. We went through multiple iterations and designs to ensure the best-sounding exhaust for your Mazda 6. The finished product ups the volume without being annoying to daily drive yet still sounds great when in hard acceleration. We strongly recommend you watch the video below to hear what to expect from this exhaust.

If you feel the video below gives you too much volume for the daily, then check out the Axle Back Only Exhaust.  Recently added to the CorkSport line-up, the Axle Back alone adds a mellower, but still noticeable tone to the exhaust.  This is a great middle ground between the CorkSport Cat Back and the stock exhaust.

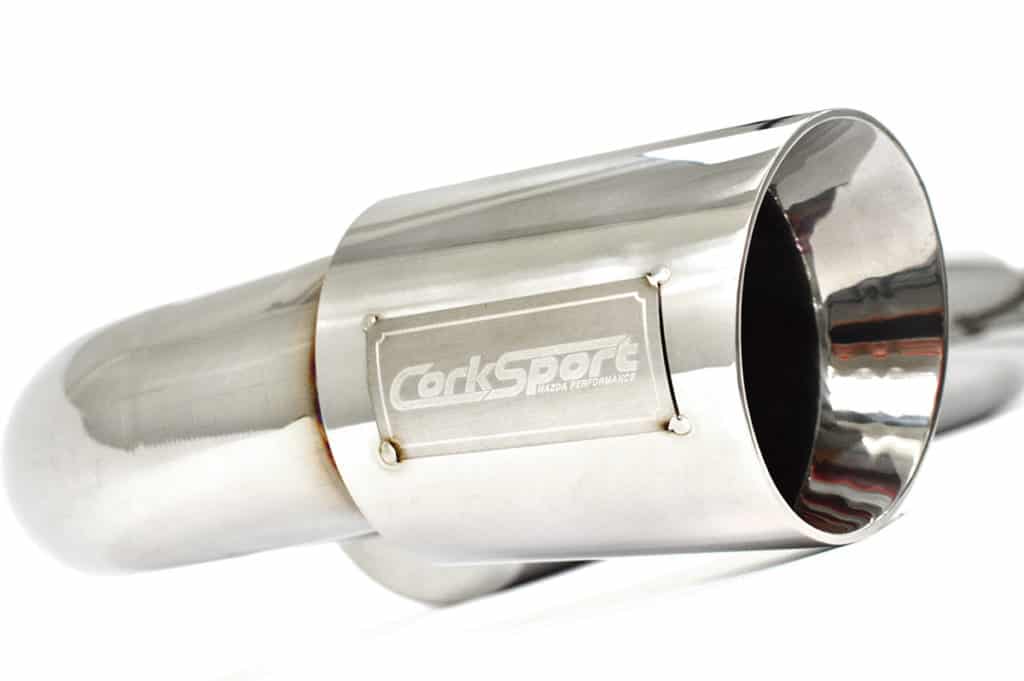
To give a great-looking, long-lasting finish to each exhaust, they are manufactured from fully polished 304 stainless steel. To ensure a high-quality fitment, all components are precision TIG welded together on jigs made from OEM exhaust components. Lastly, as a finishing touch, we use 100mm dual wall exhaust tips. They fill out the bumper cutouts and are extended slightly to give a classy look and enhance the new Mazda 6’s styling.
The CS Mazda 6 Turbo Exhaust comes with all the hardware and gaskets you need for installation, high quality instructions, and CorkSport support for any questions you may have. Pick up a CorkSport MZ6 2.5T Exhaust today and liven up that daily commute.

Connect with us

Stay up-to-date on the latest news and product updates from CorkSport.

* indicates required

Mazda 6 2.5T Stock Spring Evaluation

Today we’re taking another dive into OEM Mazda parts to better understand how they function. Specifically, OEM suspension springs, since there are CorkSport Lowering Springs coming soon for the 2018+ Mazda 6 2.5T. While a simple concept, springs are very important to the handling, appearance, and comfort of your vehicle.

Mazda 6 back side  with lowering springs

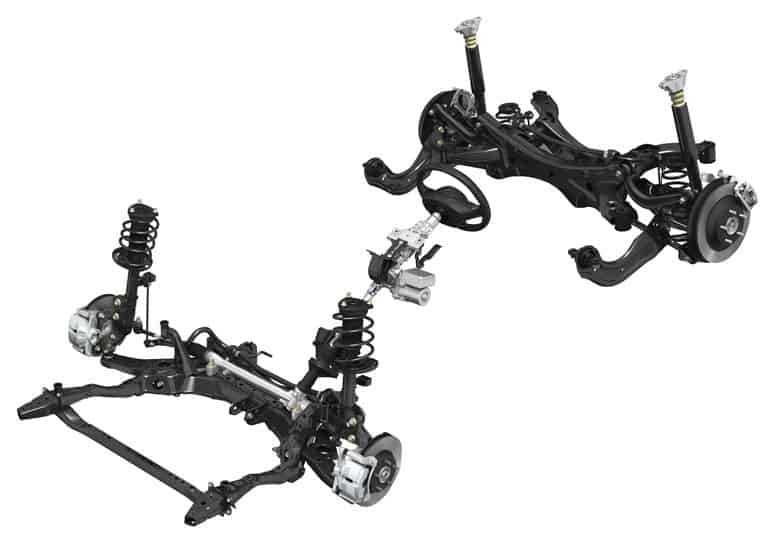
The new Mazda 6 Turbo uses a lot of the same components as the GEN 3 Mazda 3 and Mazda 6, however, the suspension has been optimized for the new “premium” feel and to deal with the extra weight that comes when adding a turbo. The SkyActiv chassis has primarily remained the same though, with the same MacPherson strut front suspension and multi-link rear suspension shown below.

Mazda 6 suspension diagram

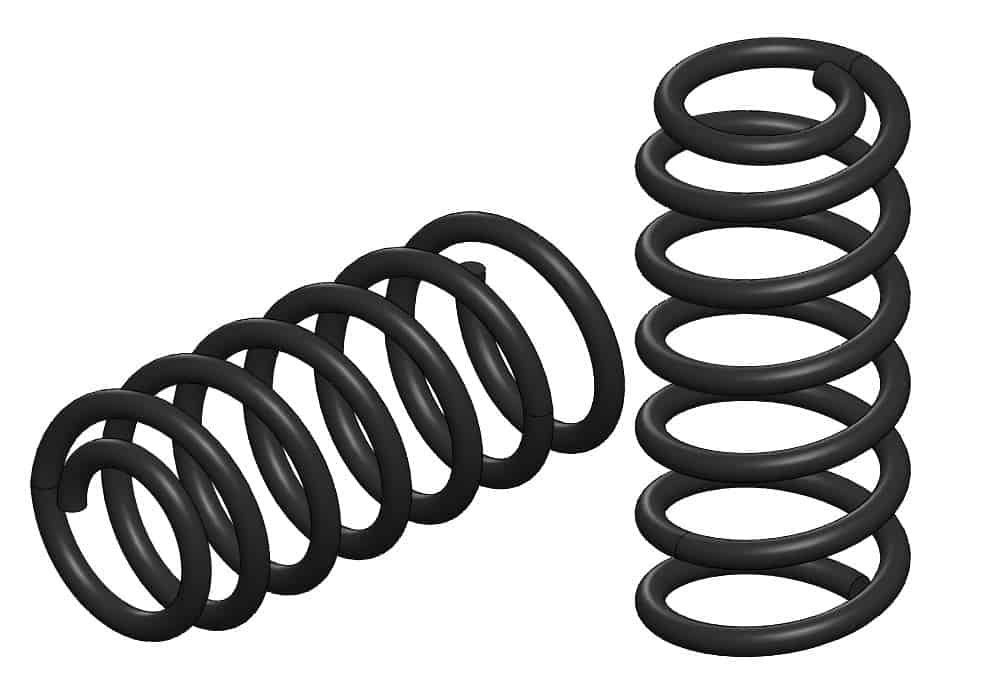
Now, onto the springs themselves; both the front and rear suspension of the Mazda 6 use standard compression springs. The spring’s job is to support the weight of the vehicle when at rest and adsorb impacts when hitting bumps or going quickly around a corner. That’s it. Seems simple enough right? Since the springs are the parts of the suspension that “suspends” the vehicle though, their characteristics and how they interact with the rest of the suspension system are critical.

Lowering springs design by CorkSport for Mazda 6

There are two main characteristics that define a spring: rate and free length. Both are pretty easy to understand. Free length is simply the length of the spring with no weight or force acting on it. So set a spring by itself on a table, measure how tall it is, and there’s your free length.

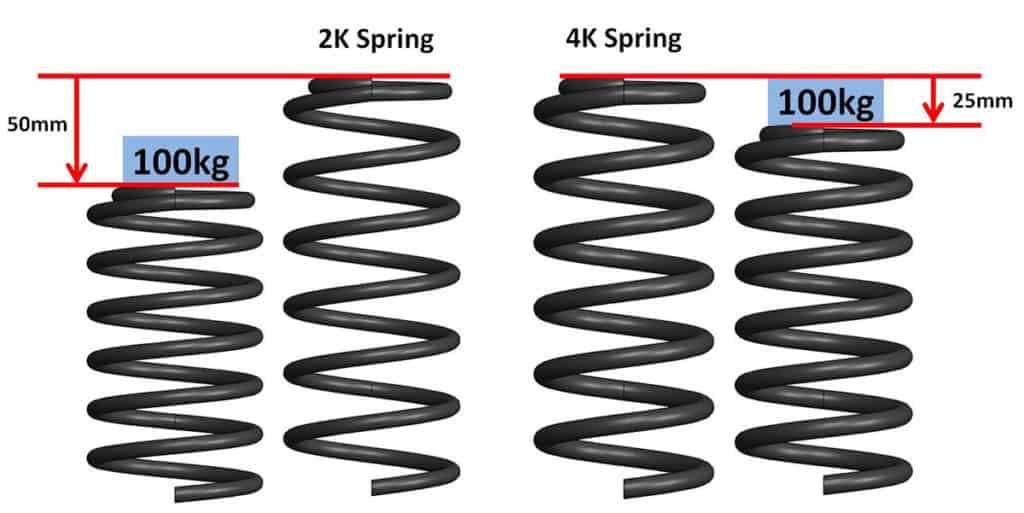
Spring rate is a little more complex, as it is the measure of how much weight it takes to compress a spring a given distance. So, if you have the same weight and put it on two different springs the one with the higher rate will compress less. The rate is usually measured in kg/mm (often shortened to K) or lbs/in.

For example, if you had a 2K spring and a 4K spring and applied 100kg to each, the 2K would compress 50mm and the 4K would only compress 25mm.

The spring view of the CorkSport Mazda springs

What do these measures mean for your car though? If we keep the rate the same but only change the free length, the shorter the spring, the lower the car. For a given car, a spring can be too short, causing poor ride (sitting on the bump stops all the time), or the risk of a spring coming out of place, causing noises or at worst, the spring falling out of the vehicle.

If we change the spring rate and leave the free length the same, things are a little more complicated. The higher the rate, the stiffer the ride is, plus your ride height will increase. Since the weight of the car is not changing, the higher rate spring will now compress less when the car sits on it, meaning your car sits higher at rest. Too large of a rate and your OEM shocks cannot keep up causing a bouncy ride, and vice-versa if too soft you are hitting bump stops over the smallest bump. Obviously, there is a balancing act to get the spring rate and free length correct for the application for the best in appearance, handling, and comfort.

Mazda 6 2.5L Turbo  with lowering springs

Now that the basics are covered, let’s look specifically at the Mazda 6 2.5T. The OEM springs give a good ride as to be expected (likely very soft spring rates) as this can be a huge issue for potential customers if the car ride quality is harsh. Handling is decent overall but has a few quirks. When going around a corner quickly, the car rolls over onto the rear springs excessively before settling and getting through the corner. When at the limit of traction, the car understeers severely, like most cars sold today.

Finally, the ride height is pretty high, likely to prevent any issue with driveways saying hello to the new front fascia. Interestingly, the MZ6T sits a little higher in the rear; we think it ensures enough suspension travel in case there’s a full load of passengers and a full trunk.

Side view of Mazdsa 6 Turbo lowering springs height

For further analysis, we also had the OEM springs tested for rate and ended up with the following: 3.05K front, 5.05K rear. While these numbers are fairly arbitrary right now, they are a necessary data point to have when designing lowering springs. These rates also contradict a very common misconception. Many people think that because there is less weight in the rear of a front-wheel drive car, the spring rates must be softer in the rear for a good ride & handling. This is simply not true in most cases, after all why would Mazda do the opposite? Due to the design of the rear suspension, the spring is basically being pushed on by a lever. This means the spring needs to be stiffer in order to support the same amount of weight as if the lever wasn’t there.

So overall, the OEM springs are good, but have plenty of room for improvement. I just touched the surface of suspension design and as we go through more of this project we’ll get into dampers, natural frequency, and much more. Stay tuned for more info and if you have any questions, don’t be afraid to ask! Check out the release blog for the Mazda 6 lowering springs.

-Daniel @ CorkSport

Connect with us

You may also like

Stay up-to-date on the latest news and product updates from CorkSport.

* indicates required

CorkSport Mazda6 2.5T Boost Tube

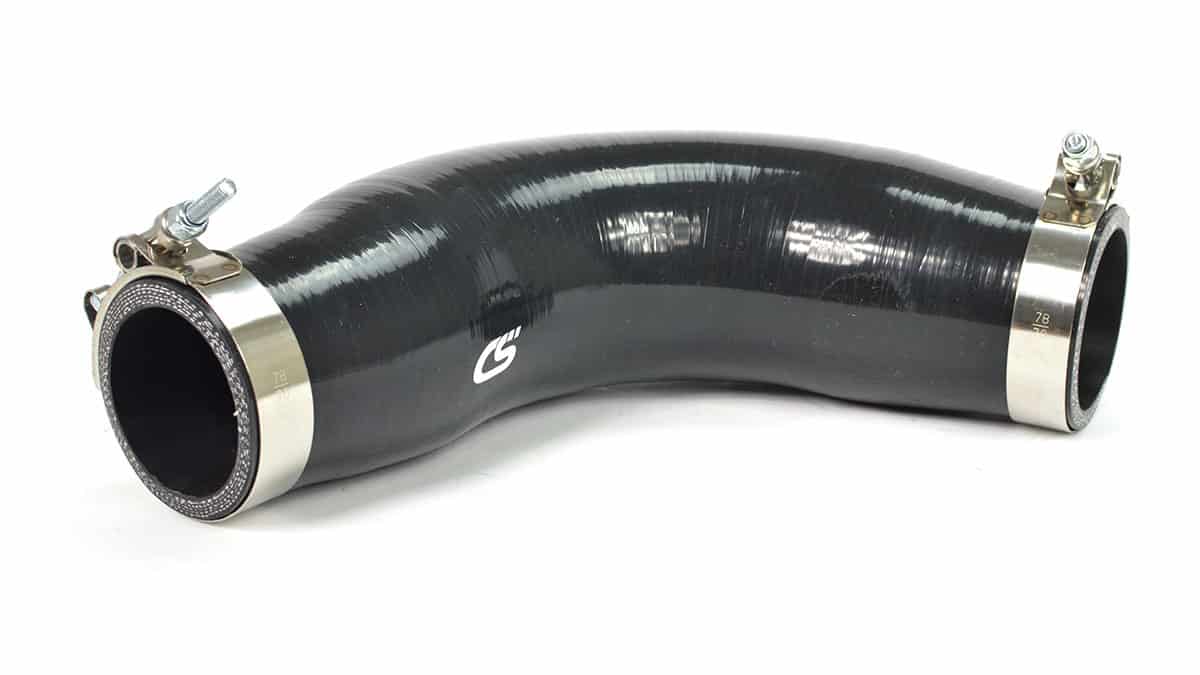
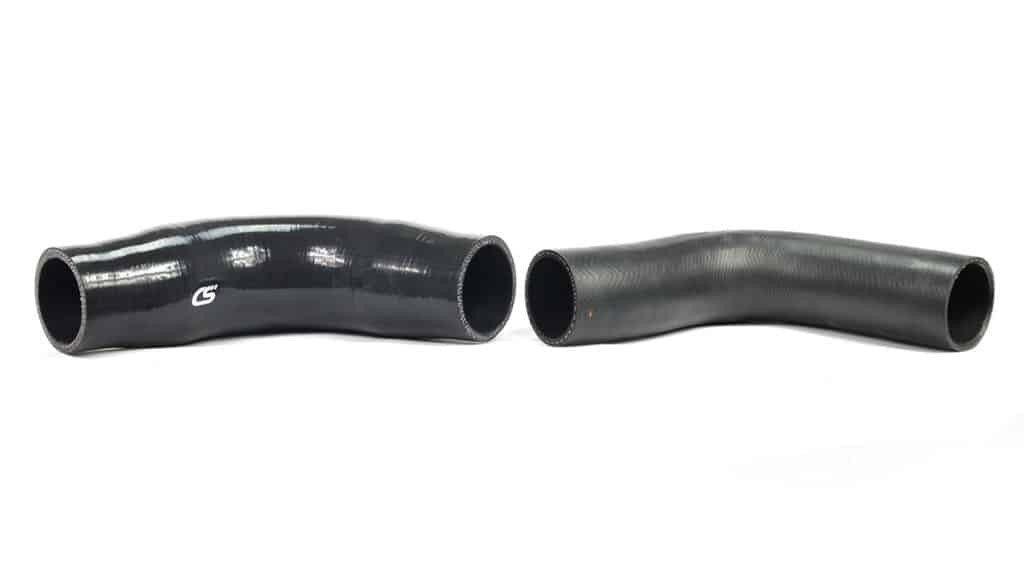
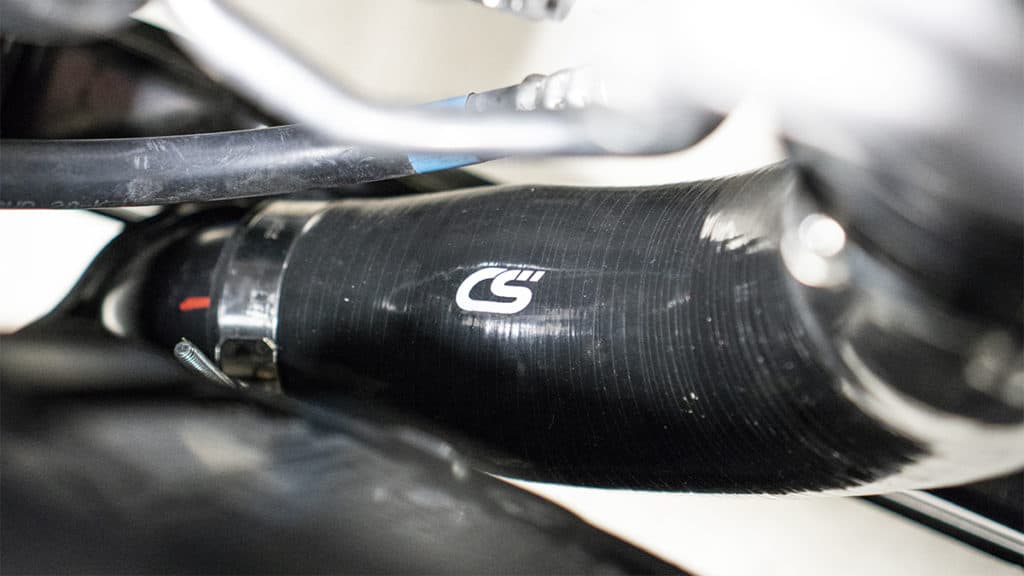
We are proud to release the CorkSport Upgraded Boost Tube for 2018+ Mazda 6 2.5T and 2016+ CX-9 2.5T. The CorkSport boost tube is larger, stronger, more reliable, and of course better looking than the OEM rubber tube. Increase throttle response down low, hit boost targets easier and future-proof your ride for mods down the road with a simple 1-hour install. Read on for full details and be sure to check out the R&D blogs here and here for the backstory.

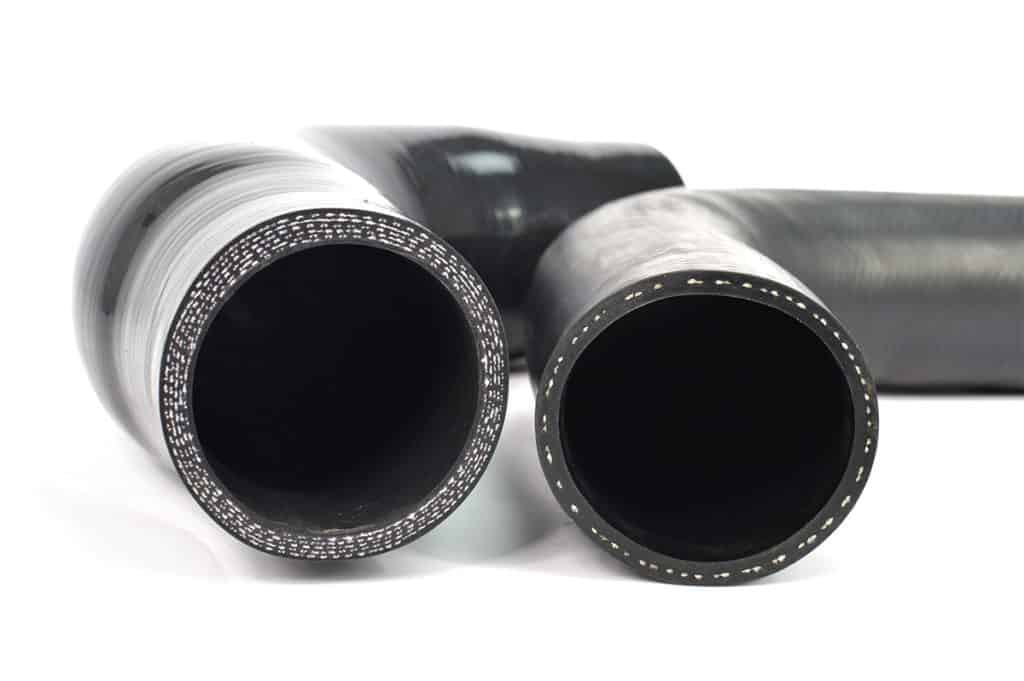
In case you haven’t read the previous blog installments, the CorkSport Boost Tube improves on the OEM boost tube by first strengthening the tube. Instead of using rubber with one reinforcement layer, the CS boost tube use silicone with 5 layers of reinforcement. Aside from the extra layers of reinforcement, silicone stays strong at high engine bay temperatures that may cause rubber to flex excessively. In addition, silicone lasts longer and will better resist cracking as your Mazda 6 Turbo ages. The OEM boost tube is made from materials very similar to the OEM Mazdaspeed 3 boost tubes that showed signs from aging extremely quickly, especially when subjected to higher than OEM boost levels. Cracking or splitting of the OEM tubes results in boost leaks and a poorly running car, definitely not what you want from your brand new SkyActiv 2.5T.

The added strength prevents the CorkSport Upgraded Boost Tube from expanding excessively when subjected to pressure. When pressure tested at 20psi (the largest pressure we have seen at the intercooler outlet), the OEM tube was shown to expand 12% at the internal cross-sectional area. The CS tube tested under the same conditions expanded 3x LESS. This difference would get even larger when subjected to the same pressure at a higher temperature. What does this mean for performance though? When you get on the gas, the boosted air will have to expand the tube before it can enter your engine. The less the tube expands, the easier it is to hit boost targets, and the better throttle response you have, especially down low in the RPM range.

The CS Boost Tube also is a larger inside diameter than your OEM tube. It is 3” through the middle vs. the OEM ~2.44”. Since this area of the charge piping system is directly ahead of the throttle body, this large volume of air has the same effect as it does with our GEN2 Mazdaspeed3 FMIC kit, reducing boost lag and increasing throttle response. For full info on why this happens, check out the release blog for that kit here. As a basic overview, the large volume of air right before the throttle body fools the engine into thinking it has a larger intake manifold plenum than it really does. While not as severe of an effect with just changing this boost tube, try it for yourself and see what you think!

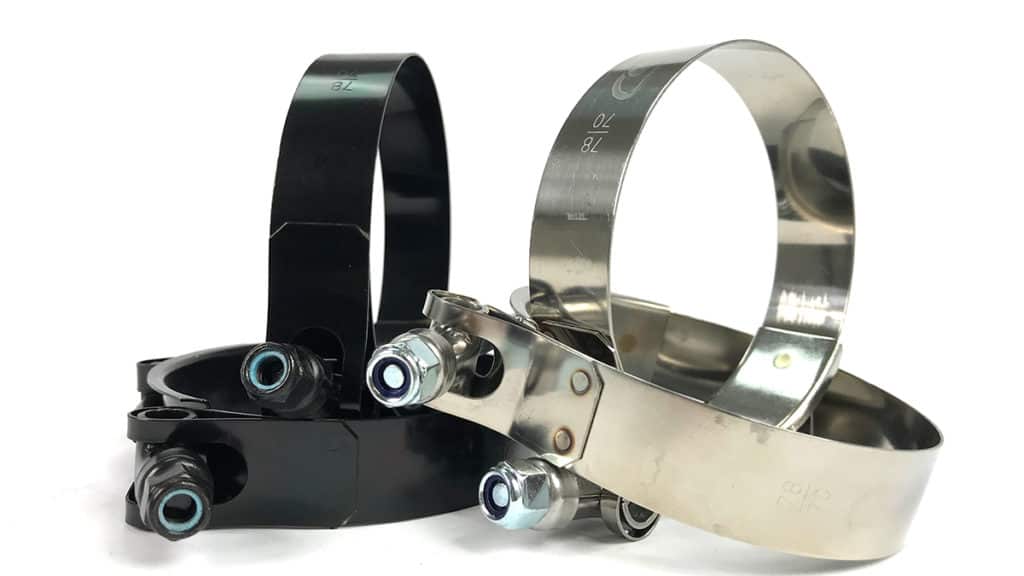
Installing the boost tube is a little tricky due to where it is located, but we include high-quality installation instructions to make it easier. Even so, it can be installed in an hour or less in most cases. We also include polished stainless steel T-bolt clamps to ensure a complete seal and add a subtle visual boost.

Be sure to check out the product listing for more pictures, the installation instructions, and a detailed product video. Let us know if you have any questions, we’ll be sure to help you any way we can!


Lastly, if any of you are looking for a more serious upgrade, stay patient, our FMIC upgrade & full piping upgrade kit are coming soon!

Stay up-to-date on the latest news and product updates from CorkSport.

* indicates required

600hp Mazdaspeed 3 Build Path – CorkSport Barett’s 2009 Mazdaspeed

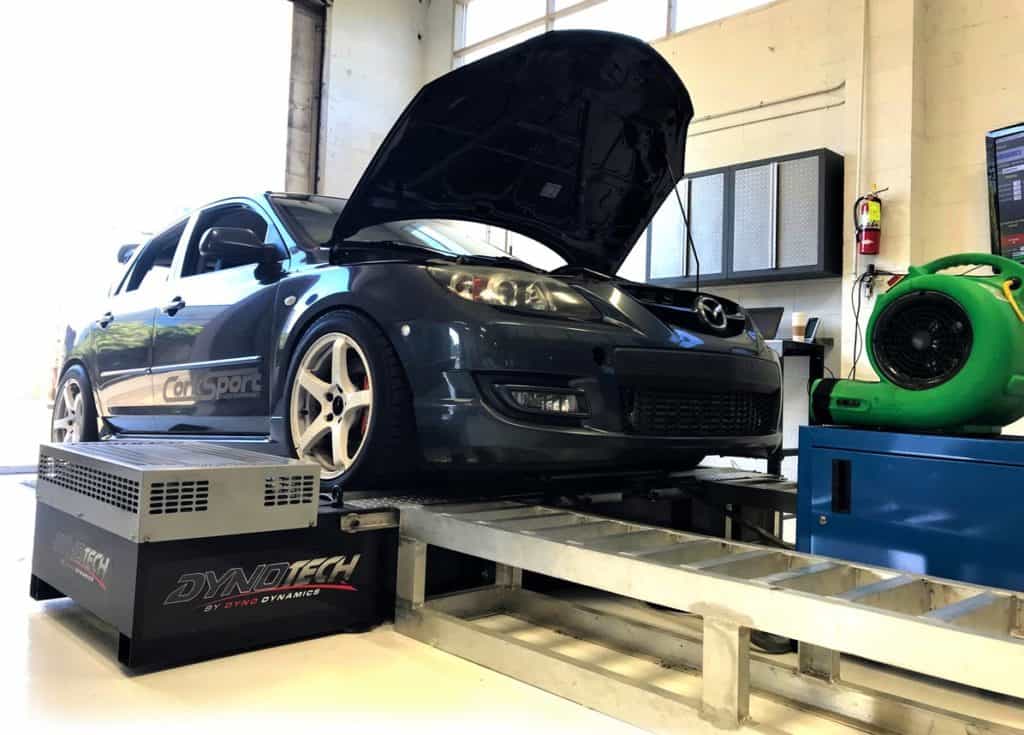
If you haven’t heard already, the CorkSport Dyno Day and Summer Event was a blast with food, friends, raffles, a Show-N-Shine, and the continuous string of dyno runs.  The highlight of the dyno runs came when one of the CorkSport Engineers, Barett, put his car on the rollers.  With a few minutes of warm up and anticipation building, it was finally time to see what the “CorkSport Speed” could do. 

600+ WHP Mazdaspeed 3 on Dyno

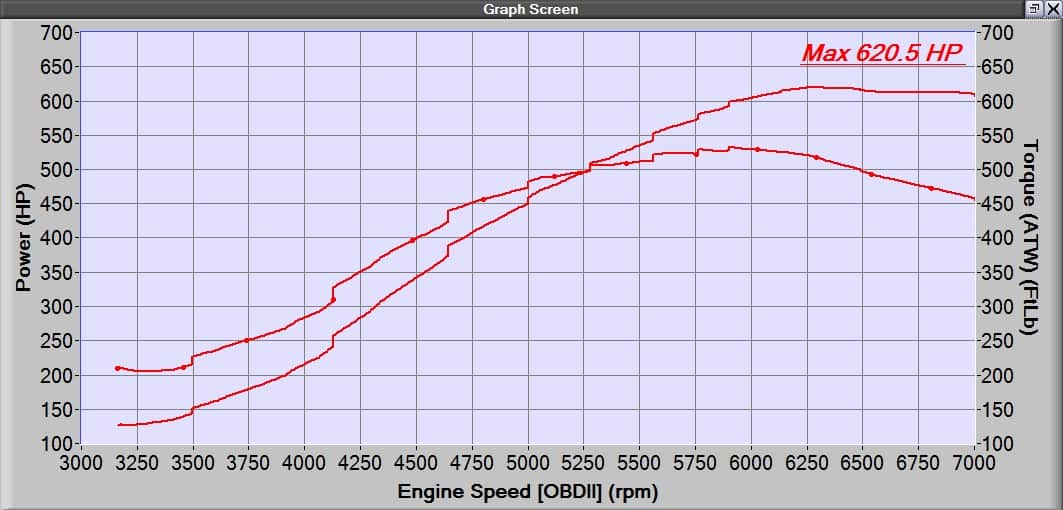
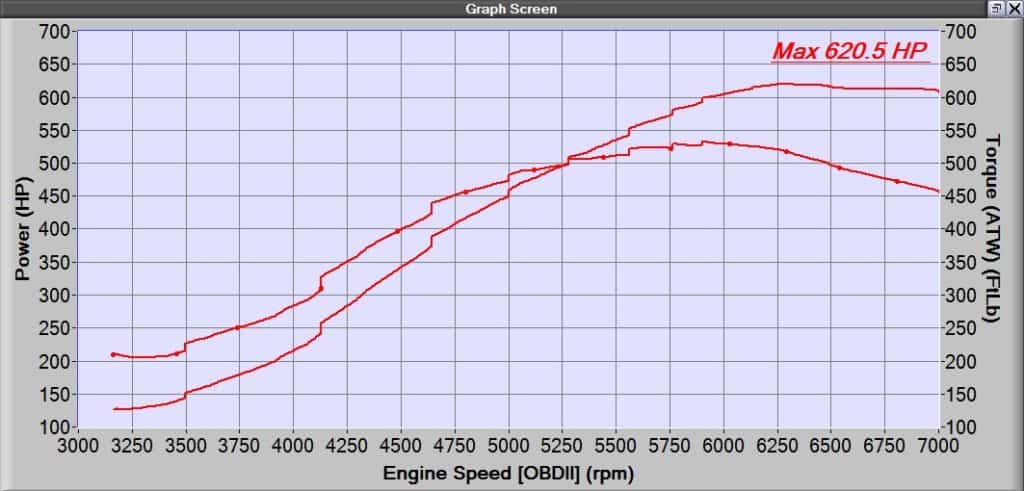
Getting past the ecstatic crowd to see the dyno screen showed an impressive 620whp/530wtq.  Now, whether you were at the show or not, you may be wondering what Barett’s setup is to support these numbers.  It’s not a short list but is simpler than you would expect. 

In this blog, we are going to layout the WHOLE build to show you how your Mazdaspeed can make 600+whp.  

Dynograph data of Maszdaspeed 3 625 WHP

The engine was built by CorkSport in preparation for setting up the Dankai Engine ProgramIt features Manley Connecting Rods and Platinum Pistons, head work very similar to the Dankai 2 Built Longblock, along with the CS BSD (balance shaft delete) and CorkSport Camshafts.  Holding the block together are L19 head studs and ARP 2000 main studs.  

To get the air in and out of the engine efficiently we have an assortment of bolt-on parts and some prototype parts because what kind of CorkSport R&D car wouldn’t have some prototype performance parts on it?  To break this down in the simplest way possible we have laid out a full build list:

600hp Mazdaspeed 3 Build List:

  • CorkSport Built Engine:
    • Manley Pistons – 0.5mm overbore @ 88mm
    • Manley H-Beam Connecting Rods
    • CS Balance Shaft Delete
    • Dankai 2” Ported Headed: Single Runner Intake, Bowl Work, Combustion Chamber Touch Up, Exhaust Porting
    • CS Camshafts
    • Stock Valve Springs (We would recommend upgrading these and plan to do so ourselves)

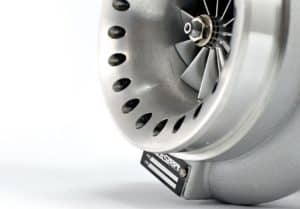
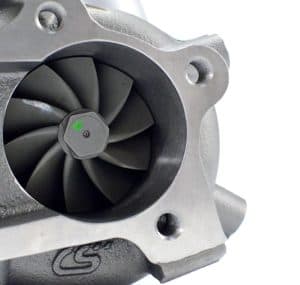
Now, this isn’t the complete list, but it does lay out most of the essential parts to get your Mazdaspeed 3 over 600whp.  You might have picked out a couple “prototype” mentions in that list above…well we can share a bit on the new CorkSport Mazdaspeed Turbo.  You’ve seen the power it can make…and it still has some more left in it up top, now check it out some sexy billet and massive turbine.

Mazdaspeed 3 Turbo for making 600 WHP
Mazdaspeed 3 Turbo Turbine Closeup for 600+ WHP

Lastly, none of this power would be possible without the fuel to support it.  As you may know already, the OE direct injection fuel system taps out around 380whp on an efficient build so how do we make another 240whp?  Auxiliary fueling is the key my friends, and we recently posted a blog to help you explore Methanol Auxiliary Fueling that I invite you to read.  To stay focused on Barett’s 600+whp build we have made an auxiliary fueling build list below:

Upgrade Your Turbo with the CST4

Methanol Auxiliary Fueling 600hp Mazdaspeed Build List:

  • AEM Boost Based Pump Controller
  • Snow Performance 5 Gallon Cell Trunk Mounted w/CS Prototype Mounting Bracket
  • AEM 80 micron in-line filter pre-pump
  • ProMeth 220psi Pump (Essential for flowing this volume of methanol)
  • Snow Performance Solenoid
  • Devil’s Own 1in/4out distribution block
  • 4x Devil’s Own 90degree nozzle holders
  • 4x ProMeth Compact Check Valves (Essential for proper AFR control between shifts)
  • 4x Devil’s Own D07 Nozzles (One per intake manifold runner; each flowing ~10gph)

Despite that this auxiliary fuel setup is providing the fuel required to support just over 600whp; it is at the ragged edge of what can be supported.  Looking at the dyno graph further up you can see torque decline after 6000rpm and horsepower go flat. This is due to the auxiliary fuel system reaching its maximum fueling capacity and thus forcing us to reduce boost pressure as engine RPM goes past 6000rpm.  

At this power level, true port injection auxiliary fueling is the correct step to take.  Lucky for you guys and gals, we are currently exploring this path with our product R&D. We plan to give you guys and gals a full breakdown of our experience and how we built a full port injection auxiliary fuel system that can support over 600whp.  

AND…I forgot to mention one very critical aspect of this entire build.  Professional Tuning! This specific build was E-Tuned on the CorkSport in-house dyno by Dale Owen of Gem Tuning.  E-Tuning is a great way to set up your car with the tuner that is the best suited for your platform and vehicle build because it doesn’t require the tuner and the vehicle to be in the same place at the same time.  

Hang tight for more on the PI Auxiliary Fueling and thanks for tuning in with CorkSport Performance.

-Barett @ CS

Brett’s Mazdaspeed Build Part 3

Well guys, I am back with a part 3. I apologize in advance for the delayed release of the 3rd chapter, but the Mazda was out of commission for a bit getting some stuff reworked! That being said, we can now pick up where we left off in part 2!


As I started to settle into my new stake at CorkSport, I started adding on lots of new goodies. At the beginning of the new year of 2017, I got to throw on our prototype Stage II RMM and get rid of my old one for some testing and feedback. Not only did the vibes decrease substantially, it also held the powertrain better and was helping my wheel hop significantly. So while I was at it, I threw on a Lower Tie Bar to help even further, knowing I had plans in the very near future to make over 400 Whp.


It was now Feb. of 2017 and I knew I was wanting to reach my new power goal by Summer. So, I talked to my tuner, Erik with Drama Tune, and scheduled to fly him up here in March to dyno tune the car. I had every single piece needed to complete the 400+ Whp puzzle.

The last missing piece was fuel. At this point in time, I had two options, Port Injection or Methanol Injection. Given, that I only needed a little more fueling head room freed up I went with methanol for ease, and price. For those that are curious, I purchased the Snow Performance Stage 3 Kit.  

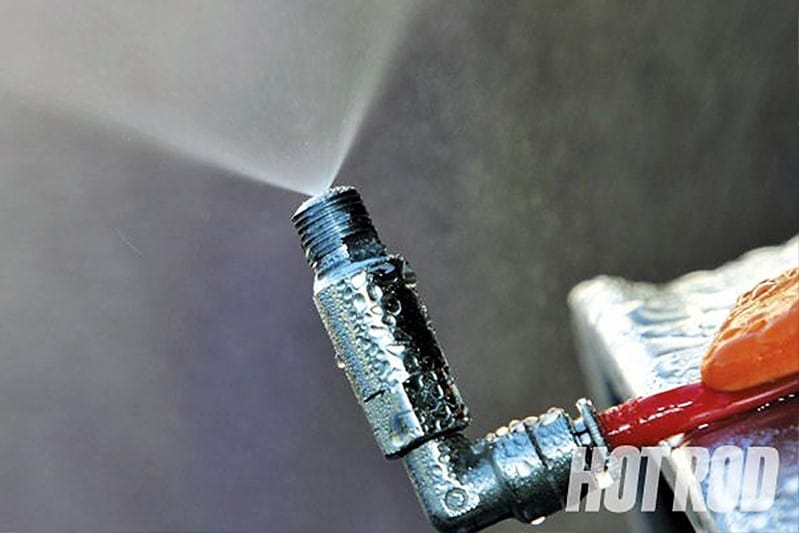
I started installing the kit at the beginning of March 2017. Since I was going to be putting bungs into the FMIC piping, I got the kit powder coated as well.  I installed one small nozzle right off the cold-pipe of the intercooler, and another large nozzle right before the throttle body. I left a couple inches to help the alcohol atomize. The total amount I was spraying between the two nozzles was approximately 1000 CC’s of 100% Meth as we were using it for Fuel.  

So, with the car ready my Tuner flew up and we got my car on the Dyno! Keep in mind my car is a stock bottom end, so I knew I was going to be playing with fire a bit. The general rule of thumb here: If you are on a stock bottom end and want to push the car in this fashion, always have a backup plan ready in case the engine gives out.

By the end of the session, I had 3 maps from Erik:

Pump Gas: 340 Whp

E85 Blend (3 Gallons): 390 Whp

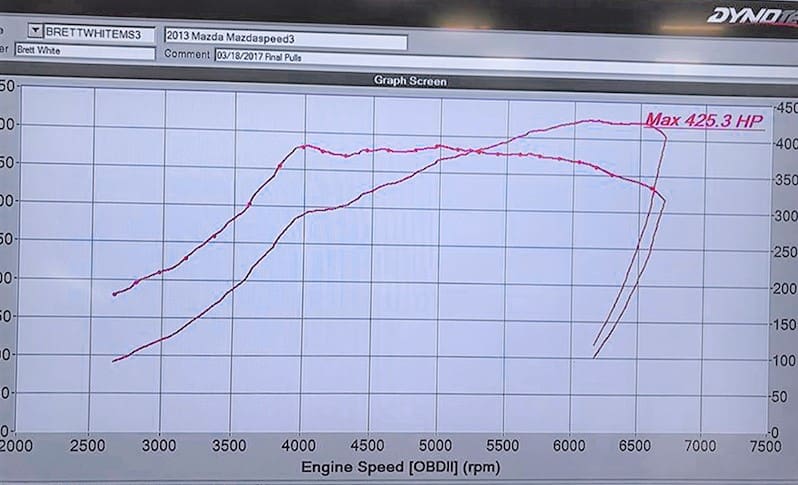
Methanol Injection: 430 Whp. (e85 still in the tank for added knock resistance and cooling)

The torque was kept down as much as possible at 380 Ft-lbs @ 4700 RPM. So, the stock rods definitely were not in danger. Ultimately if the block were to give out in this situation, it would more than likely be the piston rings. The stock Piston Rings do not like high heat or harsh temp changes. So, the best thing you can do pushing 400+ hp on the stock bottom end is to allow time between pulls for everything to re-stabilize. This will ultimately increase the time you have before it ‘Splodes. Because, if we are being honest with ourselves, at that power level, its always a matter of when, not if with the stock block.


So, this is how my Mazdaspeed 3 has been for the last year or so power wise. Built block will be in the future soon. But on this next part, I’ll dive into some cosmetics details that I’m sure a lot of people wants to know.

*Hint* “Hey Bro what flares are those”

Connect with us
Stay up-to-date on the latest news and product updates from CorkSport.

* indicates required