400 Whp not enough for you and your Mazdaspeed3?
Searching for more power for your speeds MZR engine?
Are you building your DISI motor, and trying to figure out your next setup? Say no more…
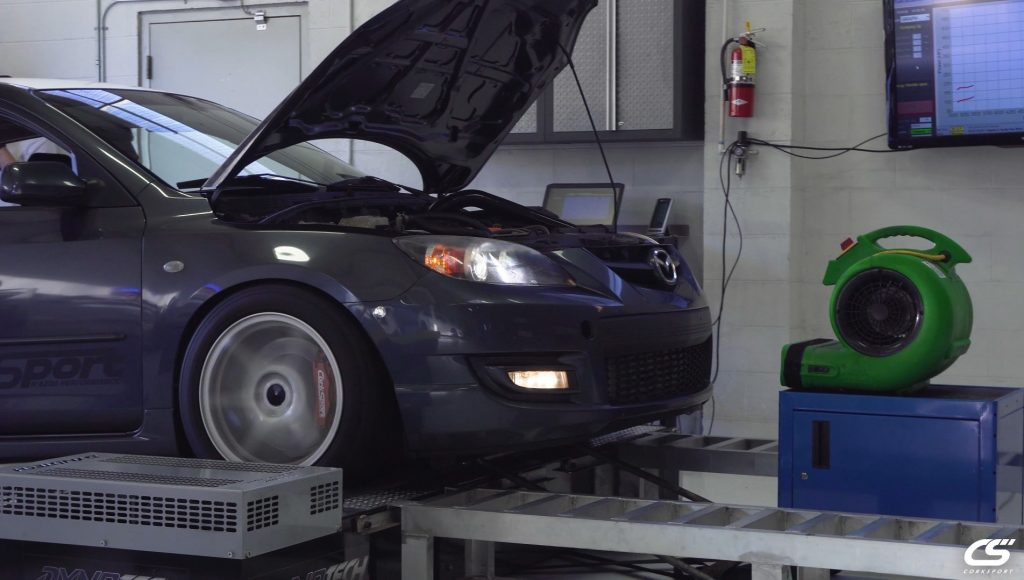
This next Mazdaspeed-focused blog is going to focus on making some big power numbers, and what it takes to get there. Now is the time to go beyond the scope of the 400-wheel horsepower to look at what it takes for 500 horsepower at the wheels.
In our 400 WHP blog, this is not an all-inclusive guide and the only way to achieve these power levels… However, it’s something that’s been tried and tested for years and proven to be a reliable method of making the power you’re after. We are aiming to educate you in the best way to make the most out of your MZR engine.
Let’s get started
With the MZR engine being out for over 10 years, it’s had a lot of time under the knife. We know how the engine responds to different airflow mods, tuning characteristics, fuel, etc.
We also know that 400 Whp is about the limit of the stock bottom end on the Mazdaspeed 3. If you have a Mazdaspeed 6, then you can assume it’d be a bit less given you have AWD and need to account for further drivetrain loss.
It is beyond this point that the motor is in danger and could potentially let go. Keep in mind that at 400 Whp you are nearly doubling OEM power output, and that’s a lot of strain on those pistons and rods that were never designed to endure that power long term. If you are wanting to go beyond 400 Whp then you should know that you are also looking at the price tag of a Built motor.
Now, if you are relatively new to this, and aren’t very familiar with the basic building blocks of the platform such as the Cobb Accessport, and Upgraded Fuel Pump Internals, then I invite you to read our 400 Whp Blog to build a good foundation. Do you feel you have a good understanding of what it takes to get to 400 Whp? Then you are ready to read on!
When you’re at a point in your build that you are seeking 500 Whp then it’s safe to say that you probably have gotten the more tedious stuff out of the way… You probably have about every bolt-on modification, and you understand what it’s like to work with a professional tuner.
That being said, let’s do a bit of a recap on the 400 Whp mods, so you have a good idea of where we need to go from here.
These are all the recommended/required mods to increase engine airflow and efficiency to make 400 WHP.
Basic Bolt Ons: (Less Expensive / easily removable parts )
– Fuel Pump Internals
– 3.5” Intake (Requires ECU relocation or battery box)
– Upgraded EBCS
– Upgraded Map Sensor
– Upgraded Downpipe
– Upgraded Intercooler
– Upgraded Catback Exhaust
– Oil Catch Can
Advanced Bolt Ons: ( More expensive / more difficult to remove )
– Upgraded Turbocharger
– Upgraded Intake Manifold (Optional but Recommended)
– Upgraded Exhaust Manifold (Optional but Recommended)
Fuel:
– Stock Fueling on Pump Gas usually nets around 330-350 Whp depending on octane and gas quality.
– Stock Fueling on E85 blend fuel usually nets around 370-390 Whp depending on Tune aggression and also Quality of the gas and E85.
– With Aux fueling such as port fuel, or methanol you can easily bump up over the 400 Whp mark and beyond. (I’ll get into the differences more in a bit)
Putting down 500 Whp pretty much requires many of the same mods that 400 Whp does, BUT the primary game changers are the Advanced Bolt On’s and Fuel.
(If you’d like to refresh your memory on the basic bolt-ons and how they affect your Mazda please refer to the 400 Whp blog.)
I’m ready for more POWAHH
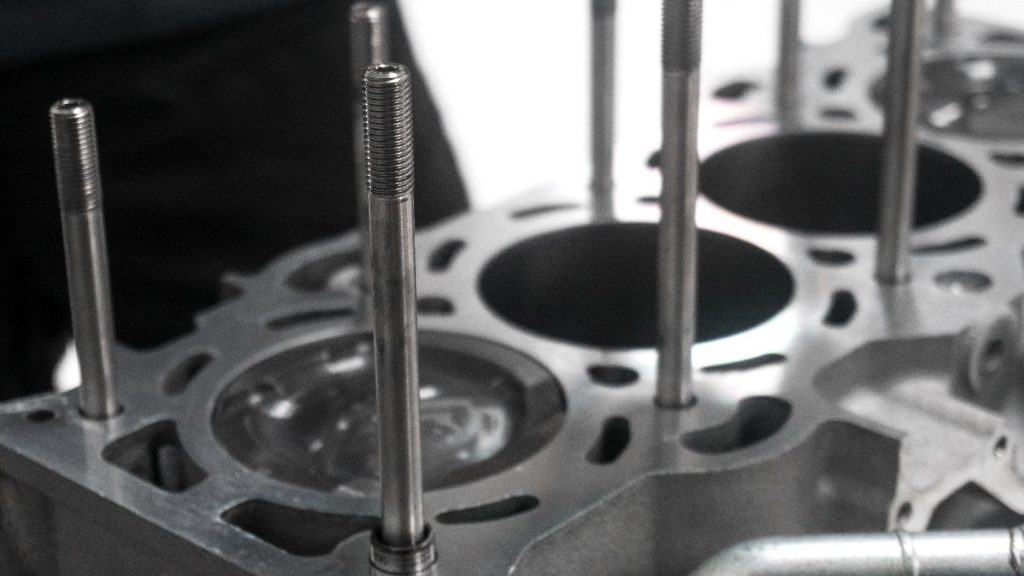
In the grand scheme of things, making the 400whp is relatively easy and affordable considering it can be done on the stock block. With bolt on parts, fuel, and a tune you can easily hit that number. But as soon as you want to make more, you’re looking at a built engine, as previously mentioned, And that’s a whole new can of worms.
So, what’s all involved in a built motor? That’s a bit of an open-ended question as there are so many variables to take into consideration. However, “built” engines usually contain forged pistons and rods with upgraded bearings to handle more abuse. From there, the complexity increases as you get into port work, cams, etc. I will touch on that a bit more later.
Fortunately for you, most engine builders have their entry level engine ready to handle 500 wheel horsepower and it’s a pretty basic build that features stronger internals. But, the tedious stuff like port work is usually reserved for the higher tier engines that are usually built for more power.
I won’t get into the engine building side of things, as that could turn into a whole other tangent. But you can assume that a built motor may cost you anywhere from 5k and up dependent on the level of motor you go with. From there we can start piecing together our 500 Whp build.
Let’s Talk TURBO’S (Crowd Cheers)
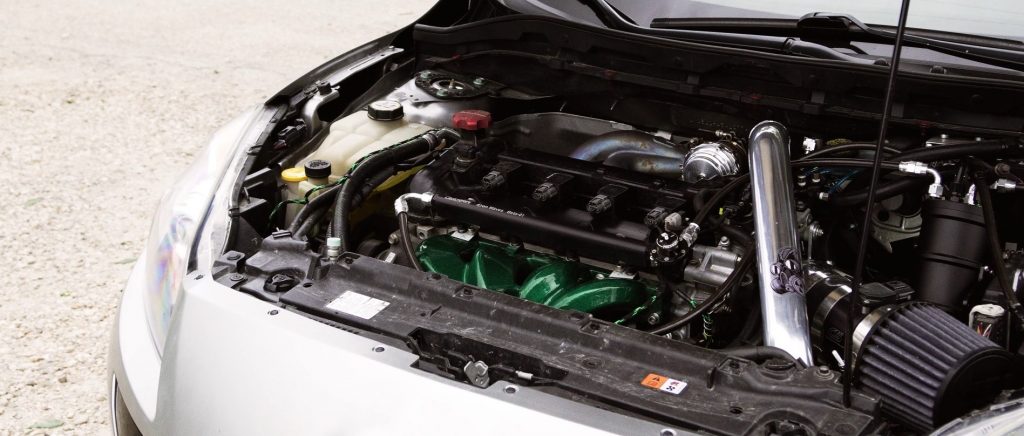
The turbo is the heart and soul of the Zoom-Zoom, so it seems like a suitable place to start.
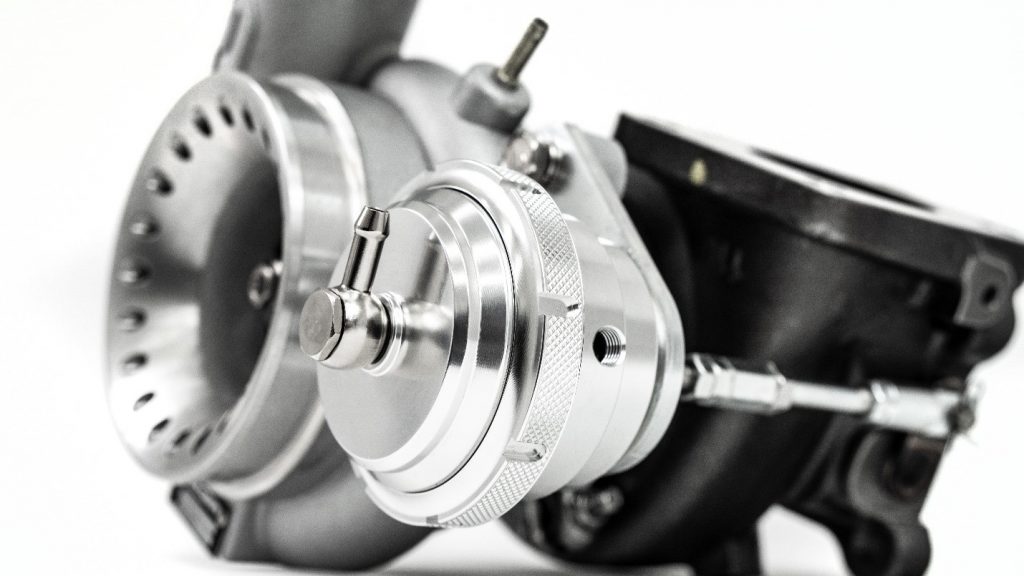
As we know, the CST4 is happy up to around 400+ Whp. Which is why it was the recommended turbo in the 400whp blog. But now we are ready to take a step up to the CST5 Turbo for the Mazdaspeed which is happy up to… You guessed it! 500+ WHP. With the ability to hit 20 PSI by 3500-3600 RPM and Carry out 30 PSI it really packs a punch for its size. You may be needing to upgrade your intake to pair to the T5, I’d recommend our Power Series 3.5” Intake I mentioned earlier. It will come with the 4” coupler required to mate up to the turbo.
The turbo is available with an internal gate, or an External Gate so you can choose what works best for you. Both options can hit the same power numbers.

Let’s Talk Fuel
“What options do I have for bigger injectors?”
At CorkSport I get this question rather often. Unfortunately, I must tell them “There aren’t any”
Without going too off topic here I will explain why.
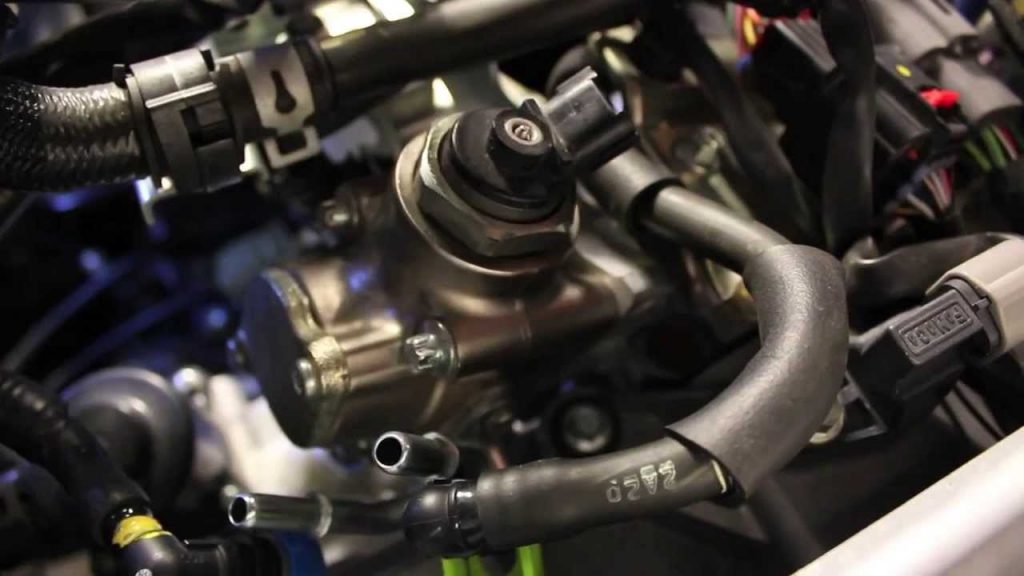
Our cars feature a Direct Injection fuel system or DI… And by today’s standards, it’s a bit primitive. The MZR DISI was one of the first pioneers of modern DI, which is probably why the OEM high-pressure fuel pump can’t even sustain the full potential of the factory injectors. Don’t worry, the CorkSport Fuel Pump internals fixes that problem.
Port Injection is simple and easy to maintain. It works by spraying low pressure fuel into the intake runner where it atomizes in the air stream before entering the combustion chamber. For car guys, it’s fantastic and easy to swap out injectors when you are ready for more fuel.
Direct Injection takes a whole new approach. Instead of the fuel going in through the intake manifold, it goes DIRECTLY into the combustion chamber.
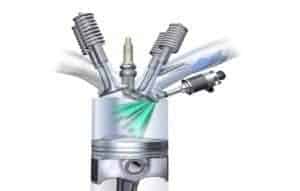 In order to overcome the force of compression, the fuel must be highly pressurized in order to atomize correctly. It also must deliver more volume in a shorter amount of time. This is why your Mazdaspeed has a high-pressure fuel pump.
This causes a whole lot of complications for injector developers because things like fuel pressure also become a huge variable when attempting to create a larger Direct Injector. The bigger the hole on the injector, the more fuel pressure is required to create adequate atomization. Combining that with the rarity, and size of the Mazdaspeed platform, it’s just not worth it for any manufacturer to develop one.
So, what’s the solution to getting more fuel? Well… As previously mentioned, you pretty much have 2 choices Port Injection or Methanol. Since both of these are considered Auxiliary fueling, they are controlled by separate controllers, unless you want to ball out and get a Motec ECU that can control the OEM engine systems, as well as your port fuel.
Choosing which system, you want to go with solely depends on your power goals, and how much money you have to spend. Those 2 factors are pretty much the only question you need to ask yourself.

Methanol – Cheap and simple
Port Injection – Expensive and Reliable
You must remember that the OEM fuel system, even with E85 in your tank is only good up to around 370-390 WHP. So, everything beyond that is supported by your AUX fueling. If your extra fuel system stops spraying for any reason, that could lead to catastrophic damage depending on how much you’re relying on it. When you’re just trying to nudge over the 400 whp mark on a CST4 or CST5 then Methanol is usually fine in my opinion. But beyond that, I’d be concerned with the reliability aspect.
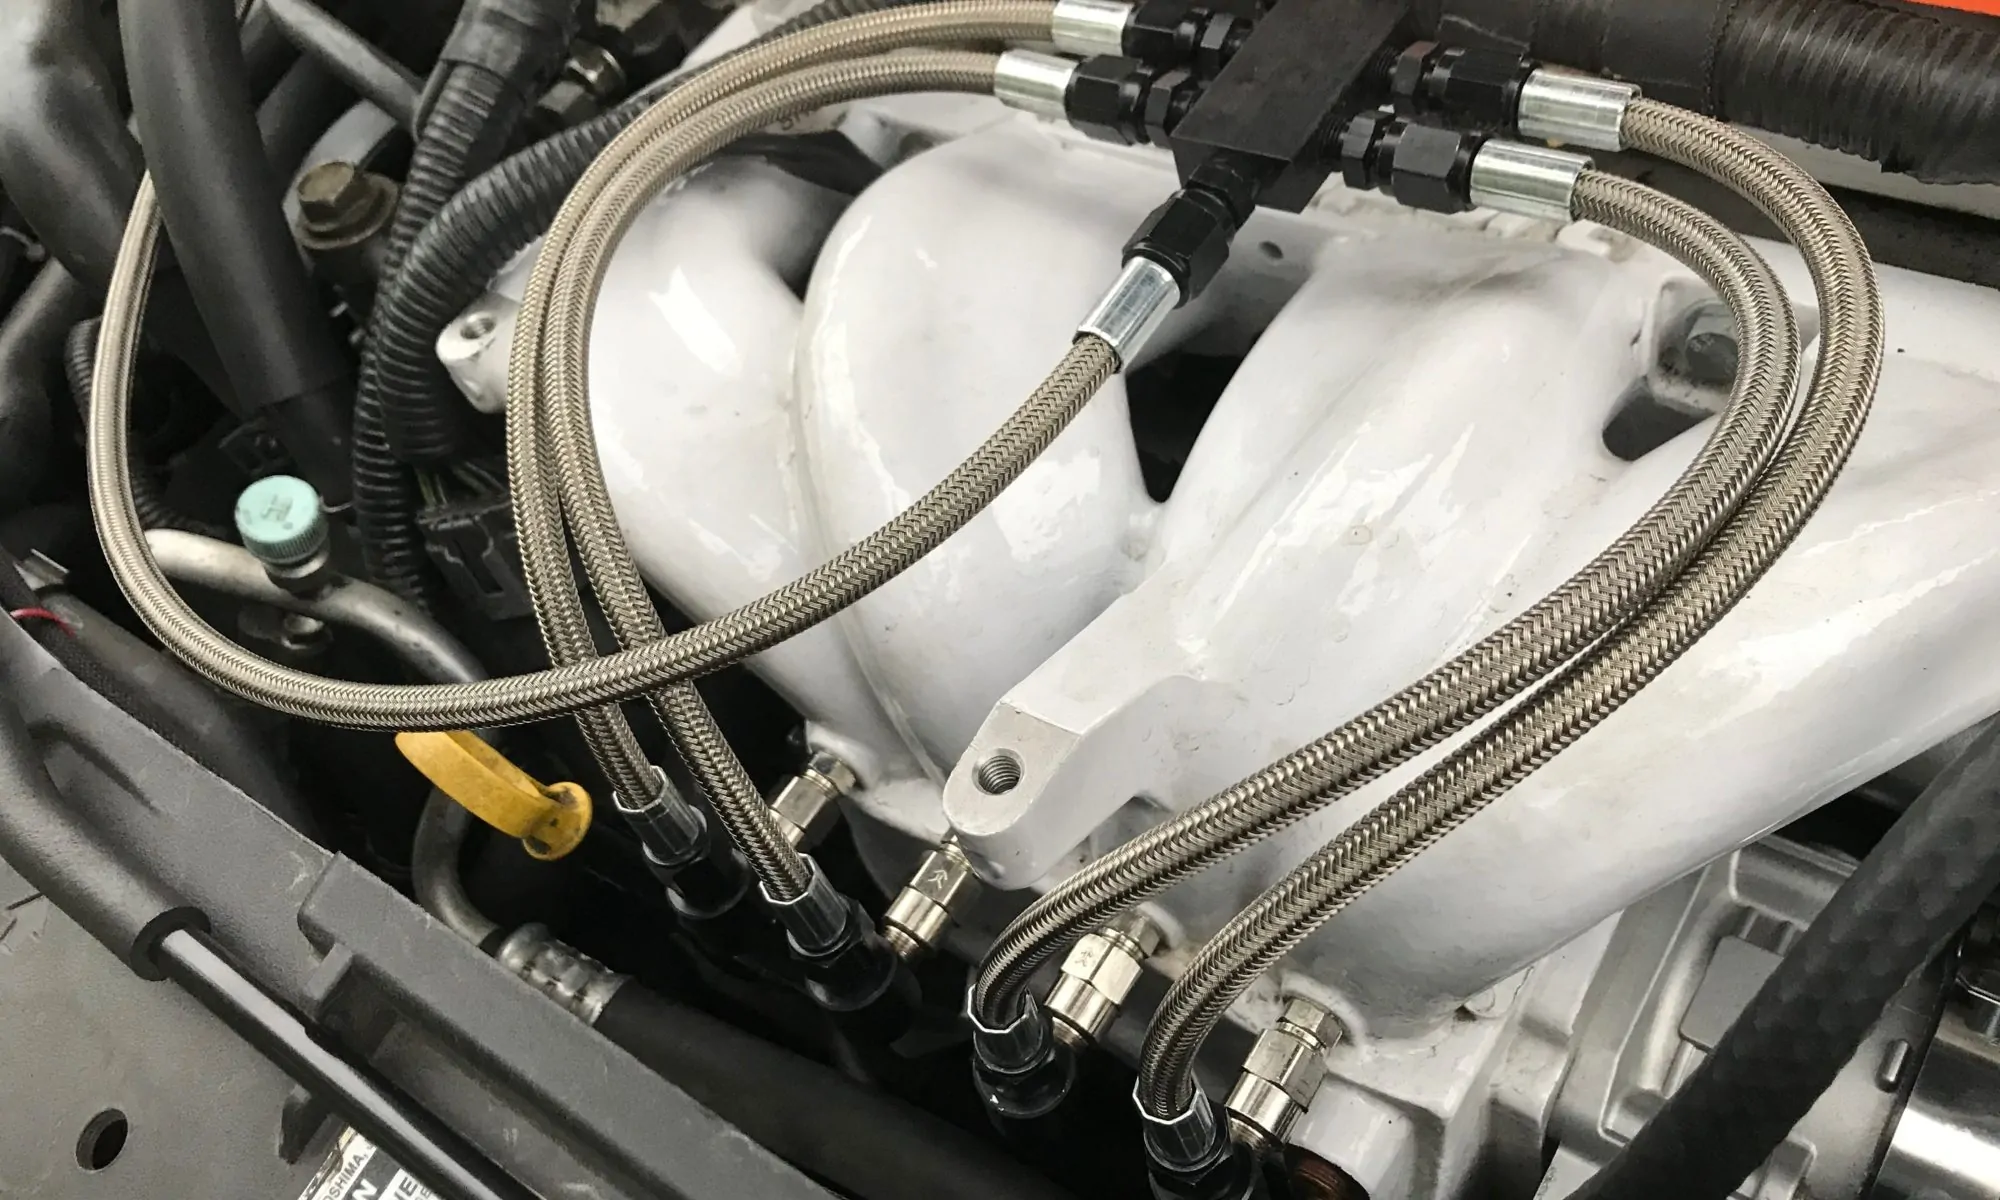
When you have a properly set up port fuel kit (Manifold with fuel rail required) it behaves almost as if there is no AUX fueling system. This is especially the case when you have it all integrated into your factory gas tank and don’t need to fill up a separate cell. A quality Port Fuel Kit is pretty full-proof.
You’ll have to make the decision that’s best for you, but I’d recommend a port fuel kit to support 500 Whp, vs a heavy spraying methanol kit.
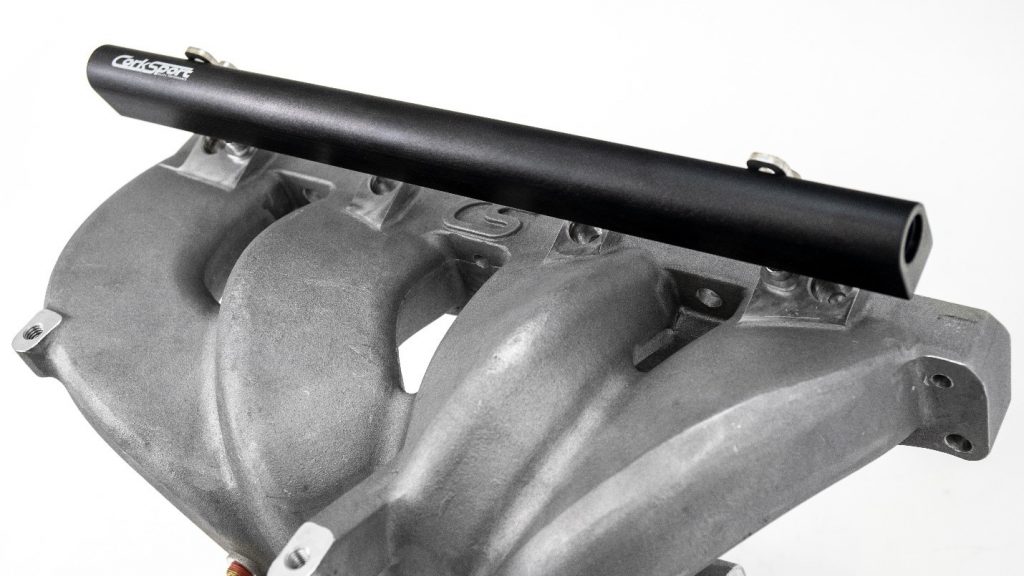
Let’s Talk Manifolds
Manifolds are responsible for transferring all the air in and out of the motor from their respective cylinder. This job is an important one as it needs to distribute the gases as evenly as possible. The more even the flow, the better the performance!
On the Mazdaspeed Platform, the OEM intake manifold is known to be the bigger restriction over its exhaust counterpart. With very unequal flow distribution across the 4 runners, it has been proven not only to restrict power but also cause premature wear and tear on cylinder #3; here’s why.
This is caused by “over-feeding” air to #3 in comparison to the other cylinders. Over time this #3 is actively running leaner than its counterparts which is why it’s been deemed the most common cylinder to blow if an engine does give way.
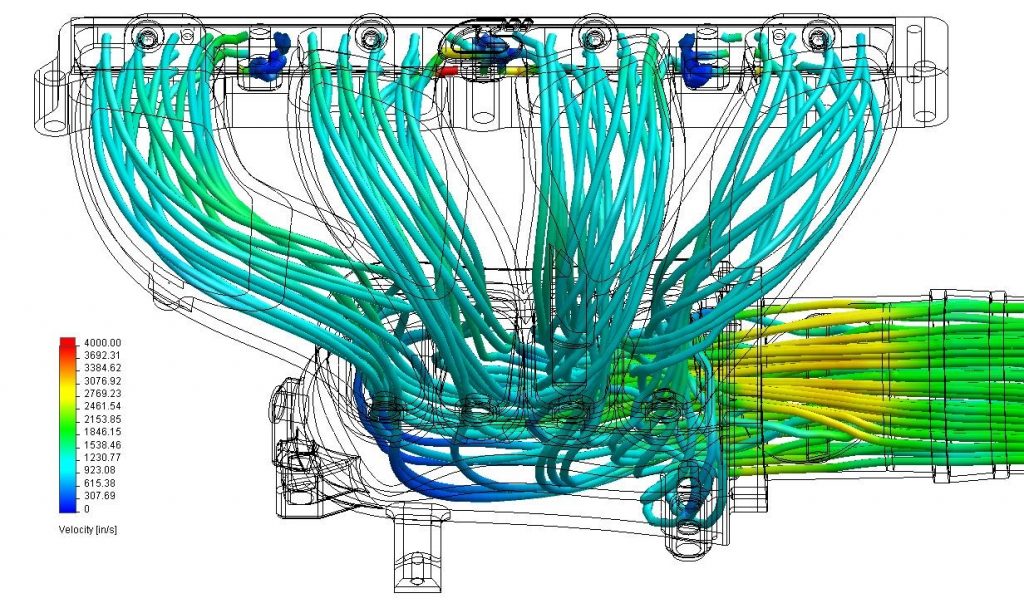
It is because of this, that I always recommend a CorkSport intake manifold for even stock power levels. It may not be required to make 500 Whp, since you can essentially just turn up the boost to counteract the restriction. But in the name of reliability and efficiency, you should always try to help your engine breathe with the most minimal effort while also helping it maintain its health.
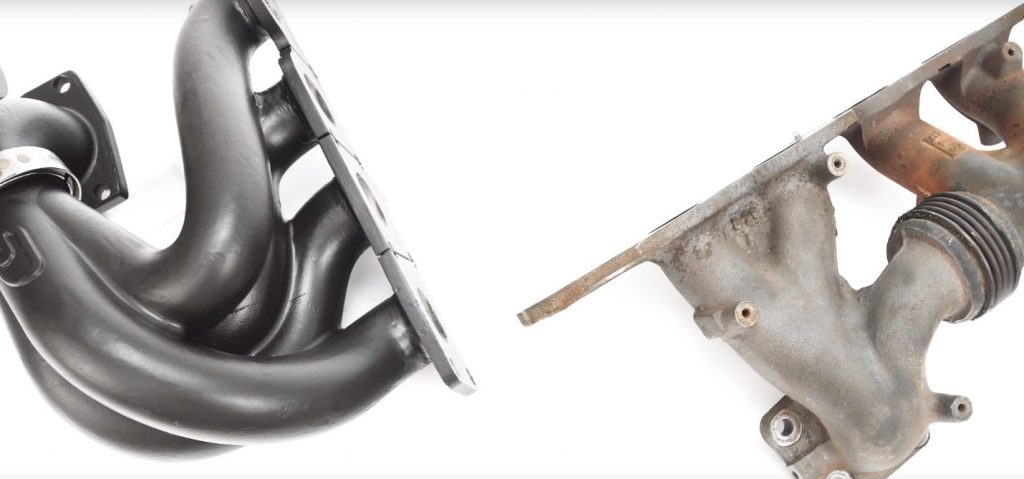
The OEM Exhaust manifold may not be as bad as the intake manifold, but it’s still not ideal, especially at this power level. A performance exhaust manifold needs to be designed with exhaust scavenging in mind.
Exhaust scavenging is a very cool effect. The exhaust gases leaving the combustion chamber travel out the individual runners and enter the collector. It’s at this point that it creates a vacuum-like effect on the runners, assisting the exhaust gases to escape from the other cylinders. This constant scavenging helps improve exhaust flow dramatically, especially when you start making power over 400 Whp.
You can learn more about exhaust Scavenging in our Blog that dives deep into it and shows examples comparing our Exhaust Manifold to OEM!
Stay Up-to-date with CorkSport
When you replace both the Intake and Exhaust Manifolds with a performance unit you are drastically helping your motor improve its efficiency, which can mean 3 things.
1. Make the same power on less boost.
2. Make more power on the same boost.
3. Make Way more power on way more boost.
When you have to push your car less to make the power you want, reliability improves, and it also needs more room on the table for when you want to make even more power later on. That leads us to our next topic, Efficiency Mods.
The Cherry On Top
With a built motor, full bolt-ons, fuel, and a big enough turbo you can easily hit 500 whp.
However, efficiency mods such as Camshafts or Throttle Body will help you make more power easier, or really push the limits of your turbo by improving its ability to perform.
Our CS Camshafts are ideal when you start getting into this power range. It helps with everything from turbo spool, midrange power, and top end. Even on K04 powered speed 3’s / 6’s our cams netted around 20 Whp. You can imagine the kind of exponential improvements it can make as you move up in power.
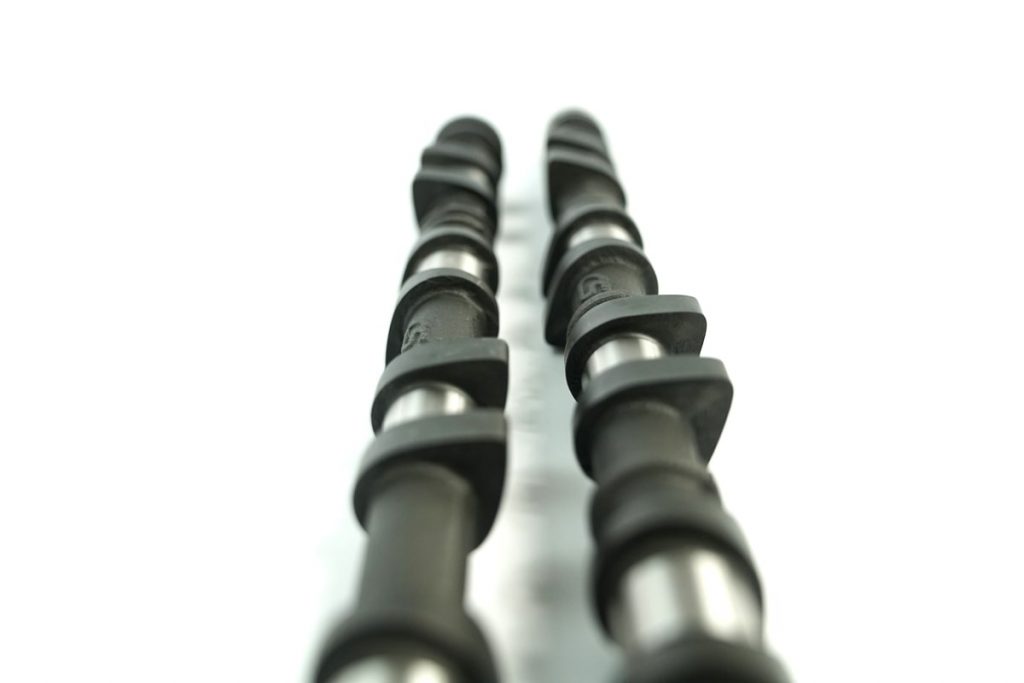
That being said, if you’re already having a motor built, or you happen to be going inside your motor, its not a bad idea at all to toss these cams in. They will only help you, and if anything, help your car to not need to work so hard when you’re pushing its limits.

To top that off something like our CorkSport Throttle Body has been proven to make more horsepower and flow 33% more CFM than the OEM unit. Up until recently, no other throttle body has been a viable option due to drivability issues. But CS now offers a drop in plug and play unit that doesn’t come with the problems and utilizes OEM ECU logic to function. Modifications like the throttle body are the awesome little bonuses you can do to help the car hit that 500 Whp mark even easier.
Let’s Recap
So, to cover everything that we’ve learned:
This is what we recommend to achieve 500 WHP
1. Built Motor with upgraded Cam Shafts
2. Auxiliary Fueling
3. Full Bolt-Ons, CS Throttle Body recommended.
4. CST5 Turbocharger
5. Manifolds
We hope you enjoyed reading this blog, and now have a better understanding of the details that go into making 500 whp. Next, we will be reviewing the in’s and out’s of 600 whp!