Brett’s Build Part 4

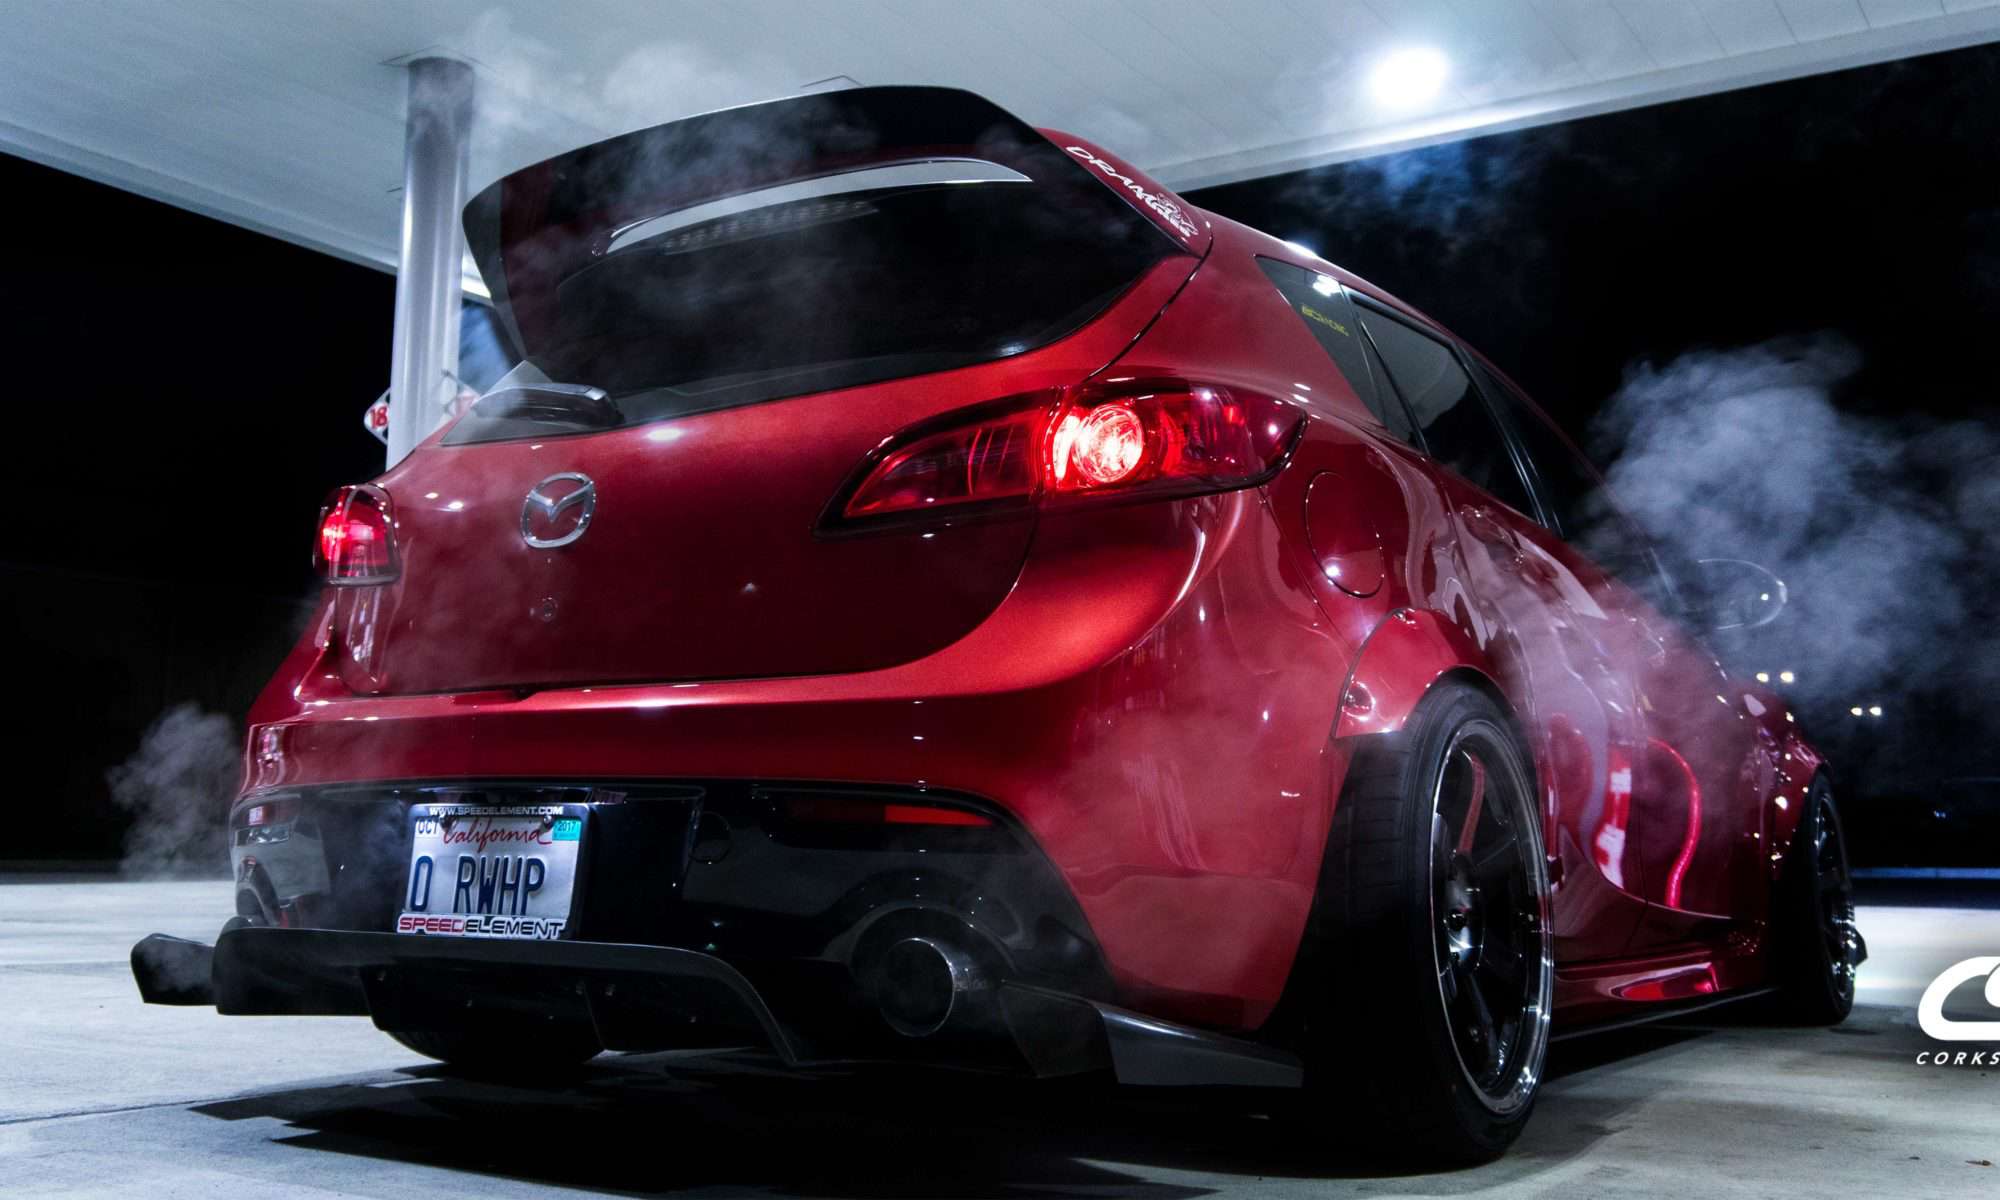
“Hey Bro, what flares are those?” A common question asked, not that I blame anyone for their curiosity.

This is a very niche platform in the grand scheme of things. So we don’t really get lots of options when it comes to widebodies or flares etc. Those of us who have been crazy enough to chop into our ¼ panels had to trust what we think will look good, cross our fingers, and just send it. Some of us get lucky, some of us don’t. I wasn’t in it alone though, I had help from a few friends, and some inspiration. So, here’s the story on how I flared my Mazdaspeed 3.

My good friend Brian over at BMSPEC has a well-known Mazda 3, named “Circuit Heart” Which just recently has gone into retirement. He was one of the first to ever put flares on the Gen 2 Mazda 3 body, and for years I said I wanted that look. When He decided to let go of his old Volks, I had the opportunity to take possession. With his direction, I ordered fair lady Z flares from that were originally meant for a 240Z.  
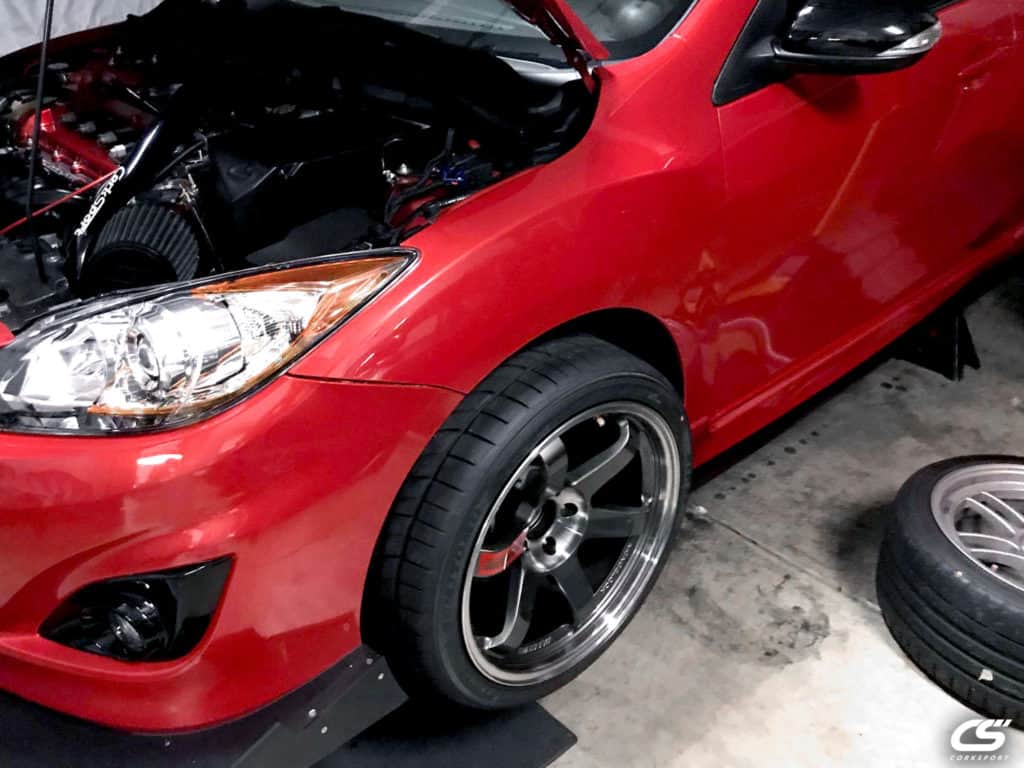
I asked my local Nator Buddy Aaron Maves if he was down to help me chop up my Mazda and lend me a spot in his garage. Ironically enough, he was a stoked to be a part of the project, probably more than me. Once my flares came in, I got them dropped off at the body shop to be paint matched and started hashing out a plan. Since I work all day long, and flares are a rather tedious process this was going to be a strictly after work job and it ended up taking quite some time to get done. But the wait, blood, sweat, and tears were worth it.

Here is a little step by step process we took to get it done. If you are looking to ever do this to your Mazda, it may either motivate you or deter you away.


Step 1. – Test Fitting
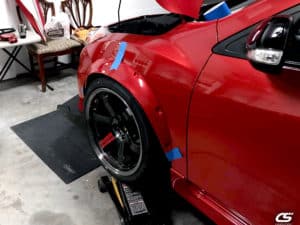
This part is very critical, and one of the most difficult. You have to Mock up the flare to be as perfect as possible. Usually, since the flares we try to use on our Mazda’s, they don’t exactly want to line up where we want, and we need to motivate them a bit to do so.  Painters’ tape by itself will not be enough to hold it where you need. The way I got around this is by using 3M Double Sided VHB tape on the back of where the bolts will go, paired with the painter’s tape. Since these flares weren’t made for this Mazdaspeed3,  I started out on my front driver side fender.  Once I got it where I knew I wanted it, I opened up pandora’s box. I drilled my pilot holes into the fender, no going back now. That’s not even the worst part, because now I had to make all 4 corners symmetrical (No pressure or anything).

Matching every corner is not an easy task, and also something that is often messed up. All I can say is triple check everything, and then do it again. We had to find reference points on the Speed3 itself to measure from. The ground below could be slightly inconsistent. Not only because the floor may not be perfectly level, but because the floor jacks may be slightly different as well. Choose about 4 points to measure from so you can get an accurate X/Y axis measurement to link to the other side. You’ll want the fronts to be identical, and the rears to be identical.


Step 2 – Rivnuts
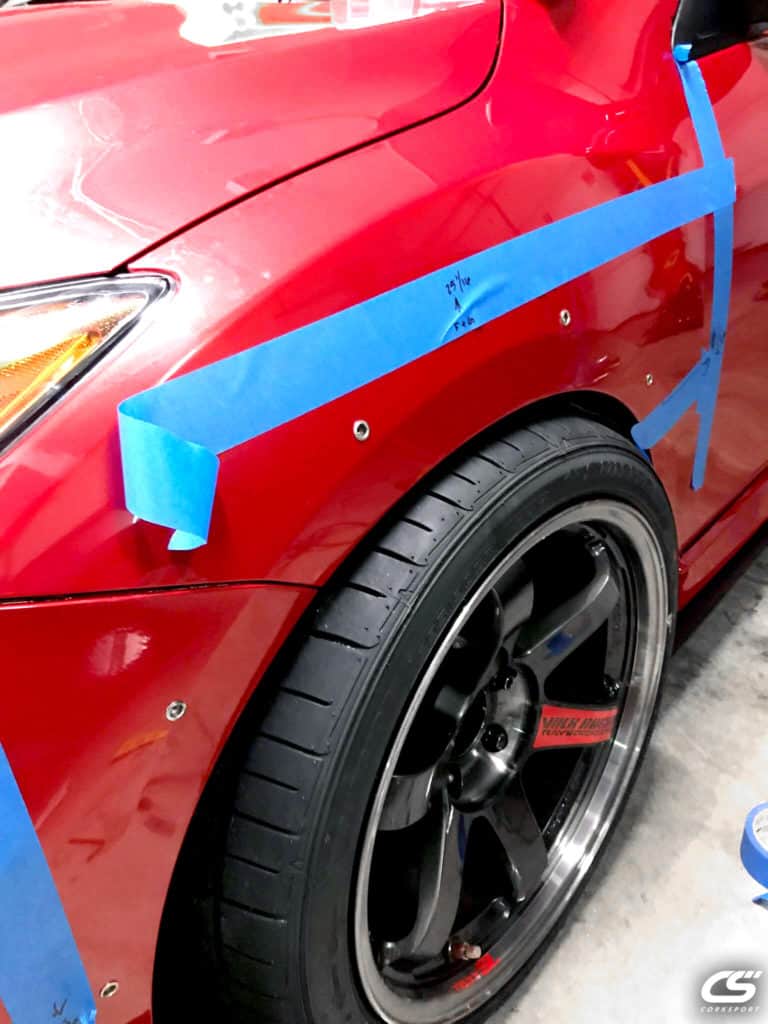
 

Now that we have drilled pilot holes in all 4 corners. We opened them up enough to accept the riv-nuts. This will be the threaded inserts that allow you to bolt the flare to the Mazda. We had to open the hole up slowly, stepping up the size of the bit each pass. Doing this prevents the thin metal from fraying and making sharp edges around the hole. You want the riv-nut to sit as flush as possible, so the flare sits close to the body.

In this particular case, I used ¼ – 20 sized bolts, so I opened op the flare with a ¼ hole and bolted the flare on for a final fitment check.


Step 3 – Cutting
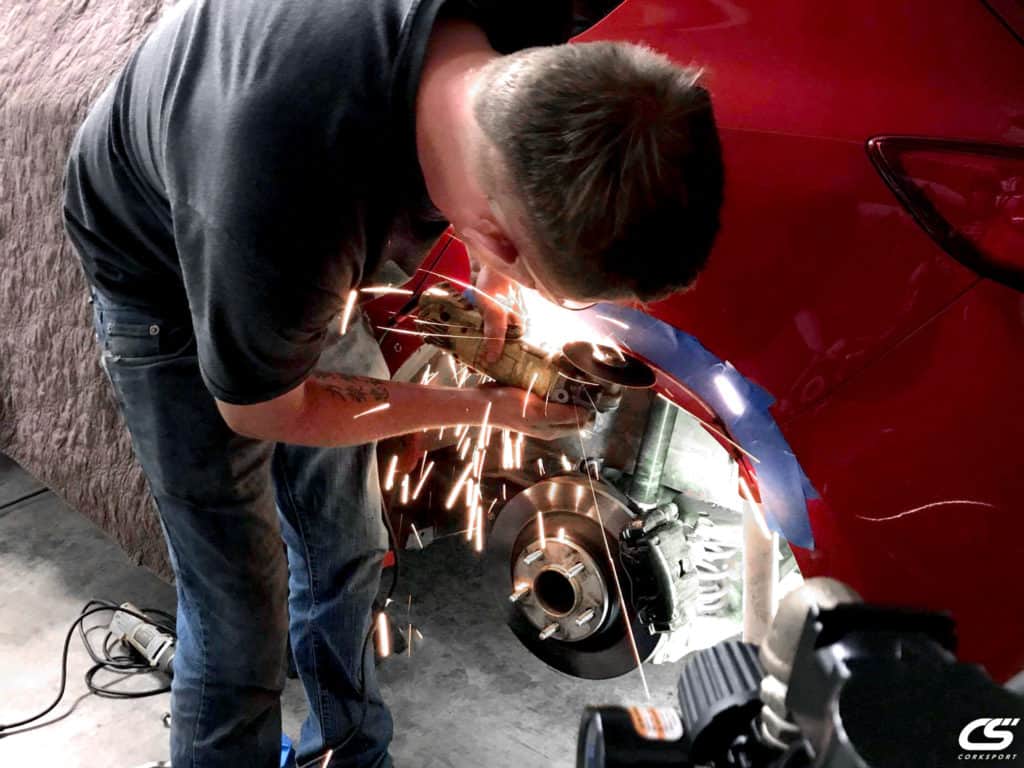
The most intense part of the process now begins. My buddy Devin Sorter who is a fabricator/welder came through to help with this. He’s very skilled with a cut off wheel, and I knew I could trust him to make some solid cuts that are symmetrical and clean.

With the flares mounted up, we drew the line for the cuts. Remember you not only have to give yourself enough clearance for the bumps on top, but for steering in the front as well. During this process, part of the bumper clip will have to be removed as well. This isn’t a problem though since the flare itself acts as a support and keeps the bumper from sagging, even with the splitter on the front.


Step 4 – Sealing the rear ¼ Panels
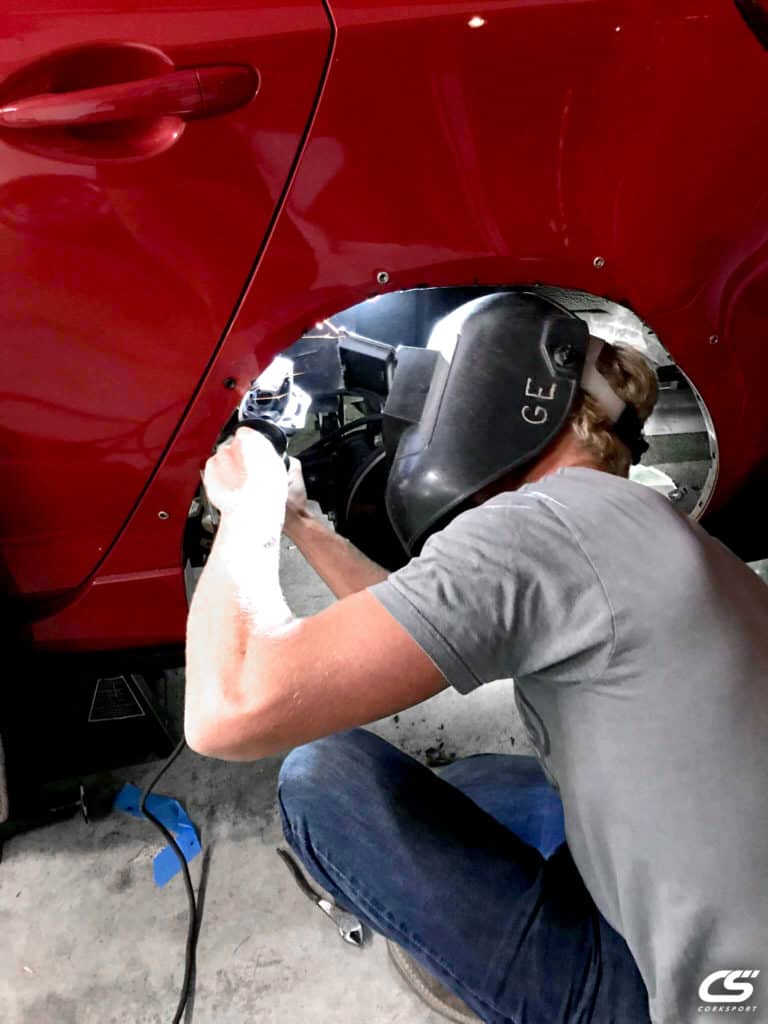
Since the ¼ panels in the back aren’t just 1 layer like the front, when you cut into them there is now a gap between the layers that are left open. Even though my Mazdaspeed isn’t driven in the rain, it still leaves the car open and vulnerable to getting moisture in there and eventually causing corrosion. To prevent this, you need to stitch weld the panels together and then reseal it. Once the welding was complete, we used silicone to seal it all in and protect it from the elements. We also put some weather stripping on after the fact to prevent any harsh rubbing on the wheel in case the Mazda bottomed out or the tire somehow traveled up high enough.

At this point, the Mazdaspeed3 was done, and I bolted on the flares. The gasket you use between the flare and the body is up to you, there are lots of options out there.


Thanks for checking this out and stay tuned for part 5!

Stay up-to-date on the latest news and product updates from CorkSport.

* indicates required

The Ultimate Mazda Performance Guide

A few years ago, CorkSport’s resident racecar driver – Derrick Ambrose – released a book titled The Ultimate Mazda Performance Guide.

The wildly popular book provides beginner and intermediate Mazda/Mazdaspeed owners a solid guide that outlines how, why and when to modify their ride.  Now that the platform is a little older, these second-hand models are more attainable for first-time car buyers and Mazdaspeed Owners specifically are hungry to transform their ride into a +400 WHP BEAST!

With so many new enthusiasts joining the Mazdaspeed platform, we have been flooded with inquisitive calls and see an increasing number of new owners post up questions about turbos,  High Pressure Fuel Pump Internals, axle back vs cat back vs turbo back exhausts, and what can I do to make 400 WHP or even 600 WHP?

Many of these new Mazda enthusiasts are joining CorkSport’s premier 7th Gear Membership to take advantage of the free swag package, free shipping in the lower 48 states and immense benefits from the troll free and exclusive 7th Gear Facebook Group – Where beginners can ask questions without getting clobbered!

So, whether you’re just starting out with a new to you Mazdaspeed3 or Mazdaspeed6, or you’ve hit the ground running with a new MX-5, Mazda3 or Mazda6 (turbo diesel!?). Our Mazda performance Guide will help answer some basic questions as well as set you on your path to get the most out of your ride.

Previous Interview with Derrick:

CorkSport: What made you decide to write a book about Mazda Performance and why?

Derrick: I really just wanted to give some of the new Mazda enthusiasts some of the knowledge that I have gained about Mazda’s from my involvement with them since the mid 90’s. Many people are just now buying their first Mazdaspeed and don’t really know where to begin. I wanted to help ease them into what they really need to know. It can be quite scary for some to jump into modifying or go into the forums or Facebook groups and not know anything.

CorkSport: We know all about the forums and responses to Newbs on Facebook haha.

Derrick: Exactly, the purpose of the book was to help give people a path and empower them with information that may take a lot of years or a lot of searching to find. I didn’t want it to just be about selling CorkSport parts, we actually mention, and feature, many non-CorkSport parts in the book. That being said, I’m very proud of CorkSport and what we have done to help the Mazda community.

CorkSport: So who is this book really for?

Derrick: I wrote this guide for the beginner to the intermediate Mazda enthusiast that really wants to learn more and really get the most bang for their buck. I wanted to answer some of the most common questions I’ve seen on the forums and in person about aftermarket performance and where to start. If you have changed your turbo or are cross-weighing your coil-overs, you are probably past this book in terms of technical ability. I did, however, include many sources for additional information, contacts and even a brief history of Mazda itself; which is a topic I may even write another book on for the true Mazda fanatic.

CorkSport: I see, what do you think was the most challenging thing about creating a book?

Derrick: Everything, (laughs). When you have no idea what you’re doing as an ‘author’, it takes a LOT more time than you could ever imagine. I was lucky to have a lot of help from some truly amazing people and am very grateful to all of them. Writing a book is a much bigger endeavor than I would have every thought, but having an actual piece of history afterward is truly a special moment. Having that glossy cover in my hands, seeing the ISBN on the back and knowing that I will be in the Library of Congress forever is just an amazing feeling. It’s weird how just making a book can make you feel patriotic, but it really did.

CorkSport: Well hopefully we can talk you into signing a few for us and we look forward to helping to make the next one. Thanks for letting us get a little more insight into this great addition to the Mazdaspeed community.

Derrick: Thanks, I hope everyone enjoys it as much as I did making it. If just one person gets the mod bug I did when I was younger because of this book then I will be happy.

All About That CatBack Exhaust

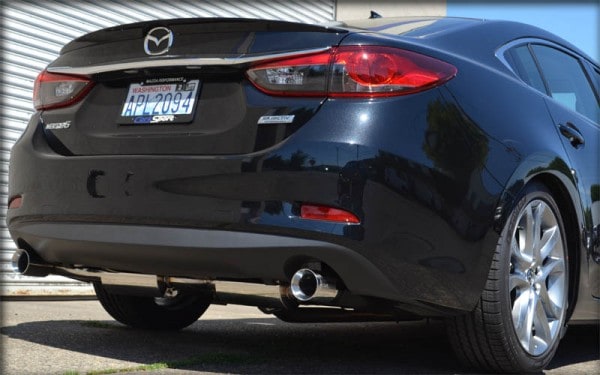
Mazda Catback Exhaust Installed

Ever wonder about the key factors of making a decision about your aftermarket exhaust? Why Cat-back? 

Is it the diameter of the exhaust that says performance? Or is it the type of metal used? What about fitment to your current setup? None of these questions alone answer what you need when making the decision on how to get more power out of your Mazda. Why the CorkSport Cat Back is the choice for your Mazda.

Mazda Cat Back Exhaust

At CorkSport, we have made it our #1 priority to make our customer’s dreams a reality. Whether you drive a Mazdaspeed or a regular Mazda, we’ve made sure to engineer a great fitting exhaust that maximizes engine performance.

Check out the Cat-Back Exhausts by Car Model Below:

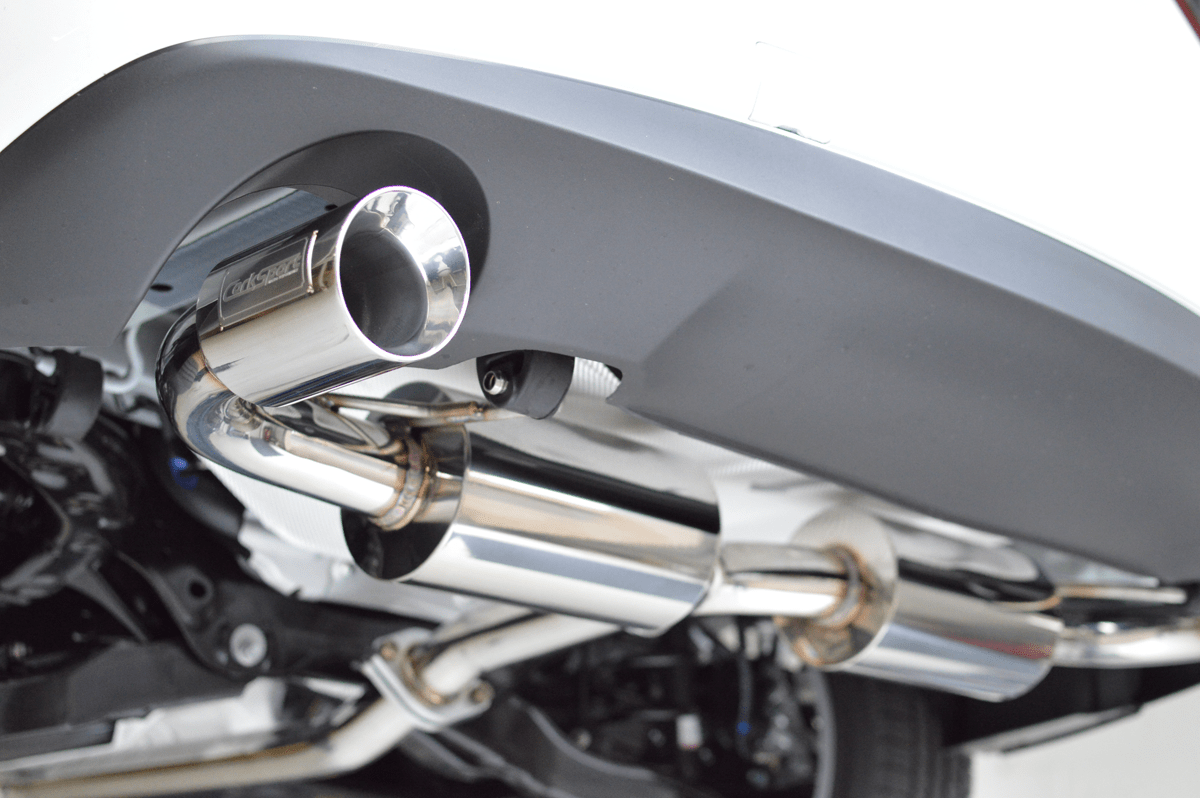
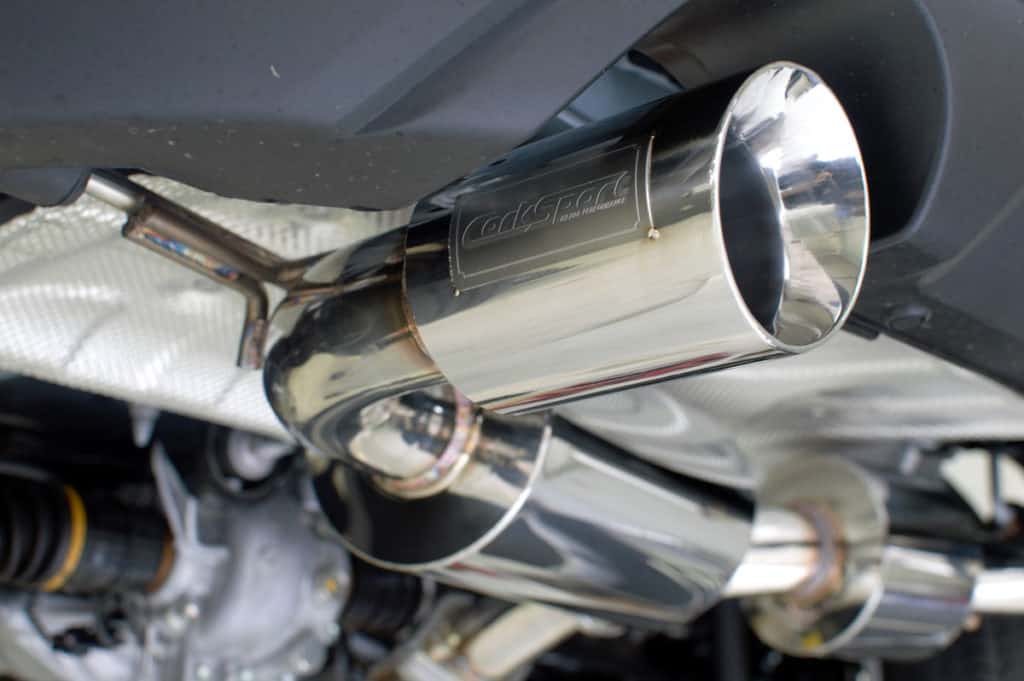
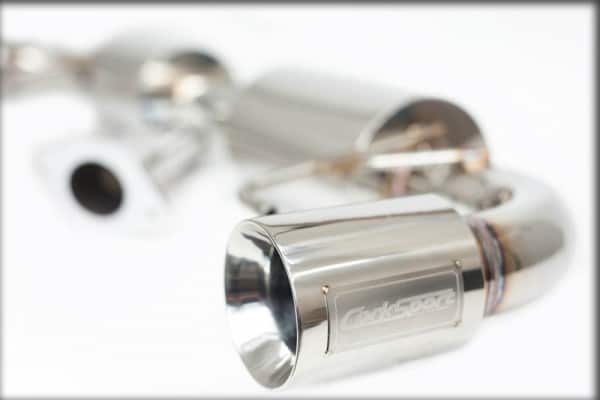
Take the Mazdaspeed 3 for example: When you purchase a CorkSport Catback Exhaust, you’re getting T304 stainless steel piping that has been polished to a mirror-like finish.

Mazda Cat Back Exhaust by CorkSport

You’re also getting true 80mm piping, which is slightly bigger than three inches, making our exhaust one of the biggest bolt-on catback systems.

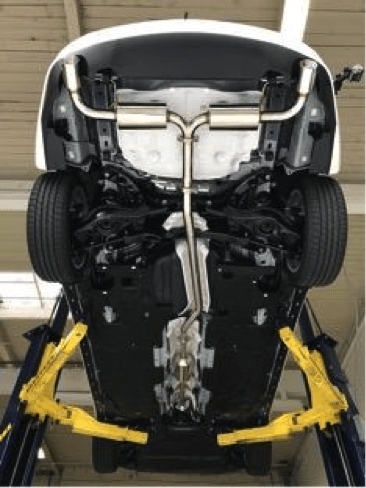
Fitment is also a big concern to us. We make sure our exhaust systems are mandrel bent and TIG welded to make a perfect bolt-on fitment.

Mazda 6 Power Series Cat Back Exhaust

Now that you know our exhaust is 80mm piping, polished to perfection, and made to be a direct fitment, you can bet this exhaust will increase performance and sound. By installing our cat-back exhaust, you’re removing the secondary unmonitored catalyst making the exhaust flow much faster out of the motor. By increasing the velocity of exhaust gases out of the motor, you increase power and make your turbo spool up a little bit faster.

Mazda 6 Cat Back Exhaust

Among the power gains you’ll see from installing the CorkSport Catback Exhaust, you’ll also enjoy the deep growl your Mazda now possesses. Our exhaust has one of the best-sounding tones on the market. With a quality made exhaust, comes quality sound.

When find yourself ready for a cat-back exhaust, be sure to check out CorkSport to ensure you get the highest quality for your ride.

Drag Racing: Just Like the First Time

Ask any of my friends or coworkers and they will quickly tell you “Barett Loves Curves!”

 I’ve always been the first guy to dive into the corner, hit the apex and power out with just a touch of wheel spin.  My car follows suit with its build; upgraded sway bars, big brake kit up front and the steering wheel to hold it all together.  Of course, my friends were always there with the peer pressure to hit 1320Luke McCarvel being the biggest offender (check out his “Drag Strip Checklist”).   However, one day my opinion changed.  

At some point I realized that I can’t knock it until I try it, so I finally succumbed to the straight line life.

So let’s go through the first line up:  Do a burnout…that was much easier than I expected.  

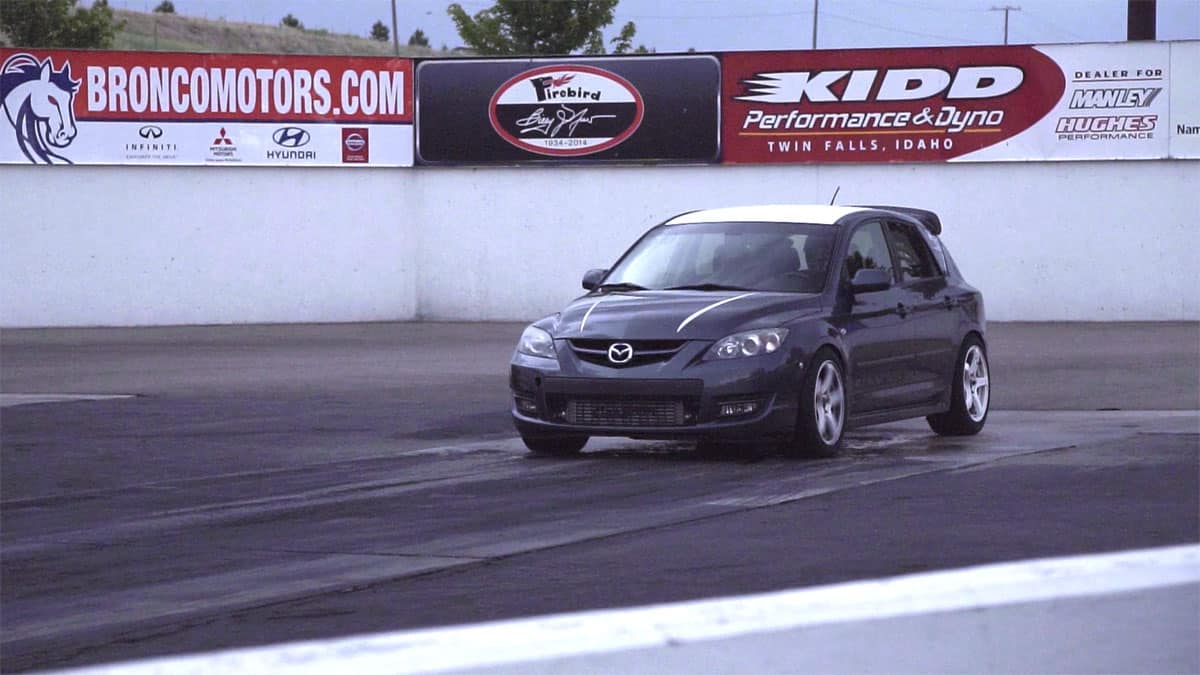
Ok now roll up to the staging line…don’t be that guy that rolls through and has to back up.  Knuckles white on the steering wheel, heart beating in rhythm with the launch control, closely watching the tree light up…GREEN LIGHT!  Launch…wheel spin to redline. Shift…wheel spin to redline. Shift…try to modulate the throttle, but still tons of wheel spin. Shift…finally the car hooks, builds speed then it’s over in the blink of an eye.  

All that build up waiting in line, doing the burnout, staging, launching and rowing the gears for a few seconds of intense adrenaline.  It was an absolute blast; I couldn’t believe how intoxicating just a single pass was. I wanted more and I wanted it immediately. Back in line, I went.  

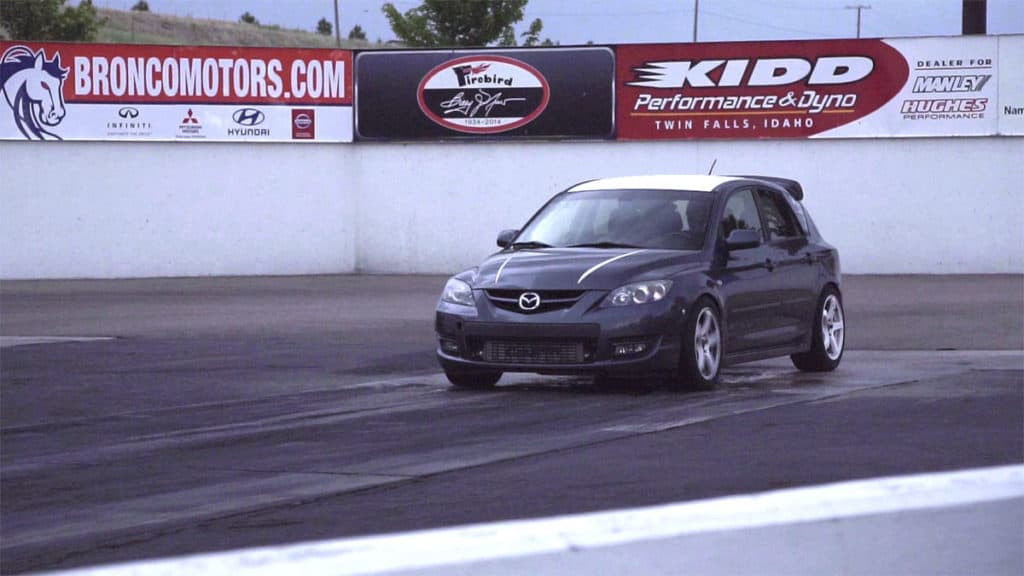
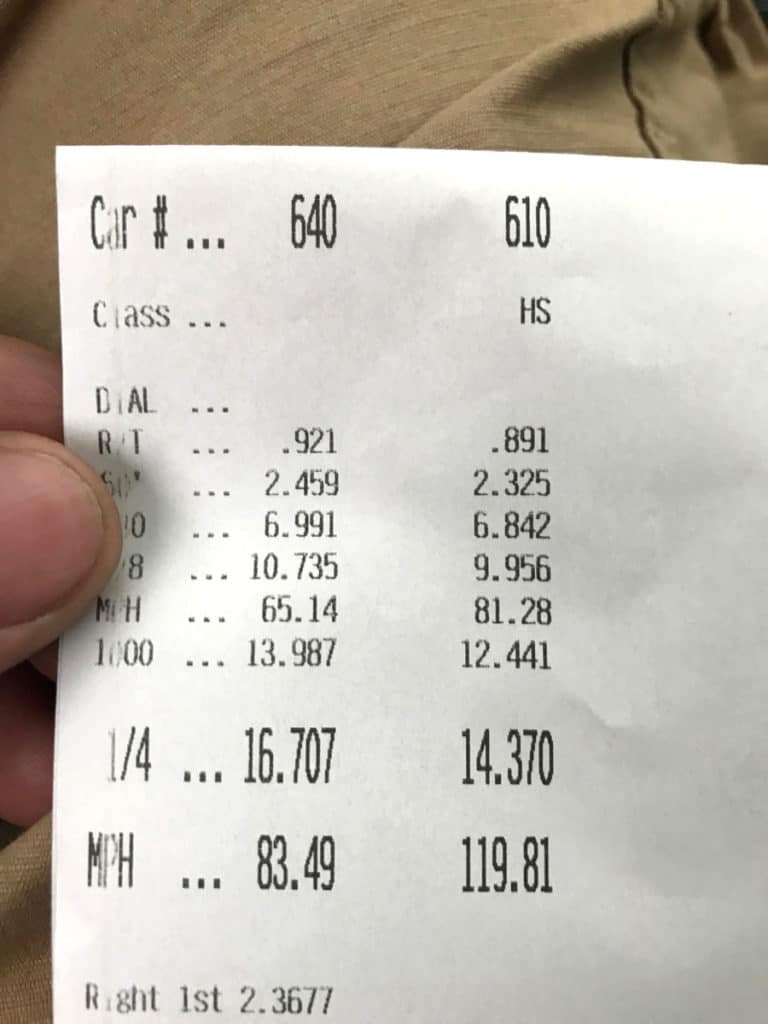
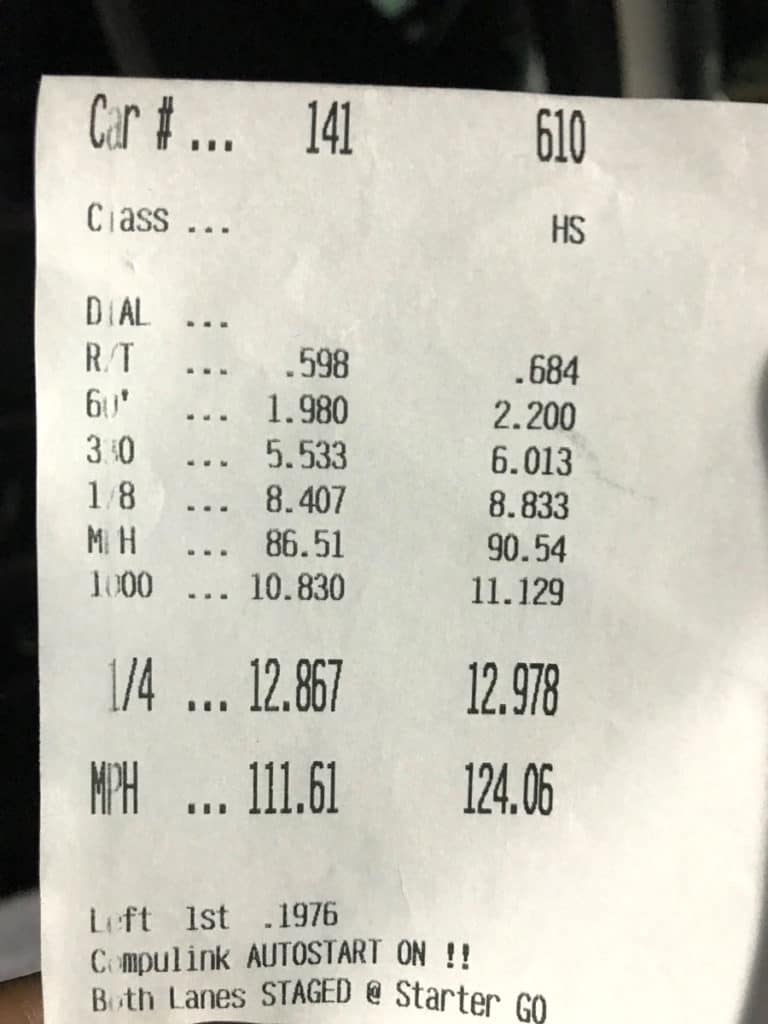
My first pass was an awkward 14.37sec @ 119.8mph.  I say awkward because that is a slow ET for the trap speed.  It shows just how much tire spin I was fighting and how much time I was giving up because of it.  With full interior and street tires this was to be expected, however, the crowd thought it was quite funny either way.  

I proceeded to make 3 more passes as the night progressed.  Each time making a small change to the car or to my approach and control of the launch and throttle modulation.   Each pass rewarded me with a small improvement for my efforts. Each pass down the strip left me wanting more from the next pass.

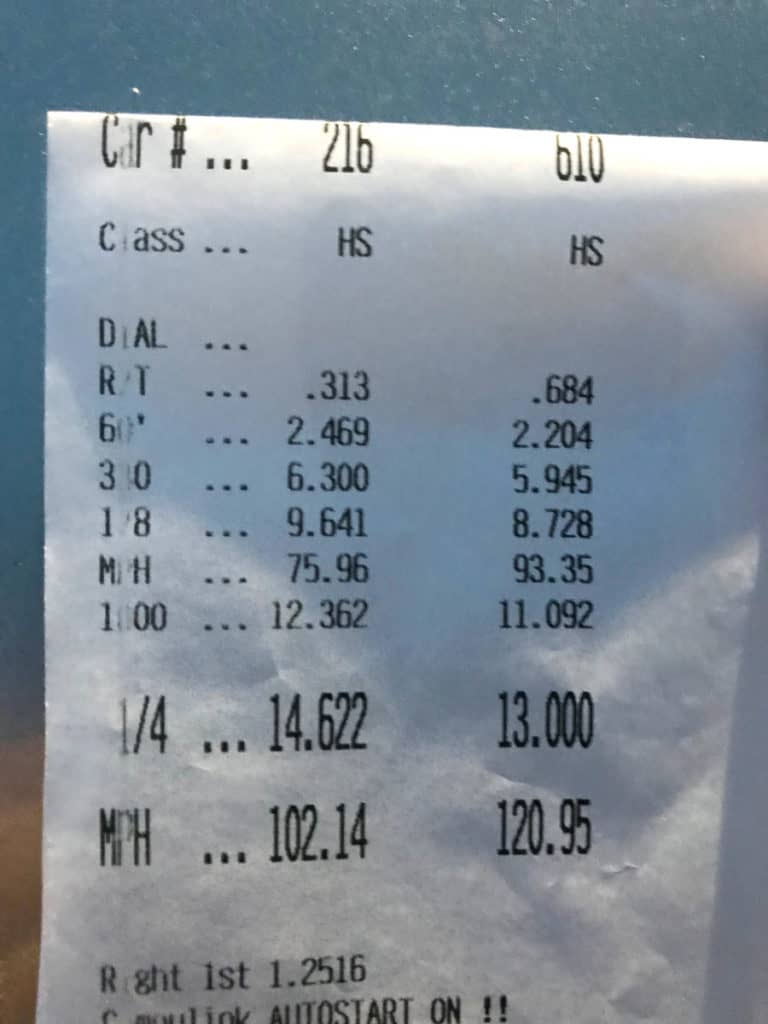
The third pass was the most frustrating of them all.  At the start of the night, I set a personal goal to break into the 12s.  I didn’t know if it was realistic or a complete dream, but I had to start somewhere.  That third pass was also the one that drove me to get my shit together because it teased me with a 13.000sec @ 120.95mph.  So Close!

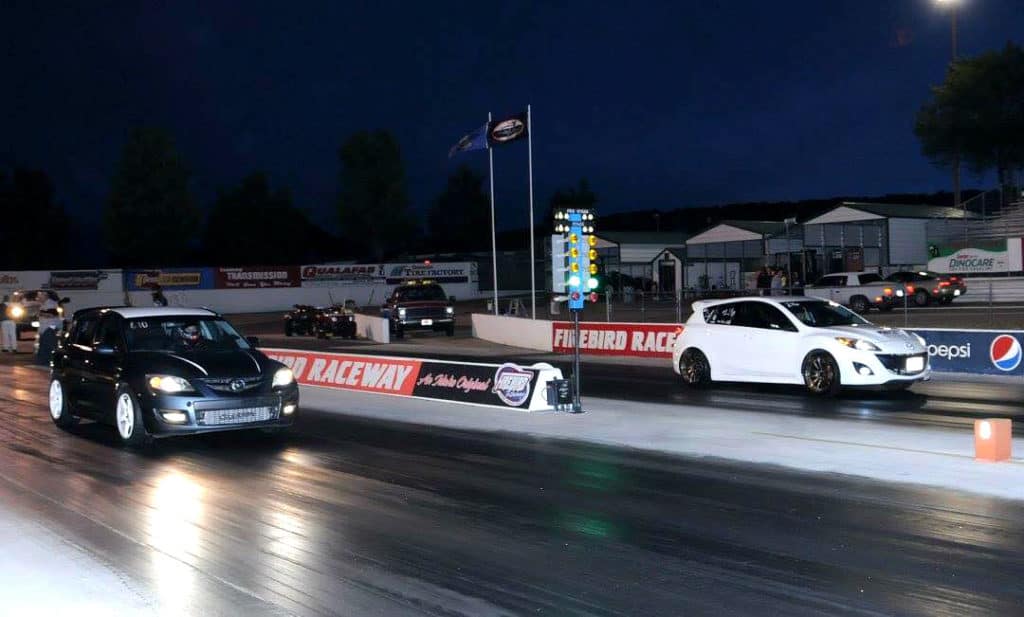
Alright one more pass, this was the one I could feel it.  30 minutes later I’m staring at the burnout box, line up drop 2nd and get the tires nice and hot.  Pull up to staging next to a real crowd killer (I mean Mustang).  

Yellow… yellow…yellow…….GREEN LIGHT!

Launch…little wheel spin to redline.  

Shift…little more wheel spin to redline.  Shift…modulate the throttle with only a tiny bit of wheel spin.  Shift…now the car really hooks but I’m a few lengths behind that Musta…oh shit there’s the turbo…I’m reeling him in…it’s so closeI fly past him with the rev limiter dancing.

 It’s over…deep breath…that was it I know it.

Now the quick jaunt to the end of the strip then back to the little building and the old guy that’s been racing since flatheads were a thing.  

“Car 610?”

“Yes Sir”

“Here’s your slip.  Is that a Maaazda?”

YES! Hit my goal for the night and the car can still drive me home.  I call that a success.

I parked my car, picked up my 120+mph club sticker and enjoyed the rest of the night with my good friends from Idaho Mazda Takeover.  It was a great night and one I plan to top in the near future.

Anybody have some stock brakes and drag slicks I can borrow?


-BS @ CS

Working on the Driver

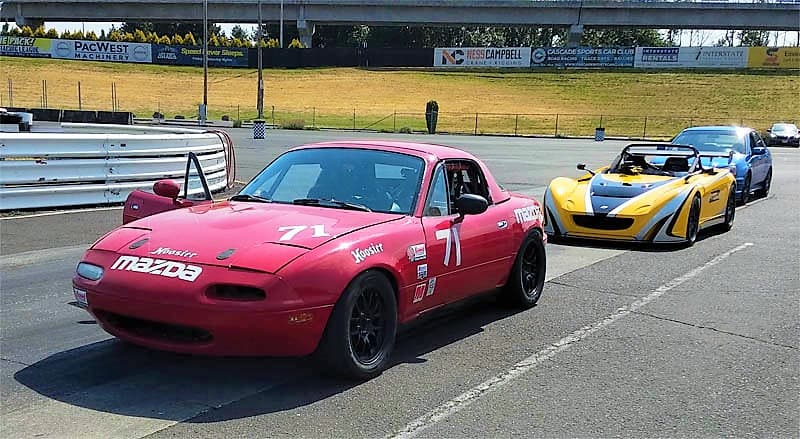
I have been racing Mazdas on the track in wheel-to-wheel competition since 2013 and I have learned quite a bit.

I am nowhere near being the best driver. I have good moments and plenty of “WTF Derrick” things which happen on the track which are masked by good car control.

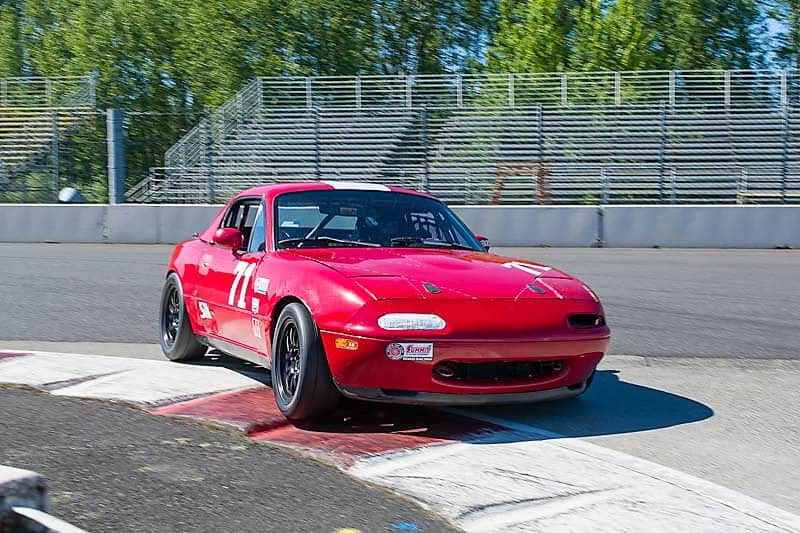
2 years ago I bought a Spec Miata (SM). Locally the number of B-Spec and Touring 4 classes are smaller.  This is not great for me, as I find my racecraft suffers when I get too big events where there are more than 5 cars and the racing is close.  I can always fight my way to 2nd or 3rd place but the top step has been elusive.  Don’t get me wrong, I can go to events where there are other T4 cars (they are not unicorns) but the travel cost, time away from CorkSport, and fuel gets pricey really quick when constantly towing to southern California.

I took the SM out a few times last year and found I was way off the pace I needed to be to even get into the top 25% of a Ppec Miata field at any events.  The Northwest has a really strong group of SM racers who are more than happy to beat the illusion out of you that you can drive fast on the track.

This year I have been working on the car setup and updating the drive train to the best I can get for my car.  I worked with Haag Performance to get one of their SM 1.6 engines which have been winning races up and down the west coast. I have been also talking with Joe Jordan on car setup and general SM advice as he has gone down this road before with multiple SM drivers including Joey Jordan and Will Rodgers to get them to the top.

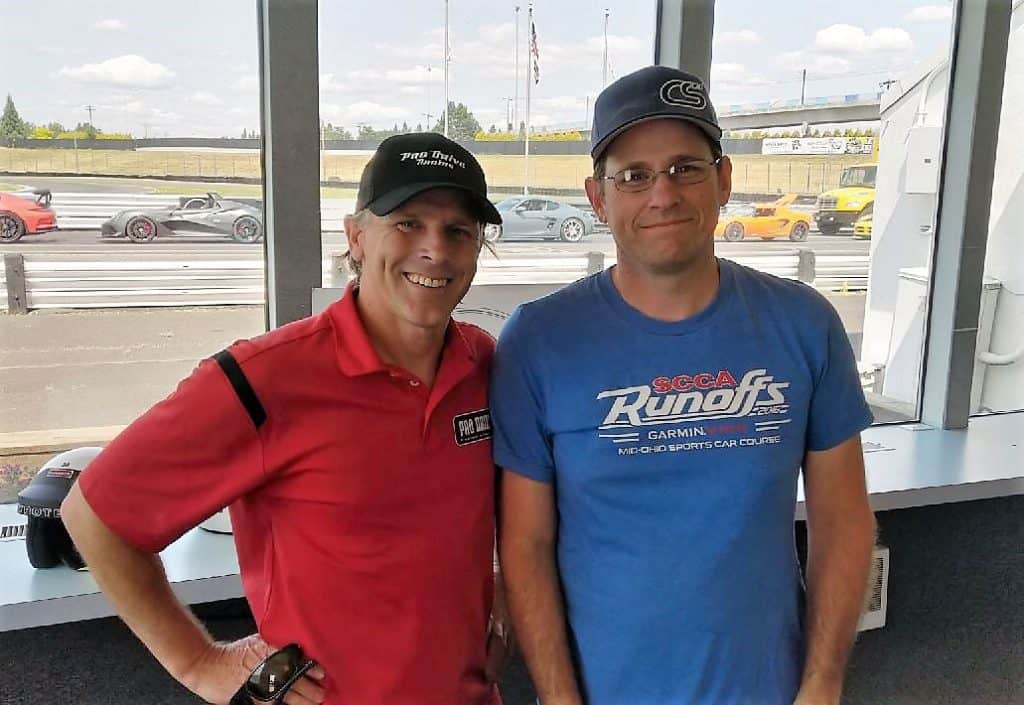
Before the season started I knew I wanted to get some top-level coaching so I looked locally at Pro Drive Racing which offers race school for SCCA certification and high-performance driving classes.  After few emails finding which event I should show up with my SM it was determined the June 5th high-performance school would be the best bet and I could get someone on one coaching with Todd Harris the head instructor.

I have struggled with the braking too much in the corners, as past instructors/coaches I have consistently mentioned this to me. I needed to overcome this if I was going to have a chance to match times with the top 25% of the field. With Todd strapped into the “Thrill Seat”, we hit the first session at speed so he could see how/what I doing and work on it.

This was a good news and bad news sort of ride.  He found my approach and driving style to corners works but it was not the fastest way through them – I was giving up cornering speed and to be able to get back to the throttle quicker. By simply backing up my braking zones I had more control in the corner which allowed me to stay committed to the throttle without having to modulate it after the steering wheel was turned.  This doesn’t seem like a huge thing but the feedback from the SM was drastically different. I was able to roll speed into the corners and carry a few more MPH. Heading onto a straightaway this is huge. I spent the rest of the day fine tuning the changes and making sure they stuck with me.

By the time this blog goes up, I will have raced again at the Oregon Region SCCA event at Portland Intl Raceway and found out how much the school improved my driving technique.  If I don’t screw it up too bad I should be able to take a second out of my lap times which in SM is HUGE! The weekend of June 29th I will be at Sonoma racing against 40 other SM drivers to really get a feel for where I am at skill level wise, I am prepared for this to be humbling, lol.

So, my advice to you, if you ever have a chance to take a driving school I really recommend it and specifically Pro Drive if you are in the Portland Oregon area.  They run a great program and you get one on one seat time with some of the best local drivers and instructors.

Look for future updates here at the CorkSport the blog on how it went.

-Derrick