Ever wondered how to connect with your local Mazda crews and clubs?
Or have you ever gotten connected and then lost your ride somehow? For some of us it’s a crash, others of us sell our beloved Mazda and aim at our next dream car, or heck, even the necessary minivan.
What happens then? Not only did you lose your favorite car, but seemingly you lost out on the community as well. Does it make sense to show up to your favorite meets if you no longer drive the “proper” vehicle?
When it comes to the Nator groups, the love is still there regardless of what your next ride.
According to Micha Fullen, this is exactly how it goes; and it’s about so much more than the cars themselves:
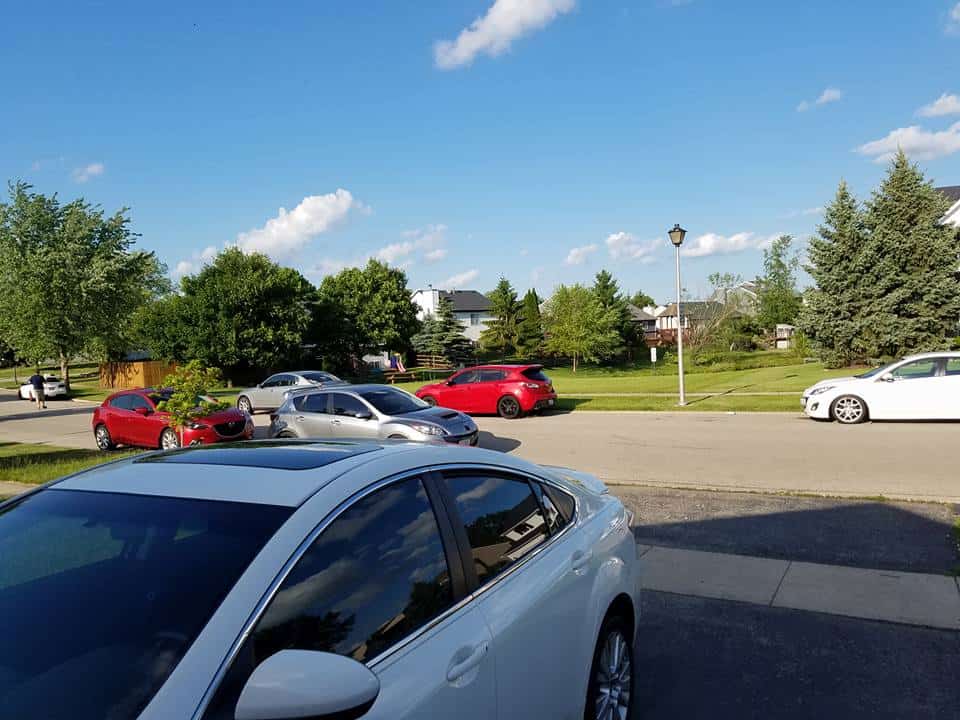
“While at the annual Midwest meet this year in St Louis Missouri, washing my hair in the shower I had a thought, “Micha, why do you still come to this event when you don’t even own a Mazdaspeed anymore?”
I told myself, that being a Mazdaspeed owner past, present or future, is like being in a family. Especially when you involve yourself in the community and clubs that are offered throughout the country. Me, I’m a Nator Guy.
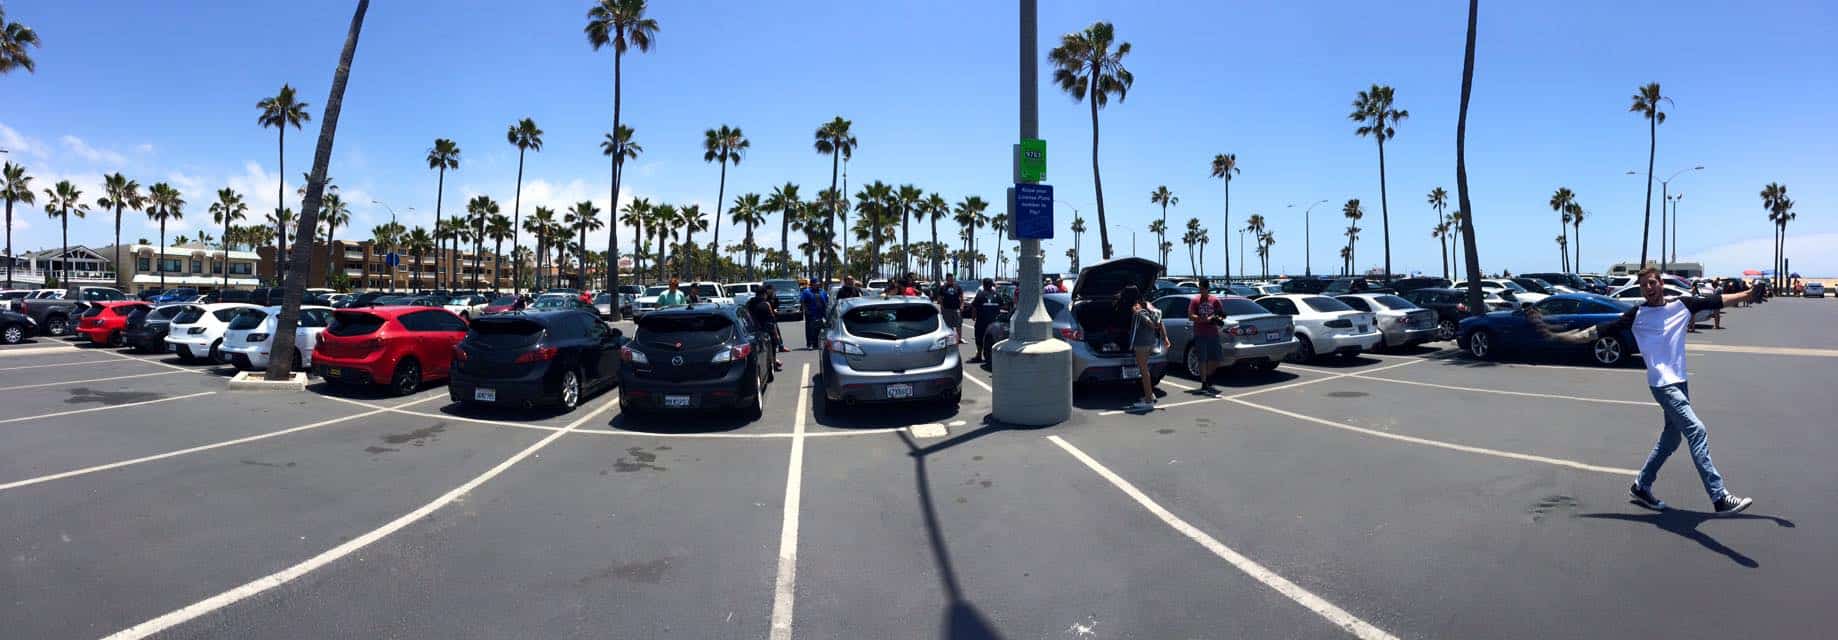
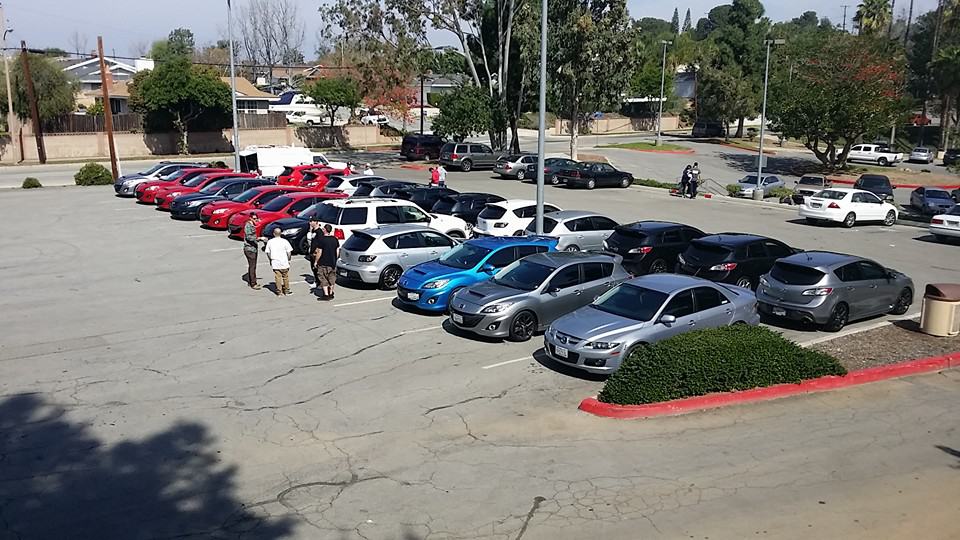
Year after year, we collectively travel thousands of miles to attend an event centered around vehicles that some of us don’t even own anymore. It’s crazy huh? Do the same thing, show up without owning the ‘correct’ Model Vehicle, at a VW or Honda meet and you get blacklisted and shunned.
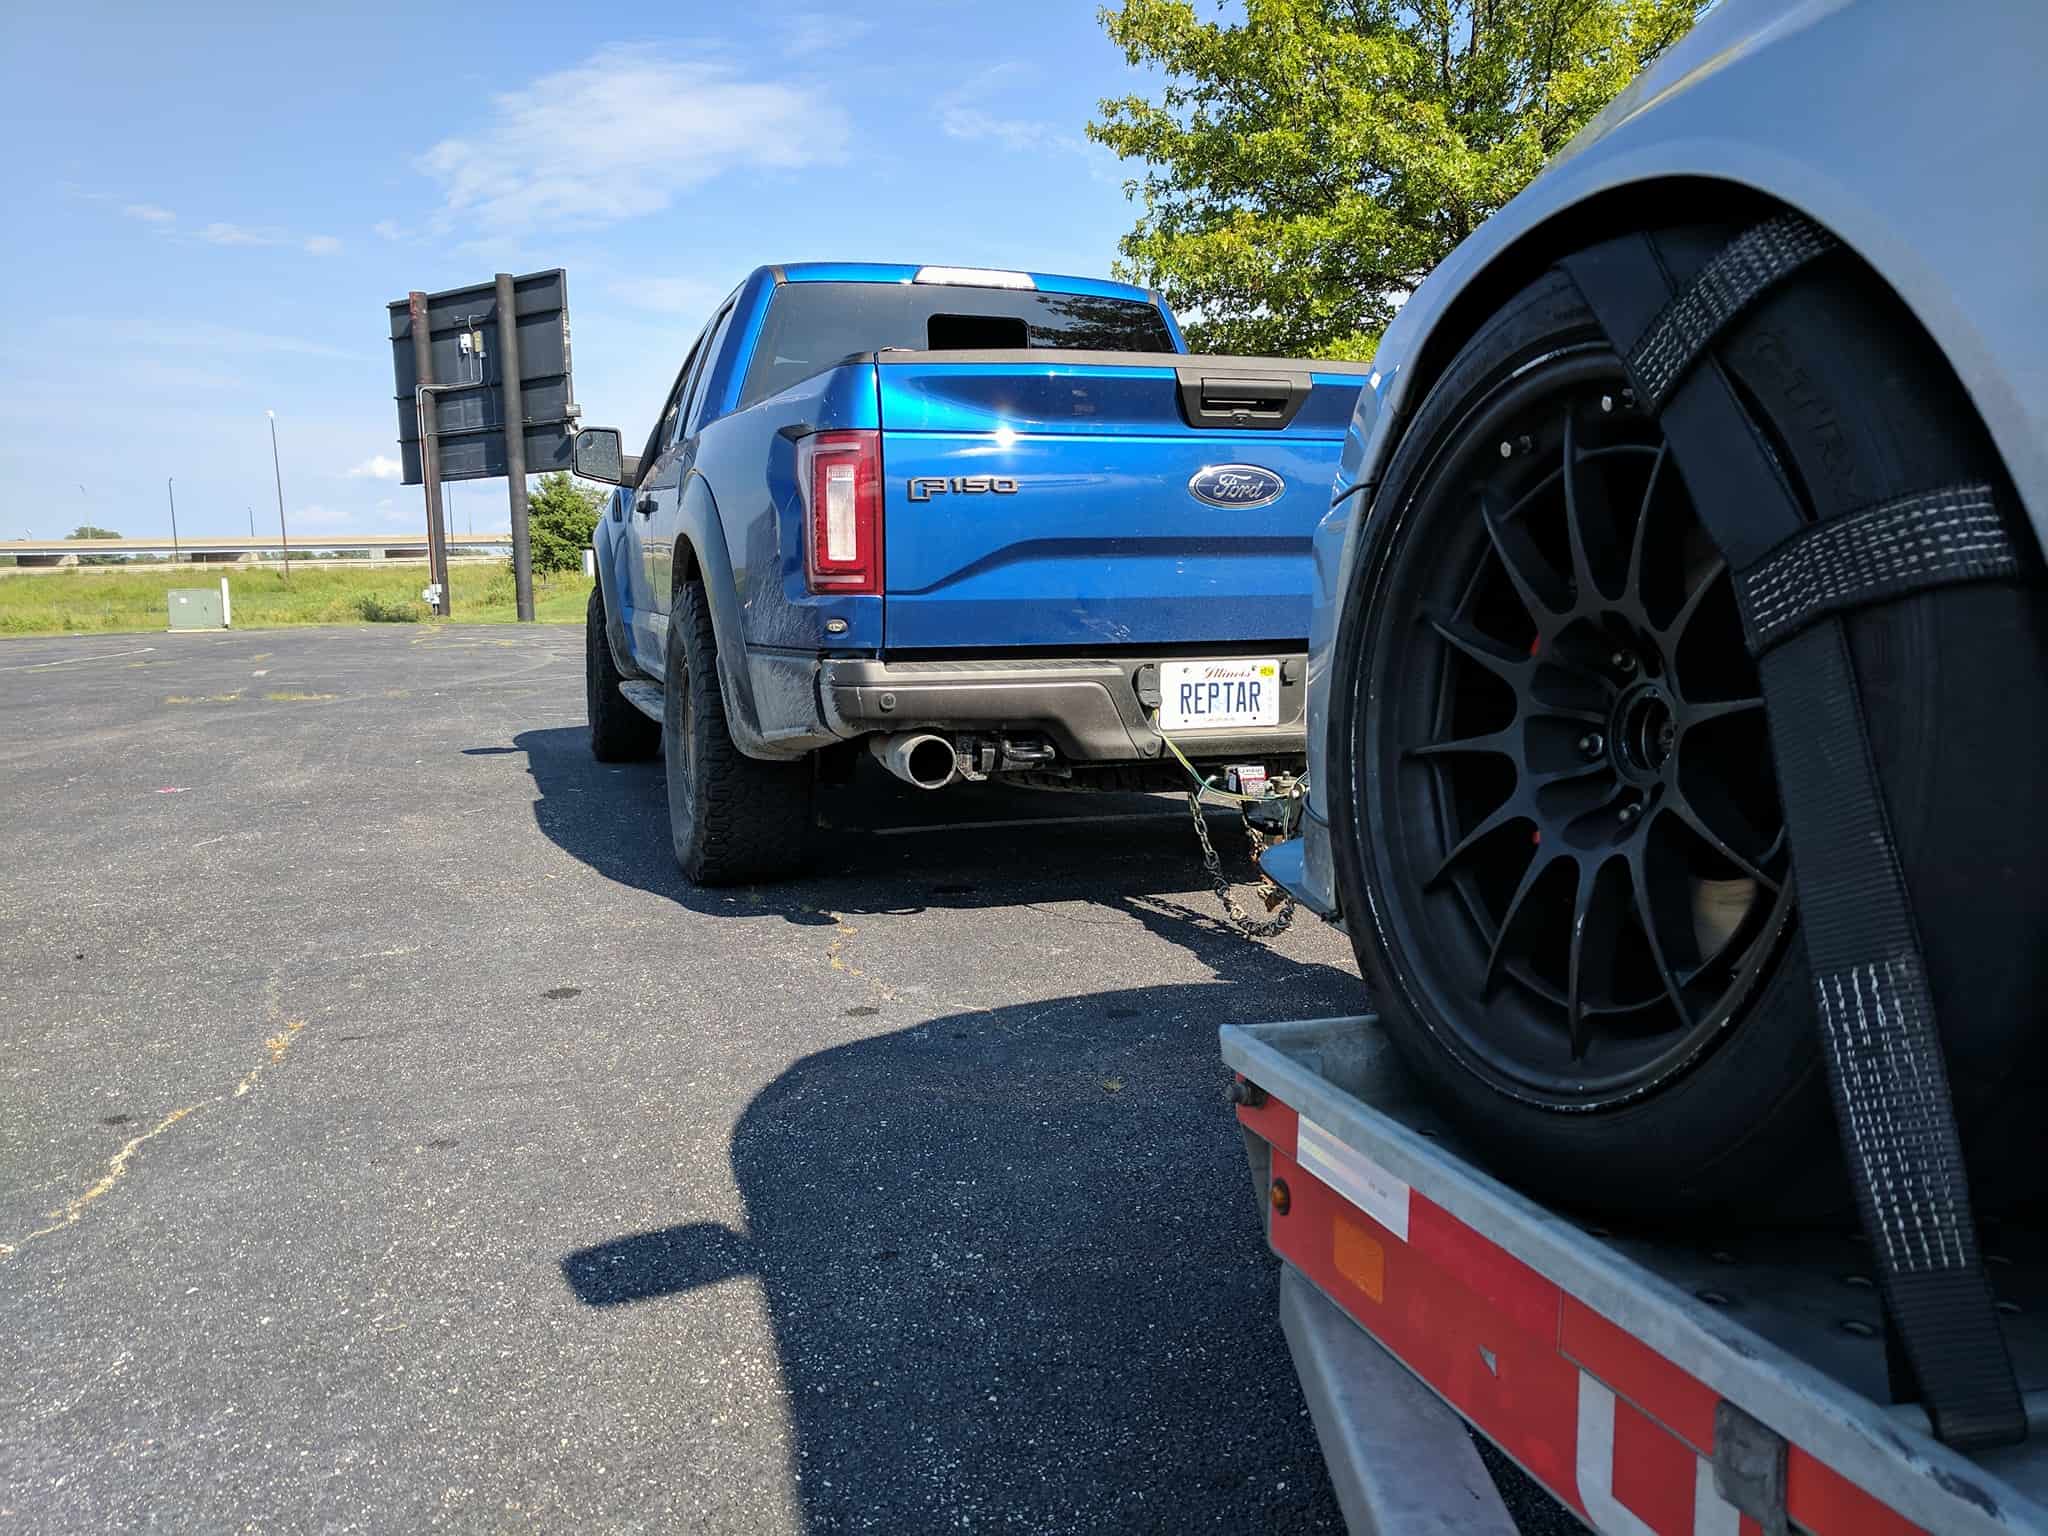
Mazdaspeed owners don’t kick you out, or tell you that you shouldn’t be there. We just call each other; funny, and sometimes very rude, names. Then ask to race your new vehicle on a track, dragstrip or parking lot. (More recently it’s been even helpful to all of them that I bought a truck… because we all know with spirited driving, and some showing off, something is bound to go wrong)
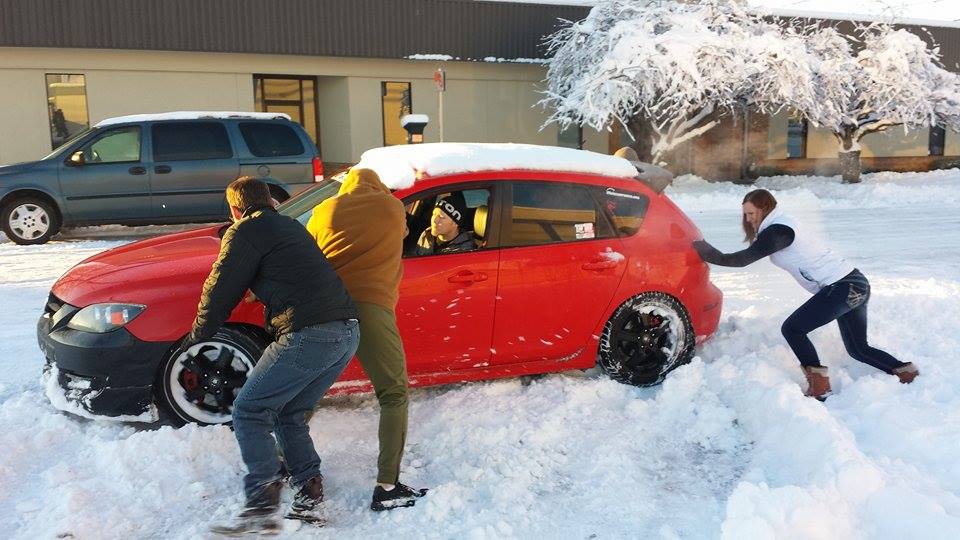
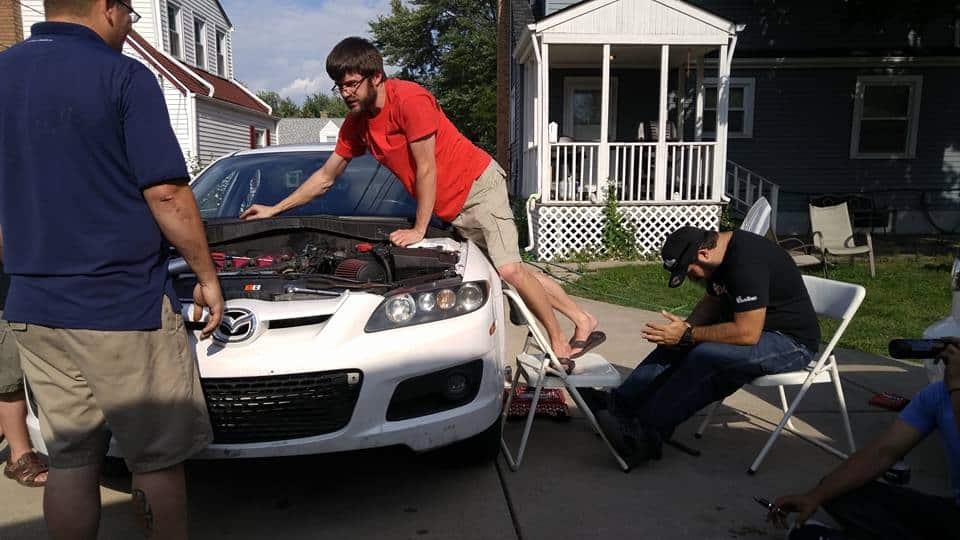
I am closer to my Mazdaspeed family than I am to my own. This has been true since I bought my Speed 3 Jun of 2011. I had some problems with my car(s) and my Mazdaspeed (Nator) family came to my aid. But when that same family had problems of their own, I drove many miles or sometimes across multiple states to help them.
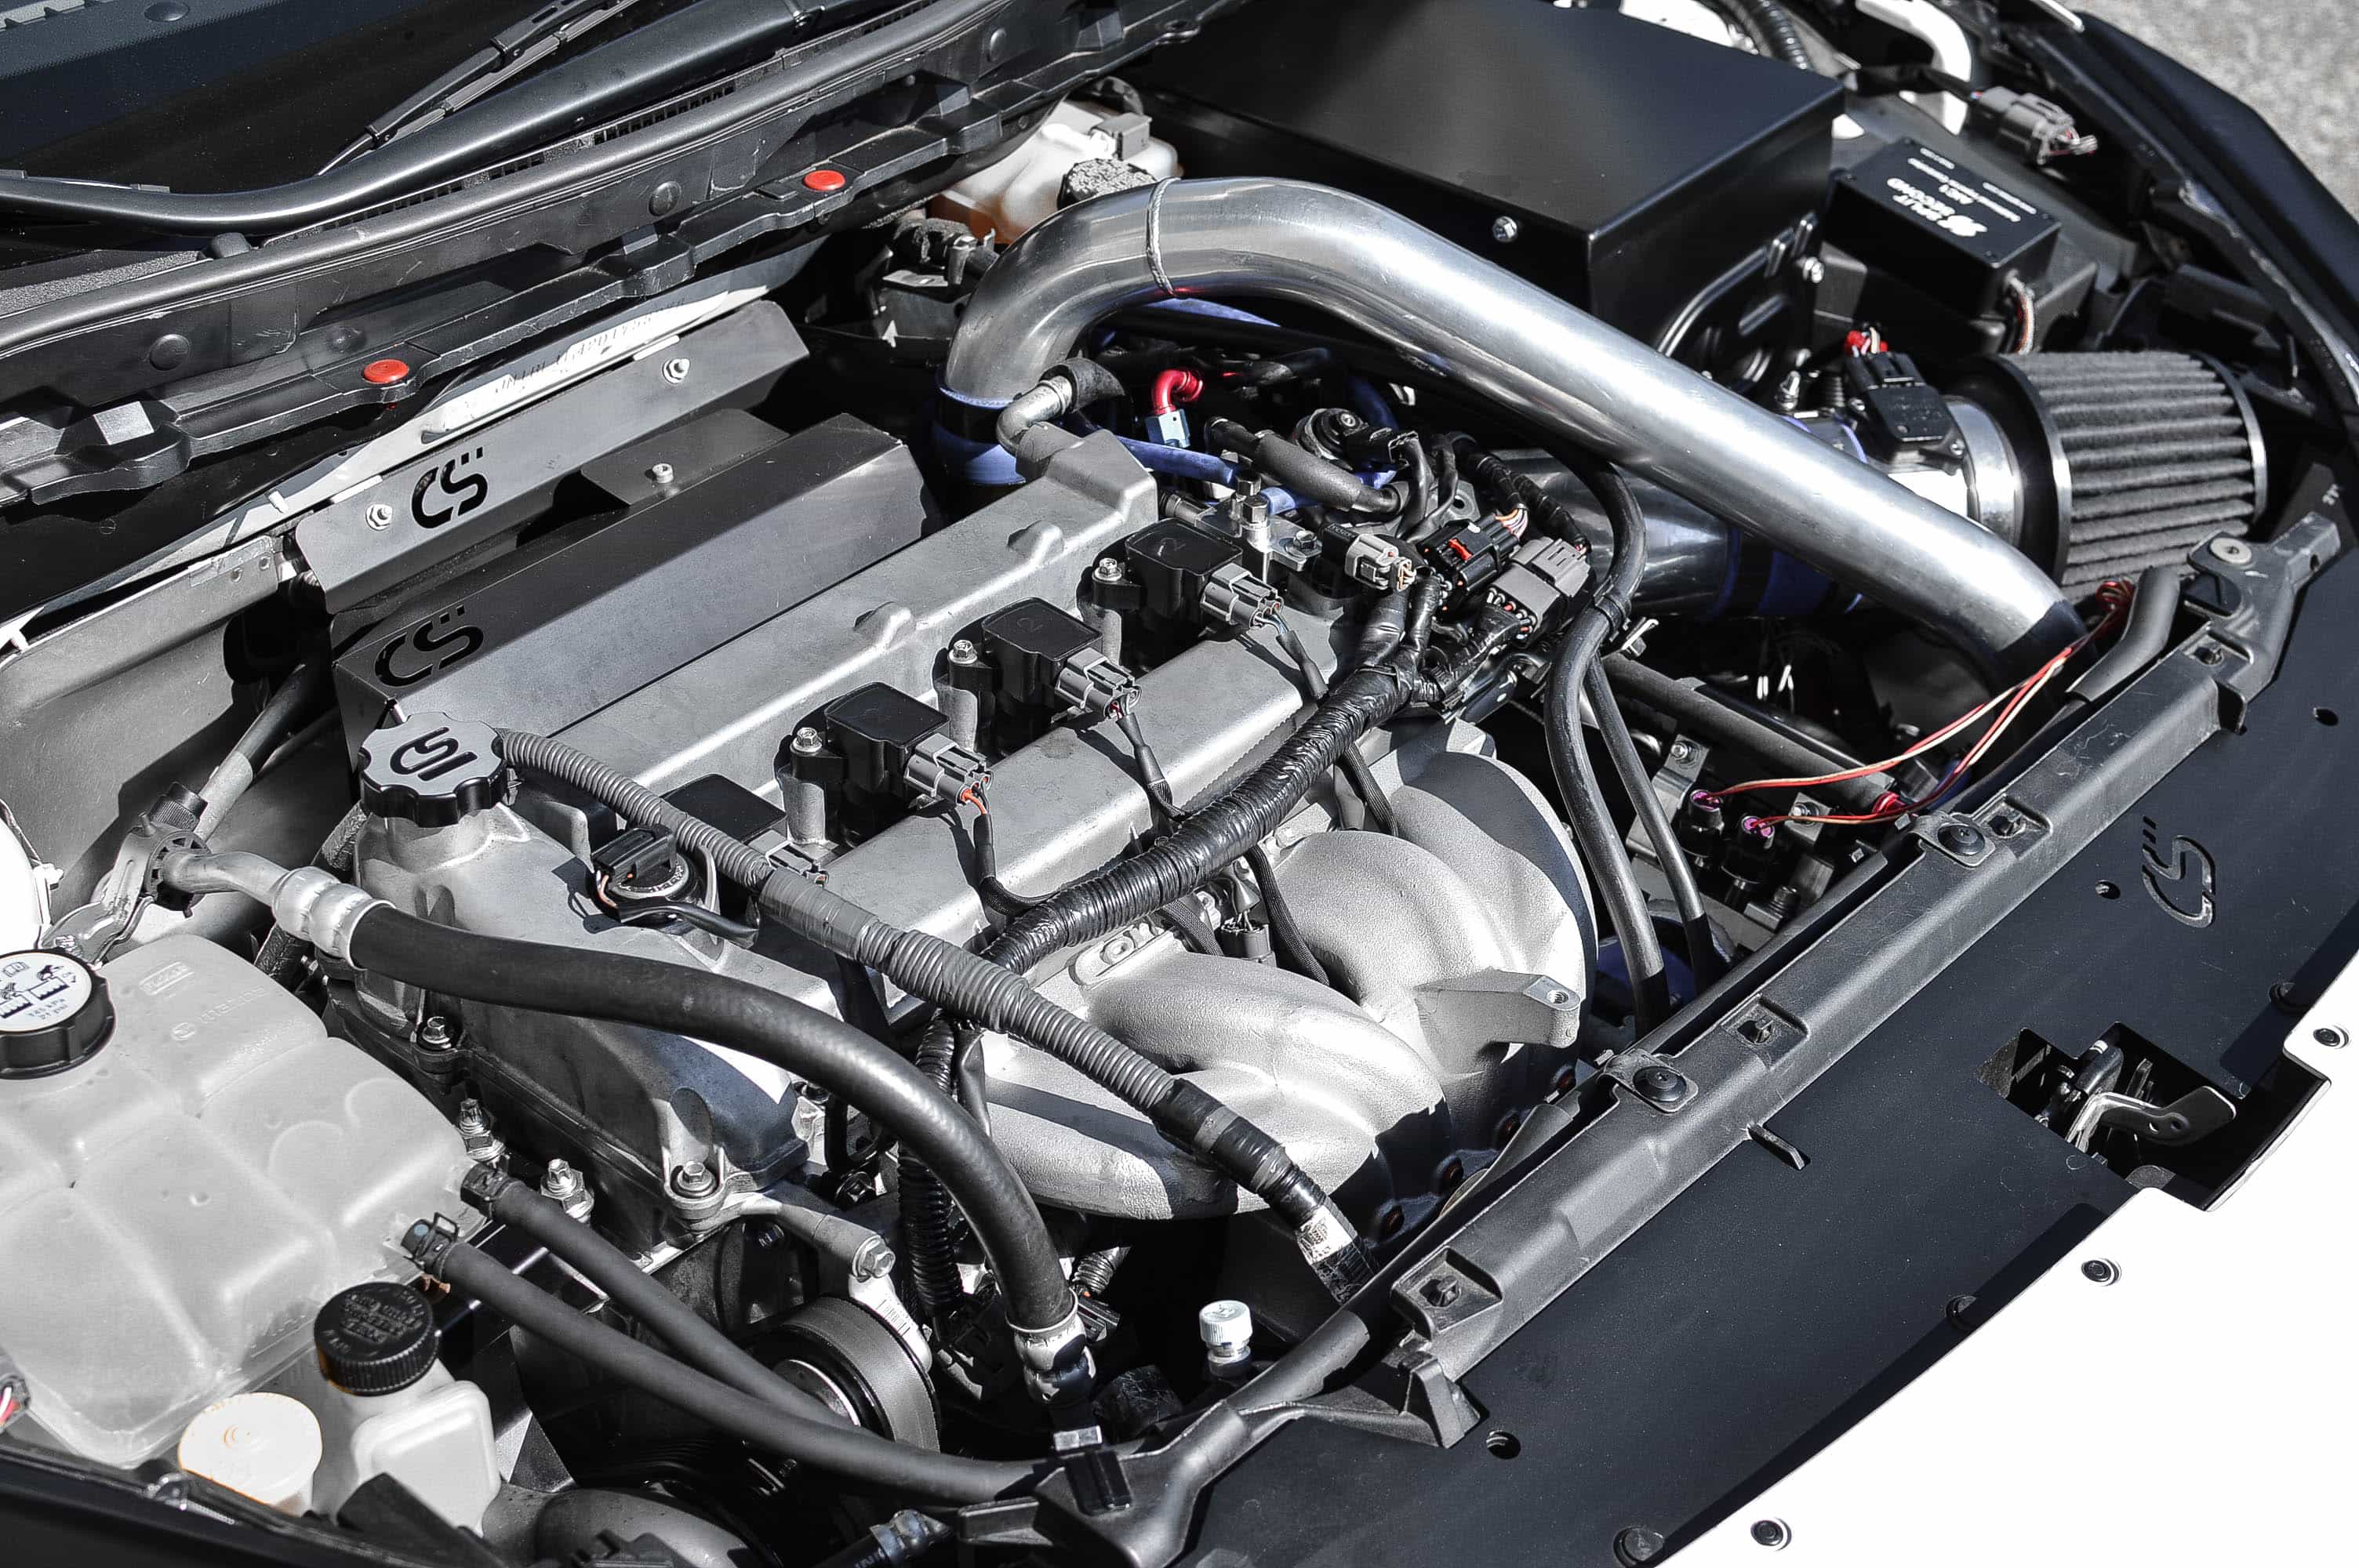
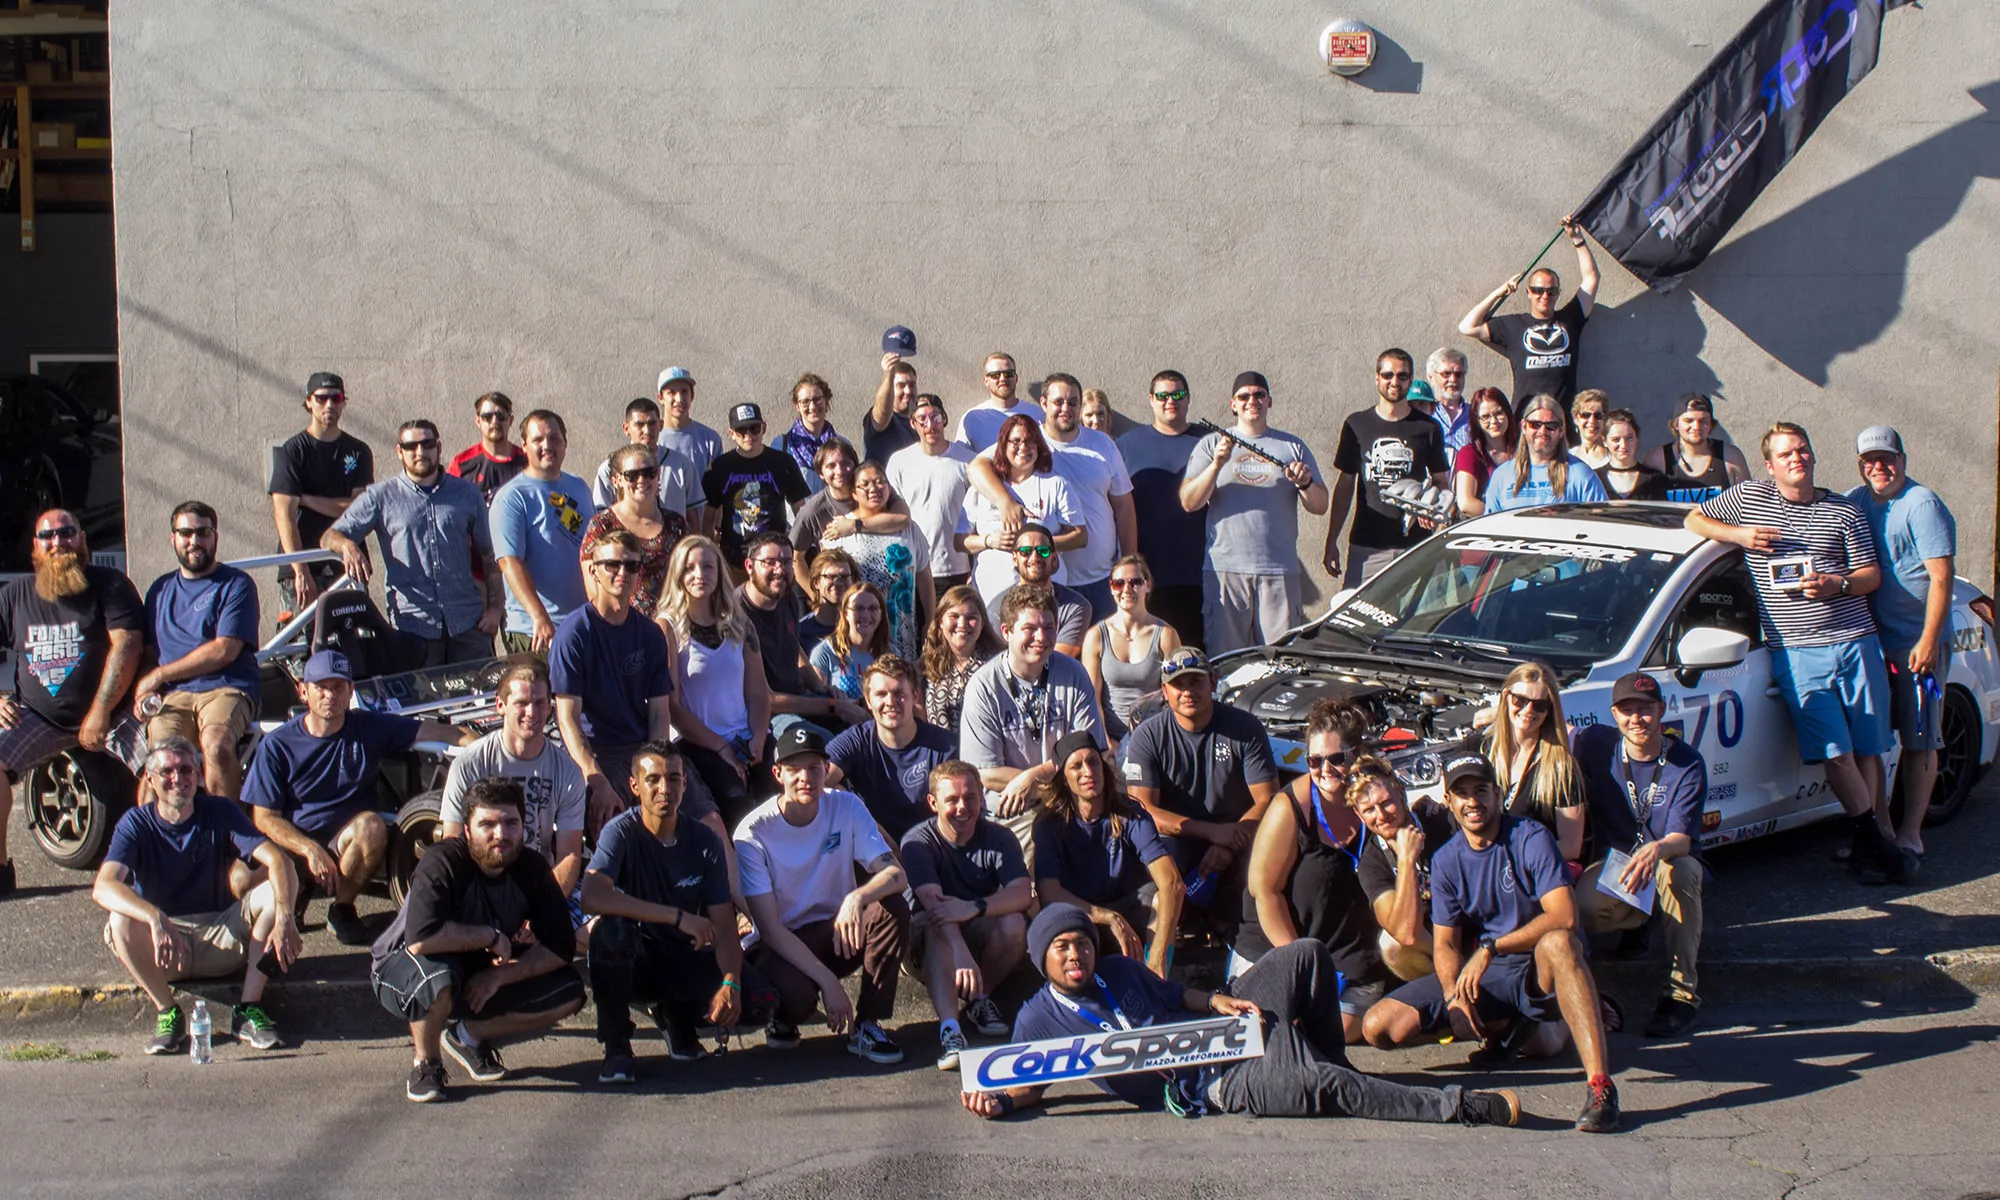
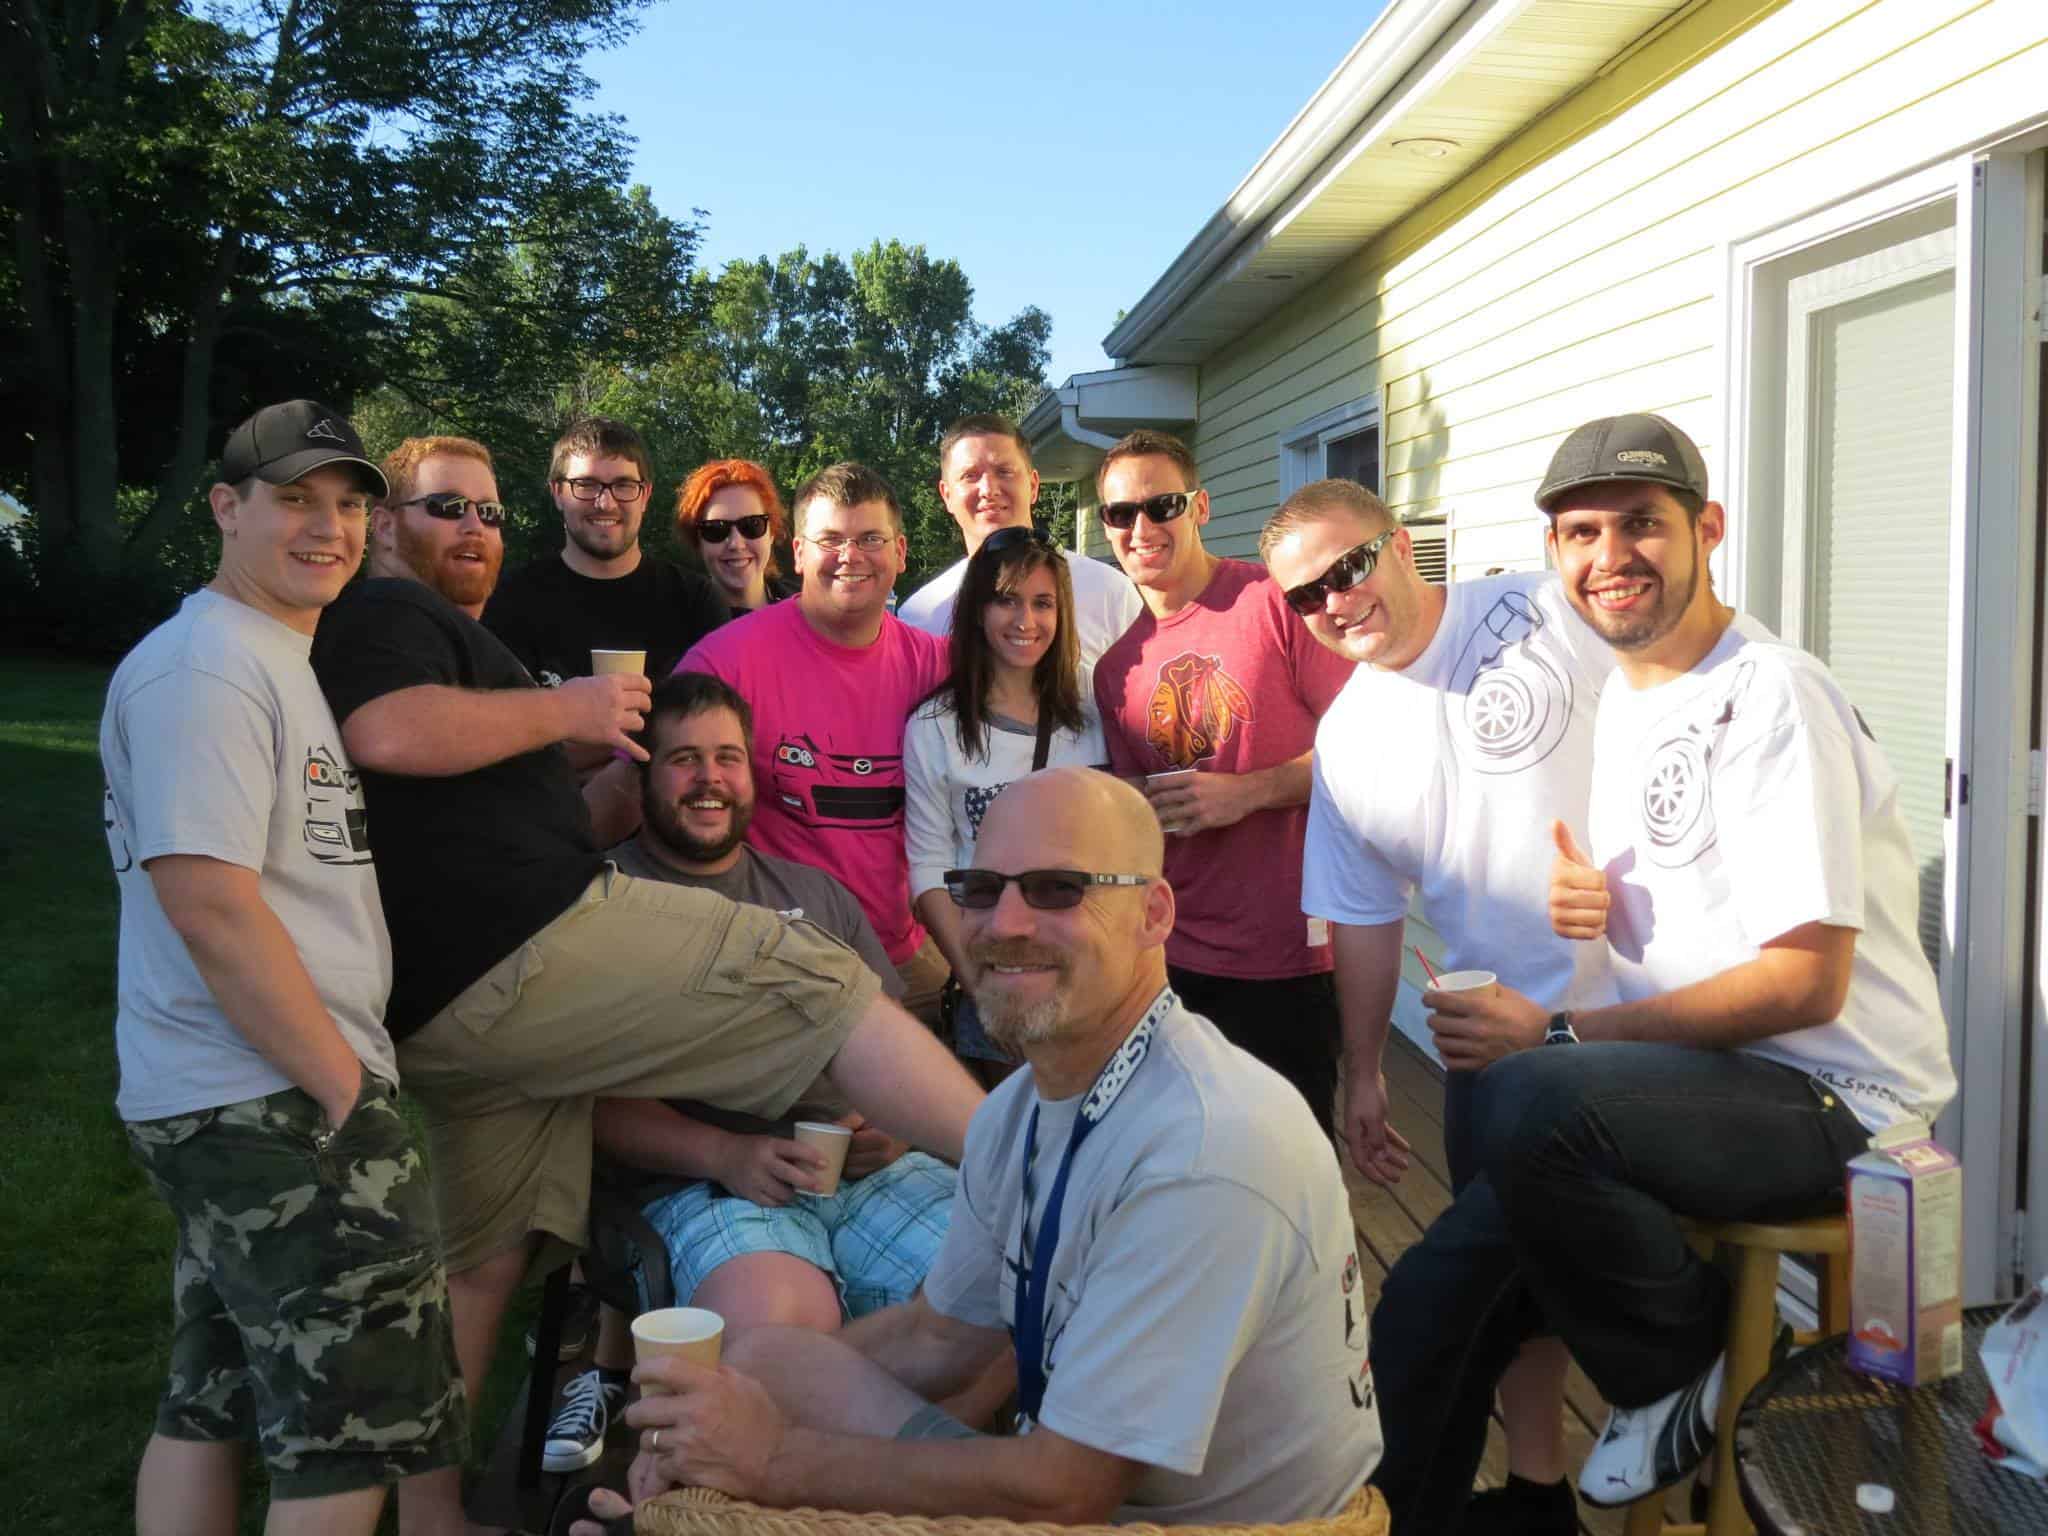
Corksport goes out of their way to attend these events. Not so much pushing parts, but to welcome family with open arms and stay connected to the grass roots of our community.
I met Barrett this year and even having never talked to him, he was the top 3 nicest dudes I have ever met. He got involved and talked shop with the majority of everyone in attendance. Kim is also a major voice in the community, listening to what the people want and bouncing ideas off of people to find how CorkSport can continuously push and evolve in this platform. She shows up to multiple events a year, stays in contact even throughout the winter and is always helping her “brothers and sisters” with their own endeavors, even if it doesn’t involve Corksport.
This year, if you were at the Midwest meet, you would see that a good majority of people have moved on to new platforms, specifically the new ecoboost options from Ford being very popular. Adrienne K with her Focus RS, Matt D with his FoST and Ryan P with his brand new FiST, and myself, I went way to the left with the new Raptor (Hey it has 2 turbos mmmmmkay).
It doesn’t matter what happens in your life, or even if you have moved on, we all got our start with Mazdaspeeds and we always stick with Family.”

As you see, being a Mazda owner is about the community, the family, the connection to other Mazdaspeed Enthusiasts.
And being an enthusiast isn’t always defined by the fact you still own a Mazda. It’s defined by being a car family. There may be groups that require you to own a Mazda to show up, but when it comes to Nator, once a Mazdaspeed Nator Family member, always one.
If you’re curious about where to connect, who to reach out to, or how to get in touch with your local Mazda club, check out the list below.
While we would love for this list to be exhaustive, it’s not, so if you’re currently involved in a club not listed, please let us know and we’ll be sure to make it easier for other CorkSport followers to connect with your group!
Download PDF of List: NATOR Clubs List