Brett’s Mazdaspeed Build Part 3

Well guys, I am back with a part 3. I apologize in advance for the delayed release of the 3rd chapter, but the Mazda was out of commission for a bit getting some stuff reworked! That being said, we can now pick up where we left off in part 2!


As I started to settle into my new stake at CorkSport, I started adding on lots of new goodies. At the beginning of the new year of 2017, I got to throw on our prototype Stage II RMM and get rid of my old one for some testing and feedback. Not only did the vibes decrease substantially, it also held the powertrain better and was helping my wheel hop significantly. So while I was at it, I threw on a Lower Tie Bar to help even further, knowing I had plans in the very near future to make over 400 Whp.


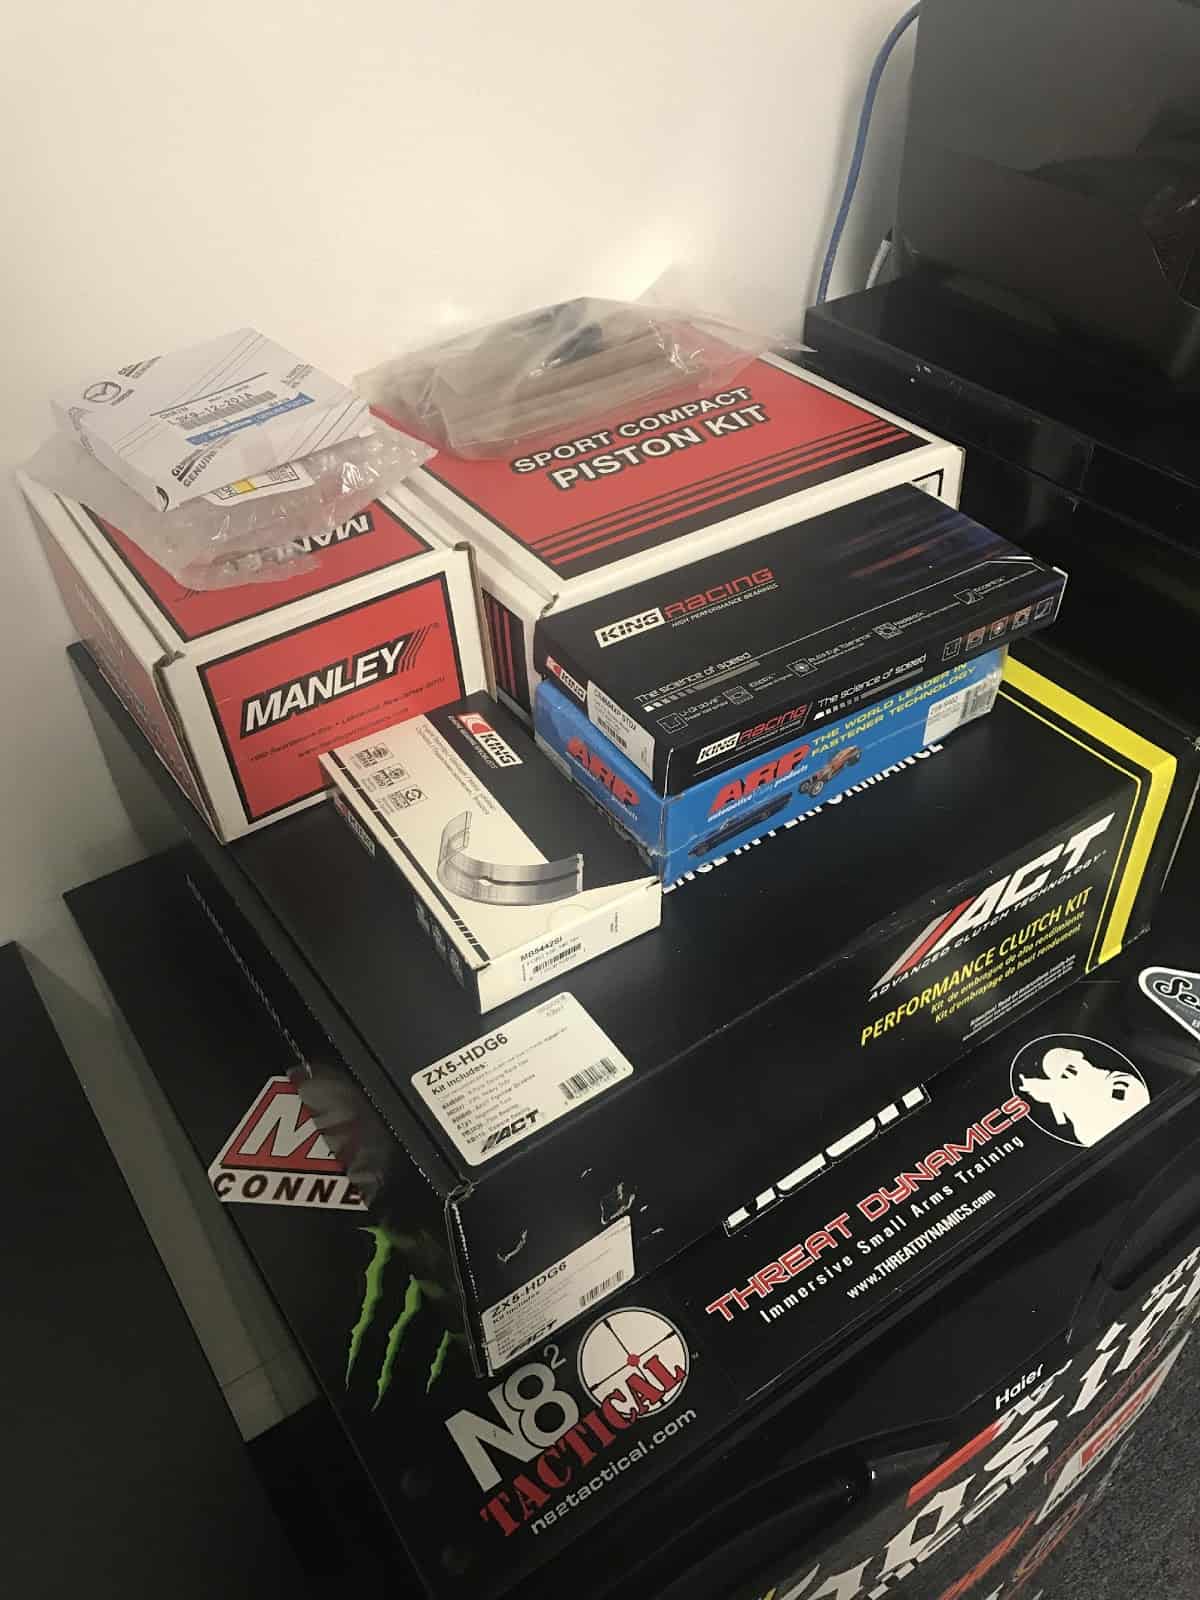
It was now Feb. of 2017 and I knew I was wanting to reach my new power goal by Summer. So, I talked to my tuner, Erik with Drama Tune, and scheduled to fly him up here in March to dyno tune the car. I had every single piece needed to complete the 400+ Whp puzzle.

The last missing piece was fuel. At this point in time, I had two options, Port Injection or Methanol Injection. Given, that I only needed a little more fueling head room freed up I went with methanol for ease, and price. For those that are curious, I purchased the Snow Performance Stage 3 Kit.  

I started installing the kit at the beginning of March 2017. Since I was going to be putting bungs into the FMIC piping, I got the kit powder coated as well.  I installed one small nozzle right off the cold-pipe of the intercooler, and another large nozzle right before the throttle body. I left a couple inches to help the alcohol atomize. The total amount I was spraying between the two nozzles was approximately 1000 CC’s of 100% Meth as we were using it for Fuel.  

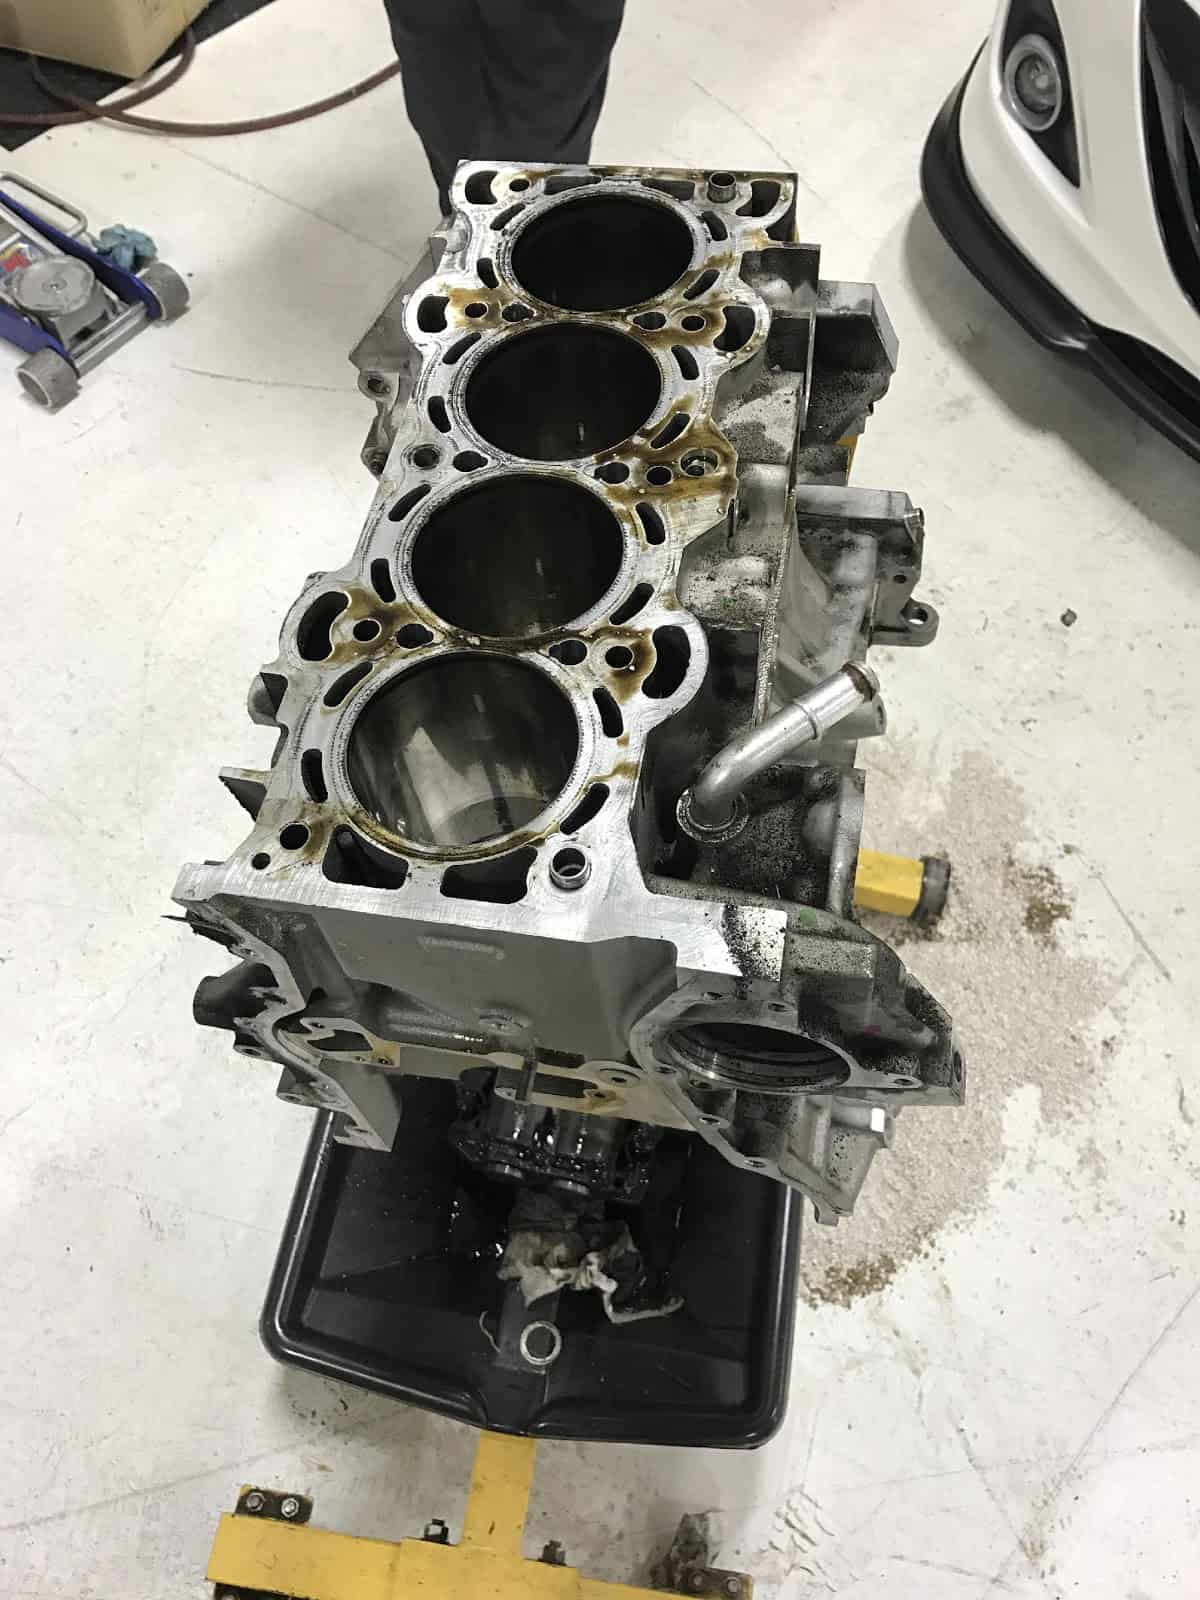
So, with the car ready my Tuner flew up and we got my car on the Dyno! Keep in mind my car is a stock bottom end, so I knew I was going to be playing with fire a bit. The general rule of thumb here: If you are on a stock bottom end and want to push the car in this fashion, always have a backup plan ready in case the engine gives out.

By the end of the session, I had 3 maps from Erik:

Pump Gas: 340 Whp

E85 Blend (3 Gallons): 390 Whp

Methanol Injection: 430 Whp. (e85 still in the tank for added knock resistance and cooling)

The torque was kept down as much as possible at 380 Ft-lbs @ 4700 RPM. So, the stock rods definitely were not in danger. Ultimately if the block were to give out in this situation, it would more than likely be the piston rings. The stock Piston Rings do not like high heat or harsh temp changes. So, the best thing you can do pushing 400+ hp on the stock bottom end is to allow time between pulls for everything to re-stabilize. This will ultimately increase the time you have before it ‘Splodes. Because, if we are being honest with ourselves, at that power level, its always a matter of when, not if with the stock block.


So, this is how my Mazdaspeed 3 has been for the last year or so power wise. Built block will be in the future soon. But on this next part, I’ll dive into some cosmetics details that I’m sure a lot of people wants to know.

*Hint* “Hey Bro what flares are those”

Connect with us

Stay up-to-date on the latest news and product updates from CorkSport.

* indicates required

The Engine Build Process on a 2009 MazdaSpeed 3

A Mazdaspeed bent valve.
The bent valve on my Mazdaspeed.

What’s up, fellow Mazda enthusiasts!

You’ve probably heard the phrase “built block” lately on social media or at your local car meet, but you might be wondering what that actually means. In fact, you’ve probably heard it enough times that you don’t even notice it. For you newbies, it’s when the engine internals are replaced with performance parts. Whether you do or don’t understand what a built block is, I thought I would share my knowledge and experience through the engine building process for my 2009 Mazdaspeed 3.

The incident

The moment we all dread (or maybe even look forward to?) finally happened … zoom zoom BOOM (ZZB).  I was merging onto the highway, within the speed limit, when the engine went silent and my dashboard became a Christmas tree of lights. I tried to start it … nothing. Well, shit.

I called the tow truck and brought my Mazdaspeed back to CorkSport HQ. A compression test gave me the quick, sad story. It was 0 0 0 0 across the board. Obviously, something gave out. That something turned out to be the friction washers on the crankshaft.

I now pronounce you piston and valve. You may kiss the valve.

The diagnosis

The engine slipped timing and bent all of the valves. Luckily, I didn’t vent the engine block in the process, so that could be reused. After all this, I didn’t trust the engine. So it was time to get built!

A 2009 Mazdaspeed bare block.
The bare block from my Mazdaspeed.

I pulled the engine and transmission from the vehicle and stripped them down to the bare components so the machine shop could do their magic. But, before we could let them start, I had to get some parts ordered for the machine shop to consider in the build tolerance. Just look at that stack of money … I mean parts.

The engine build parts

Forged Mazdaspeed internals.
Forged internals for the Mazdaspeed.

The bare engine block, a new used cylinder head, ACT 6-Puck clutch, and forged internals were sent to M & B Cylinder Heads for some much-needed love. The block was bored and cross-hatched to match up with the pistons, the main bearing journals were line honed where needed, and the deck surface was cut down just a hair to provide a new surface that’s true and flat. Since I wasn’t going for just a bare bones build, I opted to have some added processes done to help with reliability and performance.

  1. I planned to run without the balance shaft, commonly called a BSD (balance shaft delete), to increase the oil capacity of the oil pan. This would remove some rotating mass to help the engine rev more freely. However, this does come with some compromises, mainly in severe NVH (noise, vibration, harshness) the driver experiences. For this reason, I had the rotating assembly (crankshaft, connecting rods, pistons, clutch assembly, and crank pulley) balanced to further reduce vibrations.
  2. My build goal was at least 450 whp to further benefit the effect of the CorkSport Mazdaspeed camshafts, so I had the cylinder head ported to improve flow. The intake runners were opened up and cut to a single runner setup along with the exhaust ports. Both intake and exhaust had most of the work performed on the “bowl” area of the runners — the area just above the valve seat. To top it off, the combustion chamber was touched up to remove any sharp points to help reduce hot spots that may cause detonation.

Check out the cylinder head porting:

Mazdaspeed single runner.
Here’s the single runner.
Mazdaspeed exhaust runner.
And here’s the exhaust runner.

The engine build operation

After what felt like an eternity, we got all the completed parts back from M & B and were ready to begin the assembly process. This is when I really stepped back and let Vincent take the lead. He’s the master when it comes to engine blueprinting and assembly.

The blueprinting process is arguably the most critical and time-consuming process of the engine build process. Each cylinder diameter is measured at three different vertical locations to determine cylinder taper, then measured again 90 degrees from the previous locations to determine cylinder roundness.  The piston outer diameter is measured as well and verified for the cylinder it was matched to at the machine shop. Once the block and pistons are confirmed, then the finer details are set in motion with the piston ring gaps, the main bearing and connecting rod bearing crush, and setting the main and head studs. I’m just skimming the surface here. Please note that all of this is measured down to the tens-of-thousandths of an inch. That’s 0.0001” for clarity. This really is a precise art.

Mazdaspeed engine build blueprint papers.
Precision means paperwork. Here are the blueprint papers for the Mazdaspeed engine build.

With the short block assembled, it’s time to focus on the cylinder head. The cylinder head almost seems easy after the short block assembly. The cylinder head comes assembled with the seals, valves, and springs from the machine shop. What’s left to Vincent is the tappet and camshaft installation. The tappets are non-adjustable solid tappets and each has a specific and precise thickness. Once the camshafts are installed, the gap between the camshaft base circle and the tappet is measured and adjusted until the correct gap is achieved. Then the complete the cylinder head can be installed on the short block and the head tightening sequence performed.

If you want to see a really awesome video of this whole process, including a bunch of detail I haven’t added to this blog, you’re in luck (thanks to CorkSport’s Brett White).

I hope you enjoyed this tale as much as I enjoyed writing it. This not the end of my build, so hang tight for the rest of the engine and vehicle in a later post. We’d love to hear about your build, whether it’s a few bolt-on parts or a crazy built engine and car. Comment below and tell us about it!

Barrett @ CS

Connect with us

You may also like