“Hey Bro, what flares are those?” A common question asked, not that I blame anyone for their curiosity.
This is a very niche platform in the grand scheme of things. So we don’t really get lots of options when it comes to widebodies or flares etc. Those of us who have been crazy enough to chop into our ¼ panels had to trust what we think will look good, cross our fingers, and just send it. Some of us get lucky, some of us don’t. I wasn’t in it alone though, I had help from a few friends, and some inspiration. So, here’s the story on how I flared my Mazdaspeed 3.
My good friend Brian over at BMSPEC has a well-known Mazda 3, named “Circuit Heart” Which just recently has gone into retirement. He was one of the first to ever put flares on the Gen 2 Mazda 3 body, and for years I said I wanted that look. When He decided to let go of his old Volks, I had the opportunity to take possession. With his direction, I ordered fair lady Z flares from that were originally meant for a 240Z.
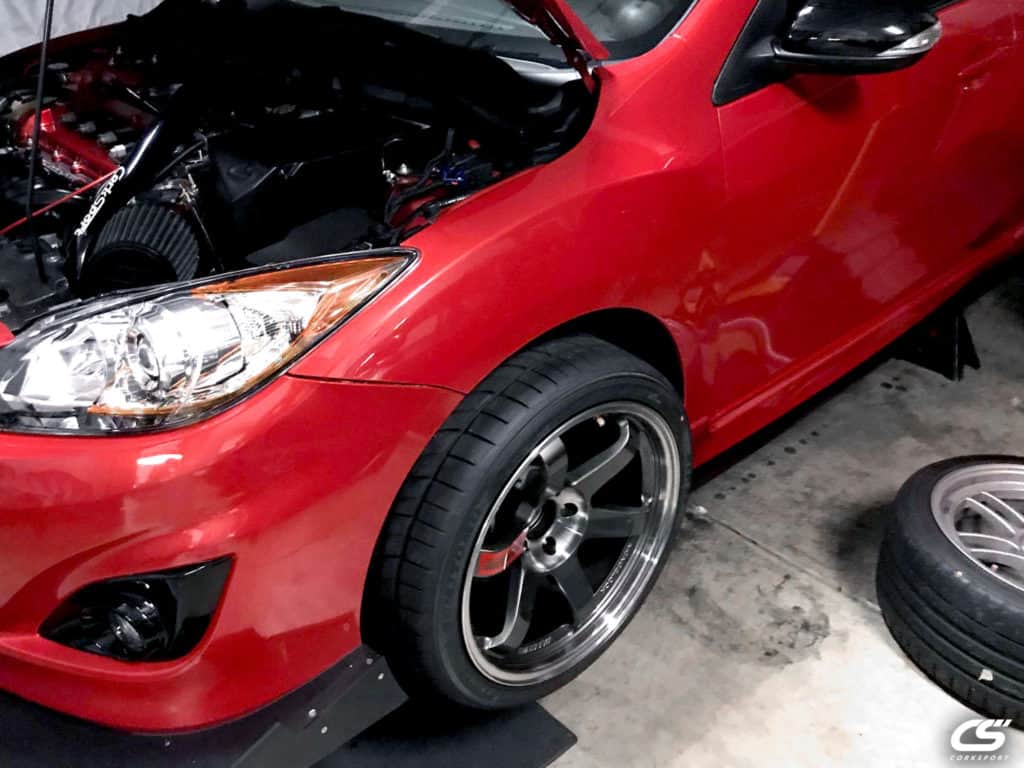
I asked my local Nator Buddy Aaron Maves if he was down to help me chop up my Mazda and lend me a spot in his garage. Ironically enough, he was a stoked to be a part of the project, probably more than me. Once my flares came in, I got them dropped off at the body shop to be paint matched and started hashing out a plan. Since I work all day long, and flares are a rather tedious process this was going to be a strictly after work job and it ended up taking quite some time to get done. But the wait, blood, sweat, and tears were worth it.
Here is a little step by step process we took to get it done. If you are looking to ever do this to your Mazda, it may either motivate you or deter you away.
Step 1. – Test Fitting
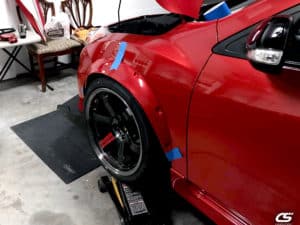
This part is very critical, and one of the most difficult. You have to Mock up the flare to be as perfect as possible. Usually, since the flares we try to use on our Mazda’s, they don’t exactly want to line up where we want, and we need to motivate them a bit to do so. Painters’ tape by itself will not be enough to hold it where you need. The way I got around this is by using 3M Double Sided VHB tape on the back of where the bolts will go, paired with the painter’s tape. Since these flares weren’t made for this Mazdaspeed3, I started out on my front driver side fender. Once I got it where I knew I wanted it, I opened up pandora’s box. I drilled my pilot holes into the fender, no going back now. That’s not even the worst part, because now I had to make all 4 corners symmetrical (No pressure or anything).
Matching every corner is not an easy task, and also something that is often messed up. All I can say is triple check everything, and then do it again. We had to find reference points on the Speed3 itself to measure from. The ground below could be slightly inconsistent. Not only because the floor may not be perfectly level, but because the floor jacks may be slightly different as well. Choose about 4 points to measure from so you can get an accurate X/Y axis measurement to link to the other side. You’ll want the fronts to be identical, and the rears to be identical.
Step 2 – Rivnuts
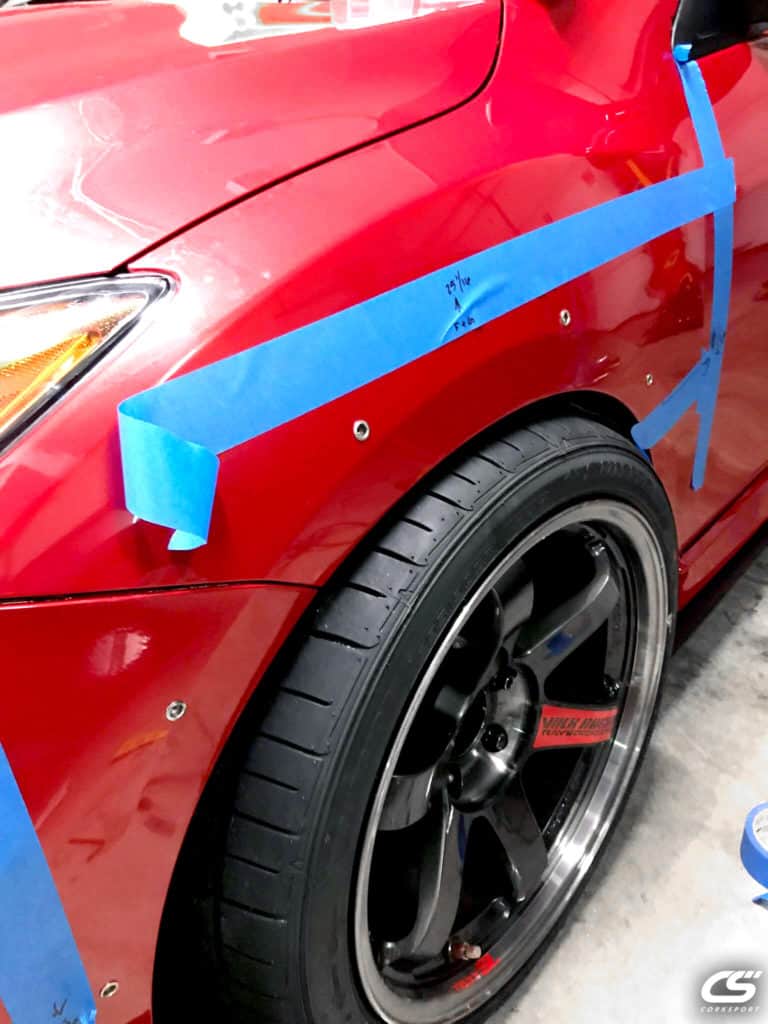
Now that we have drilled pilot holes in all 4 corners. We opened them up enough to accept the riv-nuts. This will be the threaded inserts that allow you to bolt the flare to the Mazda. We had to open the hole up slowly, stepping up the size of the bit each pass. Doing this prevents the thin metal from fraying and making sharp edges around the hole. You want the riv-nut to sit as flush as possible, so the flare sits close to the body.
In this particular case, I used ¼ – 20 sized bolts, so I opened op the flare with a ¼ hole and bolted the flare on for a final fitment check.
Step 3 – Cutting
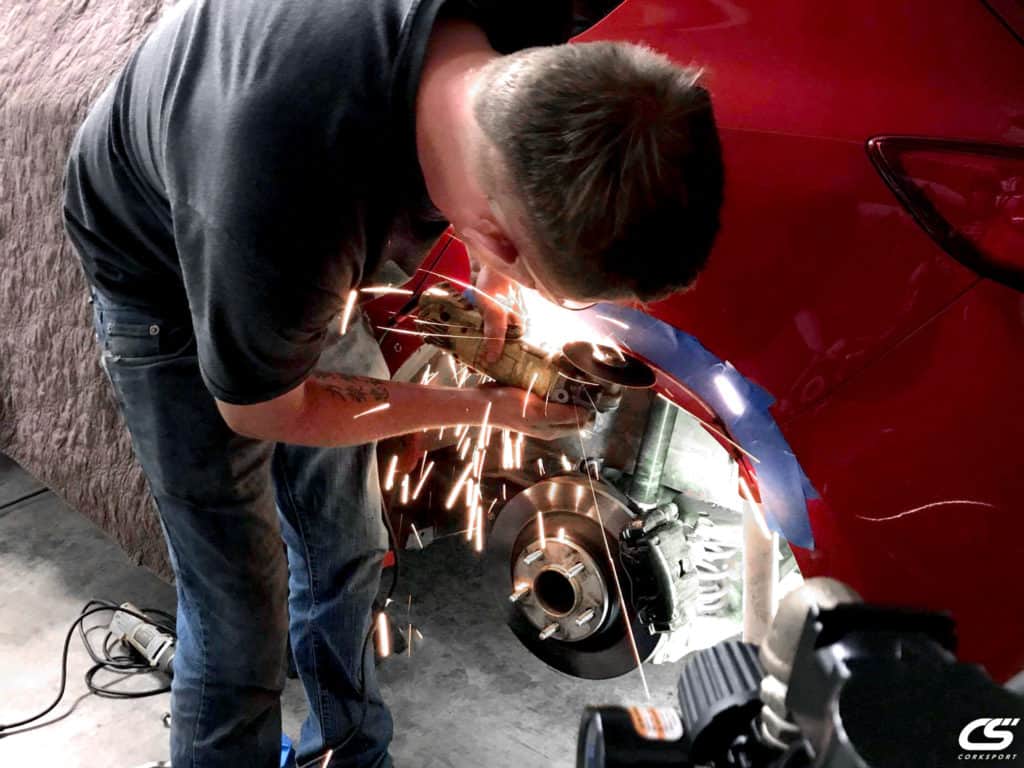
The most intense part of the process now begins. My buddy Devin Sorter who is a fabricator/welder came through to help with this. He’s very skilled with a cut off wheel, and I knew I could trust him to make some solid cuts that are symmetrical and clean.
With the flares mounted up, we drew the line for the cuts. Remember you not only have to give yourself enough clearance for the bumps on top, but for steering in the front as well. During this process, part of the bumper clip will have to be removed as well. This isn’t a problem though since the flare itself acts as a support and keeps the bumper from sagging, even with the splitter on the front.
Step 4 – Sealing the rear ¼ Panels
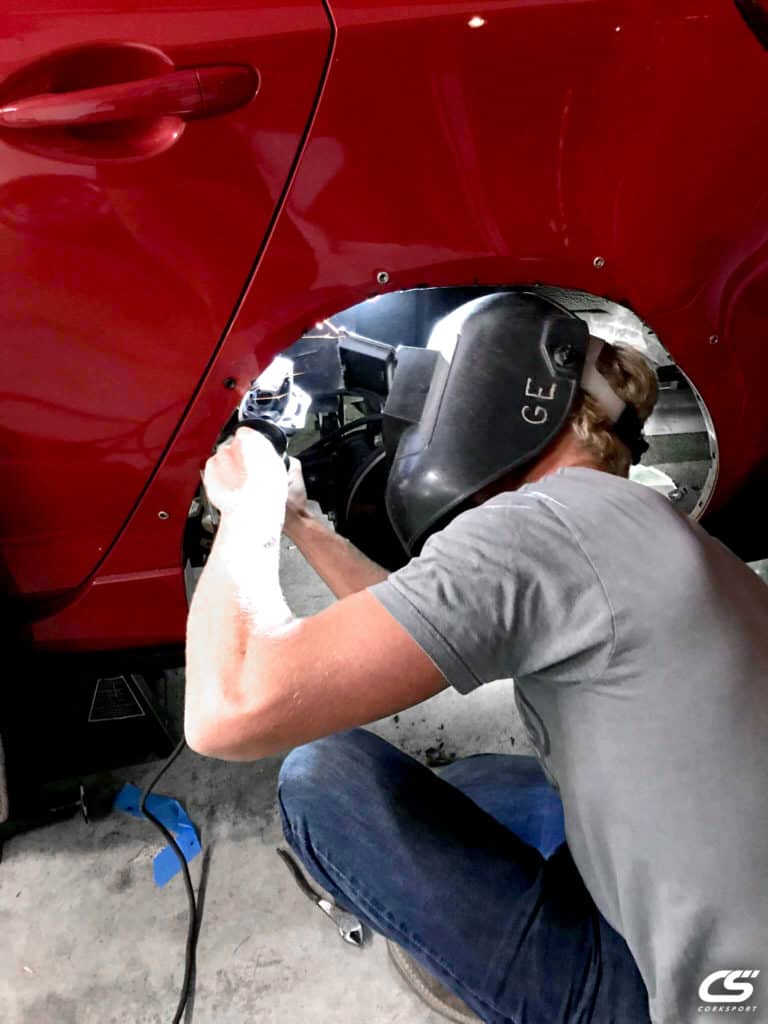
At this point, the Mazdaspeed3 was done, and I bolted on the flares. The gasket you use between the flare and the body is up to you, there are lots of options out there.
Thanks for checking this out and stay tuned for part 5!
