Garage days have been around for as long as the practice of modifying cars. Wrenching on your projects, some good company, hot food, cold beer — what could go wrong? Hopefully nothing, but that’s typically not the case in all honesty, especially in the Mazda game. Murphy’s Law truly takes effect, and what can happen usually will happen.
Coming from the Bay Area, where I was the main go-to tech guy, I usually had two to 12 Mazdas at my house on any given weekend. (How the homeowners association didn’t get mad, I will never know.) I’ve been around the block a time or two and seen what can go wrong on garage days. I’ve seen what turns a fun day into 20 trips to the hardware store, tools everywhere, missing parts, and the typical “What did I get myself into?” feeling.
If you have a big job coming up and you’re questioning whether you can do it, some of these tips may help you get it done faster and more efficiently, and ensure you have a good time — instead of pulling your hair out.
Tip 1: Preparation
Don’t wait until garage day to check the box. Always make sure you have the right parts and hardware in advance. Now I’m sure you’re thinking, “How could some people wait that long to open their shiny new parts?” Honestly, I agree. But some people toss the boxes aside and don’t open them until the day of installation. I’ve seen people go to put on that new part and discover they’re missing something they need. Get all the hardware taken care of beforehand.
Tip 2: Tools
Be prepared for different outcomes that may happen and have all the tools that you need at hand. If you’re lacking proper tools, I’d recommend working with a buddy who has a better collection. Having nice quality tools makes all the difference.
Tip 3: Rise and shine
Start early. Nothing sucks worse than nighttime falling with the car halfway apart (especially when you have work the next day and it’s your daily driver). If you can, plan your job to go over the course of the weekend so you’re less stressed and can take your time.
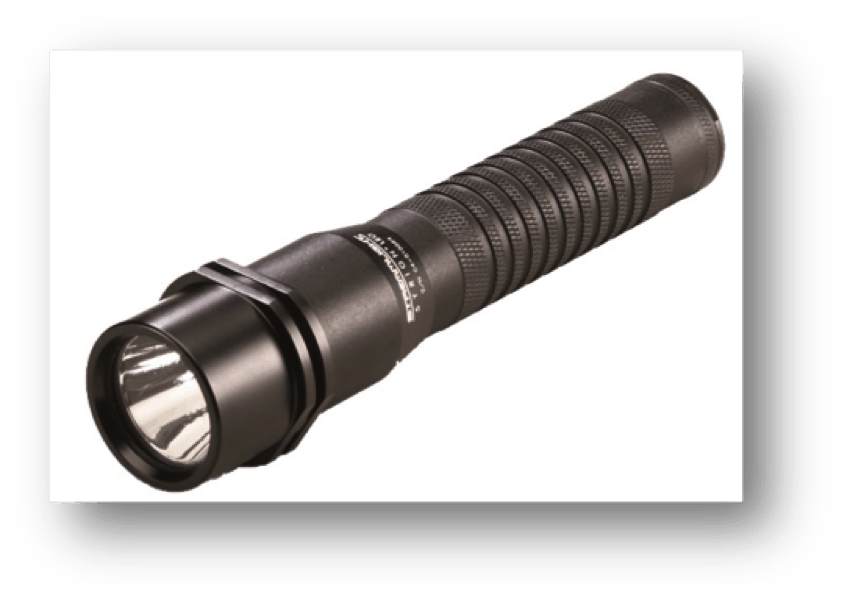
Tip 4: Plan for drops
Have a quality flashlight and a pick-up magnet handy. On a garage day, it’s not a matter of if but when you drop something important. There’s nothing worse than when that dropped part falls into the abyss or someplace you can’t reach. Keep a pick-up magnet for those annoying bolts. The flashlight is good for easily spotting shiny things, and for overall lighting during the job.
Tip 5: Really read the instructions
Thoroughly read up on the installation. Read the instructions. Read the forums and talk to some friends for tips. There is usually something helpful out there you may not have known already. For specialty jobs, know your torque specs and procedures.
Tip 6: Stay stocked
Stock up on brake clean, PB blaster, WD40, carb clean, gloves, or whatever else you might need beforehand. It’s annoying to have to stop what you’re doing just to go buy an item that was forgotten. Also, if you wear them, get plenty of gloves. Your hands will thank you at the end of the day.
Tip 7: Catch a catch can
Have something around to catch fluids. Occasionally, people get deep into a job and realize they have to disconnect a line they didn’t know they’d have to. It’s always good to have some sort of catch can. Especially ones that can be sealed off so you can dispose of it easily. This goes along with our first tip, but I’m mentioning it again because some people will overlook this.
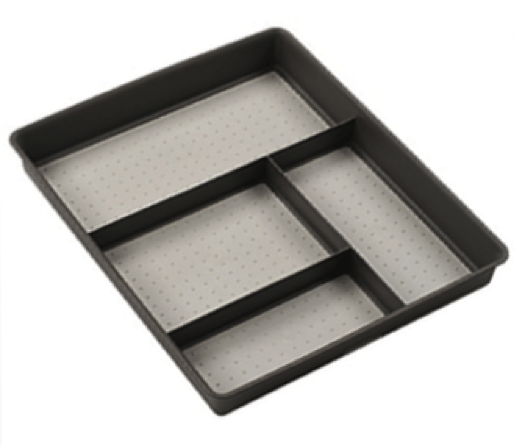
Tip 8: Organization
Organization trays are awesome. Use sticky notes for trays or zip locks you can label to keep tabs on bolts and nuts for their component parts. This makes reassembly on a big job much faster.
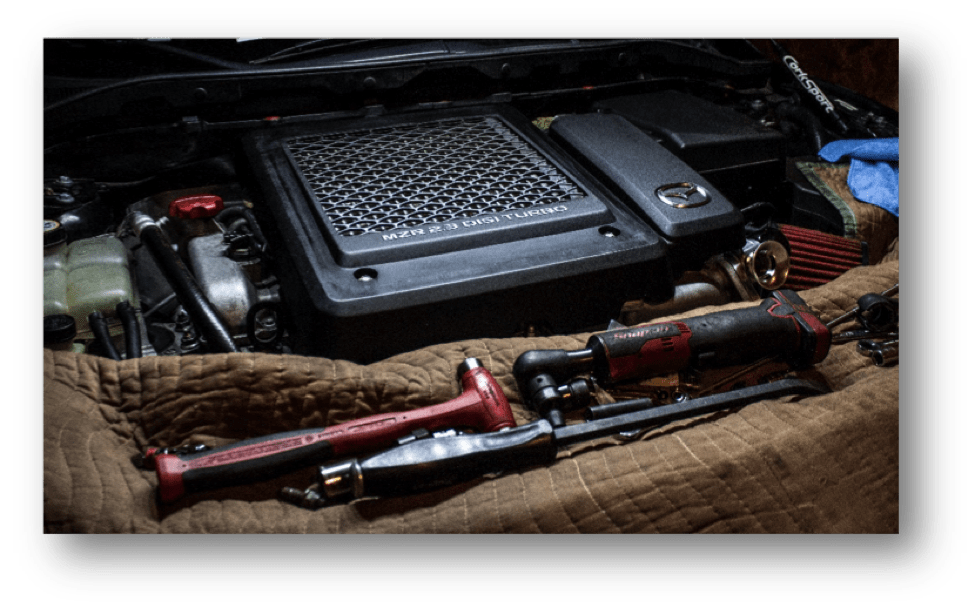
Tip 9: Prevent scratches
Moving blankets or big blankets are amazing for preventing any scratches while you’re leaning over the hood. Also, blankets help to hold the tools you’re currently using. You can drape them over and attach them with masking tape to keep them in place.
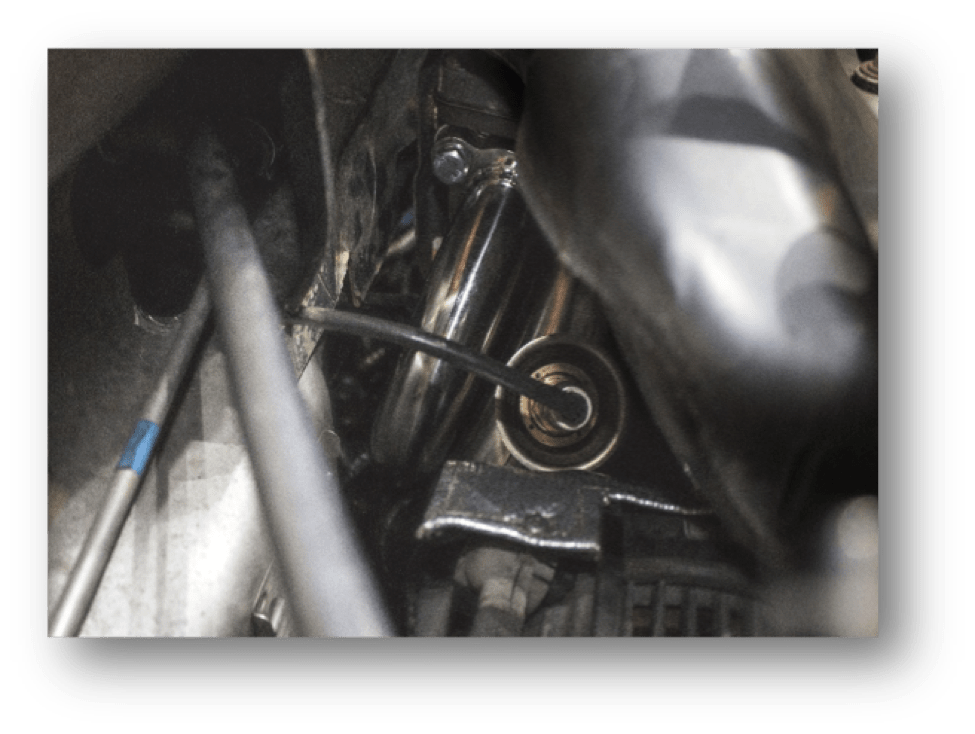
Tip 10: Check your work
Once you’re all done, be sure to verify all of your work before starting the car. Verify torque specs, connectors, and the rest. After you start up, quickly check for any possible leaks, listen for odd noises, etc. For example, make sure no exhaust gas is escaping from the downpipe gasket.
I hope these tips are helpful one day! Make sure to follow the CorkSport blog for more Mazda modification tips and information. And, if these tips do come in handy, tag a photo of the finished product with #CorkSport on Instagram and show us your ride.
Cheers,
Brett