
My name’s Ryan. I’m a Mazda guy through and through. Currently, I’ve got a 2016 MX-5 Club as my daily driver with a ‘95 Miata converted to an Exocet as my most recent project. As the Exocet becomes more stable and less of a project, I started thinking about what I should work on next.
The ND is my 14th Mazda vehicle in as many years, so this new project was definitely in my wheelhouse — I wasn’t planning on straying far from my roots. However, I didn’t realize at the time just how close to those roots my next project’s journey would take me.
The story I have to tell doesn’t involve the ND, or any of the dozen cars before it. Like any great story worth telling, you have to start at the beginning. …
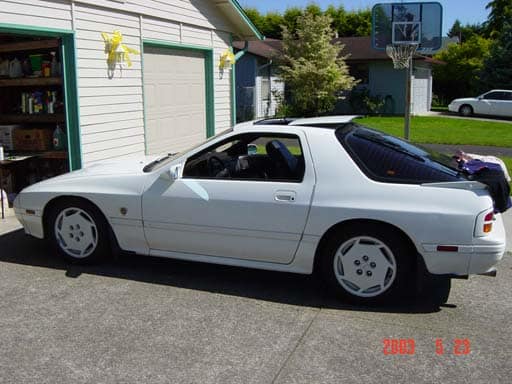
Sixteen years ago, I got my first car. It was a 1988 Mazda RX-7 10th Anniversary Turbo II. Not before, or since, have I loved a car so much. Not for lack of trying, of course — those of you that know me well can attest to my sample size. But you never love a car as much as your first. Some of my most vivid memories of young adulthood were made possible by this car. I can still hear the engine winding out, carving through the forest roads outside of town back when I was so sure I was invincible, and that the tires would always hold.
I can still smell the summer air and remember fondly the adventures that car took me on. A friend and I went on an adventure in that car that took us to the heart of Texas and back in a handful of days. It was a car full of memories. Then, when I was a younger man in a moment of weakness, I sold my RX-7 because I was in school and needed the money. And that, as they say, was the end of that.
Twelve years later, I was talking after dinner with a friend I hadn’t seen in years. We started chatting and got on about cars and the good ol’ days, and I started wondering about my old car. That night when I got home, I remembered I still had a folder full of old paperwork for my old RX-7 stashed in a closet. Looking through documents that my younger self couldn’t care less about, I found a treasure trove of receipts, service records, original brochures, and flyers — even before I got it, someone had clearly loved this car. I made a decision right there: I needed this car back.
Over the next few weeks, I tried to figure out how I was going to find the RX-7. And also, if I did find it, how was I going to afford to get it back? Late one night, I logged onto the RX7Club forum for the first time in over a decade and looked in my inbox. Empty. Then, just in case they kept old messages, I looked in my sent folder and found a single message — a message I had sent to the new owner of my RX-7 almost 12 years earlier. He hadn’t logged into his account since 2010, but I shot a message out into the void and waited. A few days went by, and then in the middle of the night I got an email.
Turns out, amazingly, he still had my old car.
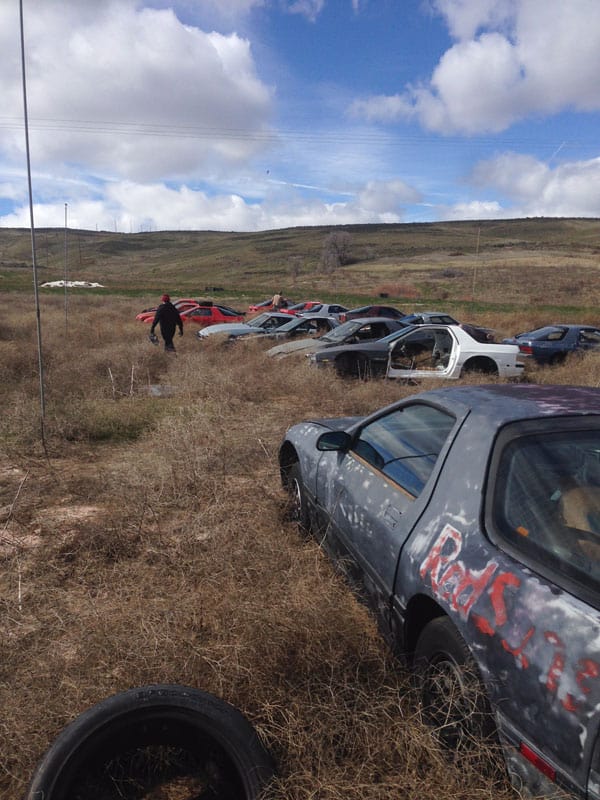
The catch? After he bought the car from me, his wife had some medical issues that prevented him from doing anything with it. So my old RX-7 sat. And it sat. There in a field just outside Yakima, Washington. For 12 years, it sat there; with the windows down.
The ravages of time have not been kind, but thankfully the damage isn’t irreversible. As a bonus, he never even changed over the paperwork and I’ve technically owned the car this entire time.
So, of course, I did what any rational adult who catches the nostalgic scent of his youthful misadventures would do: I asked him if he would consider selling the car back to me as is. He told me he felt bad about letting it sit, and that because the car meant something to me, it was mine if I wanted to come get it. I shot a quick text message to my Dad to borrow a truck, another to (frequent blogger, race car driver, and all around good guy) Derrick for a trailer, and a third to my friend Trevyn to enlist a copilot/co-conspirator, and the plan was set.
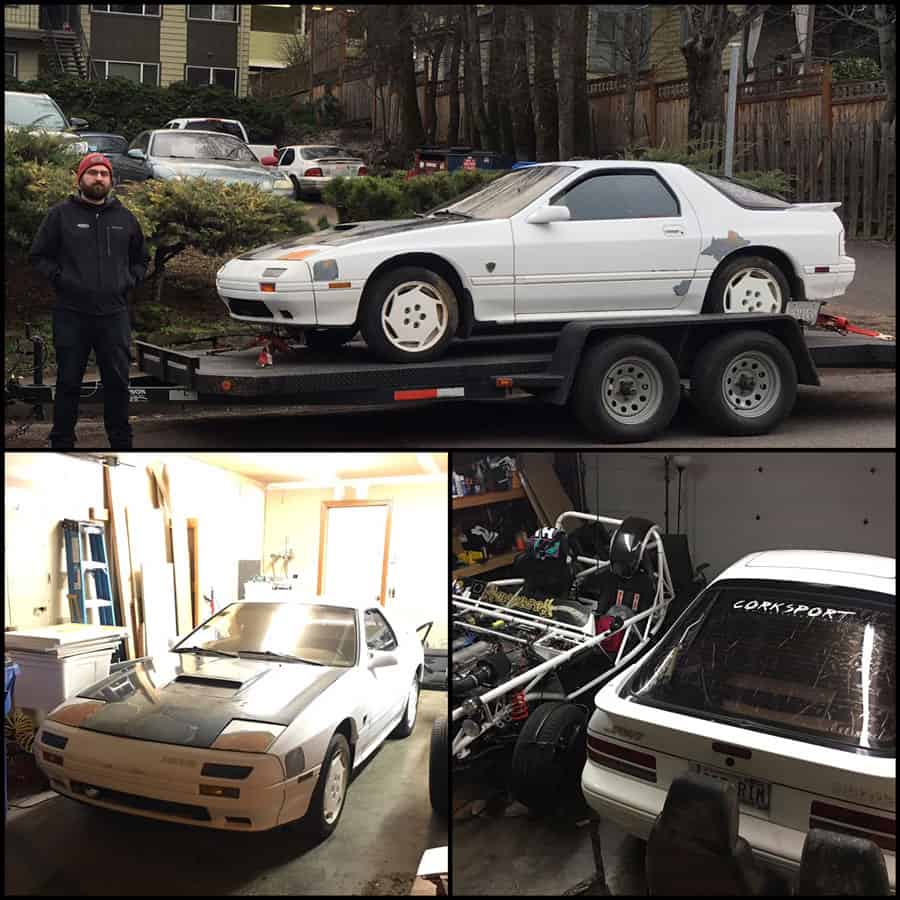
We headed out early on Saturday and drove through snowy mountain passes, over rivers, down sketchy dirt roads, and eventually arrived at what could charitably be described as a graveyard for sports cars. We found the RX-7, loaded it up, picked through my RX-7’s one-time-owner’s warehouse of spares for a few odds and ends, and headed back home. Now, my first Mazda is sitting safely in my garage, out of the weather.
This car is largely responsible for the person I am today. It ignited my passion for cars and all things mechanical. If you’re a rotorhead in the Pacific Northwest who has a line on some black interior parts you could part with, let me know — this interior is trashed. If you’d like to keep up with the car, you can find me (@mrryanbaker) on Instagram. I made a post on there about the RX-7 that was a little more succinct. I try and post about the cars as much as I can, but forgive me if I end up distracted by projects.
Finally, like I said in my Instagram post, “Welcome home Annie, this time I’ll do it right.”
Ryan


