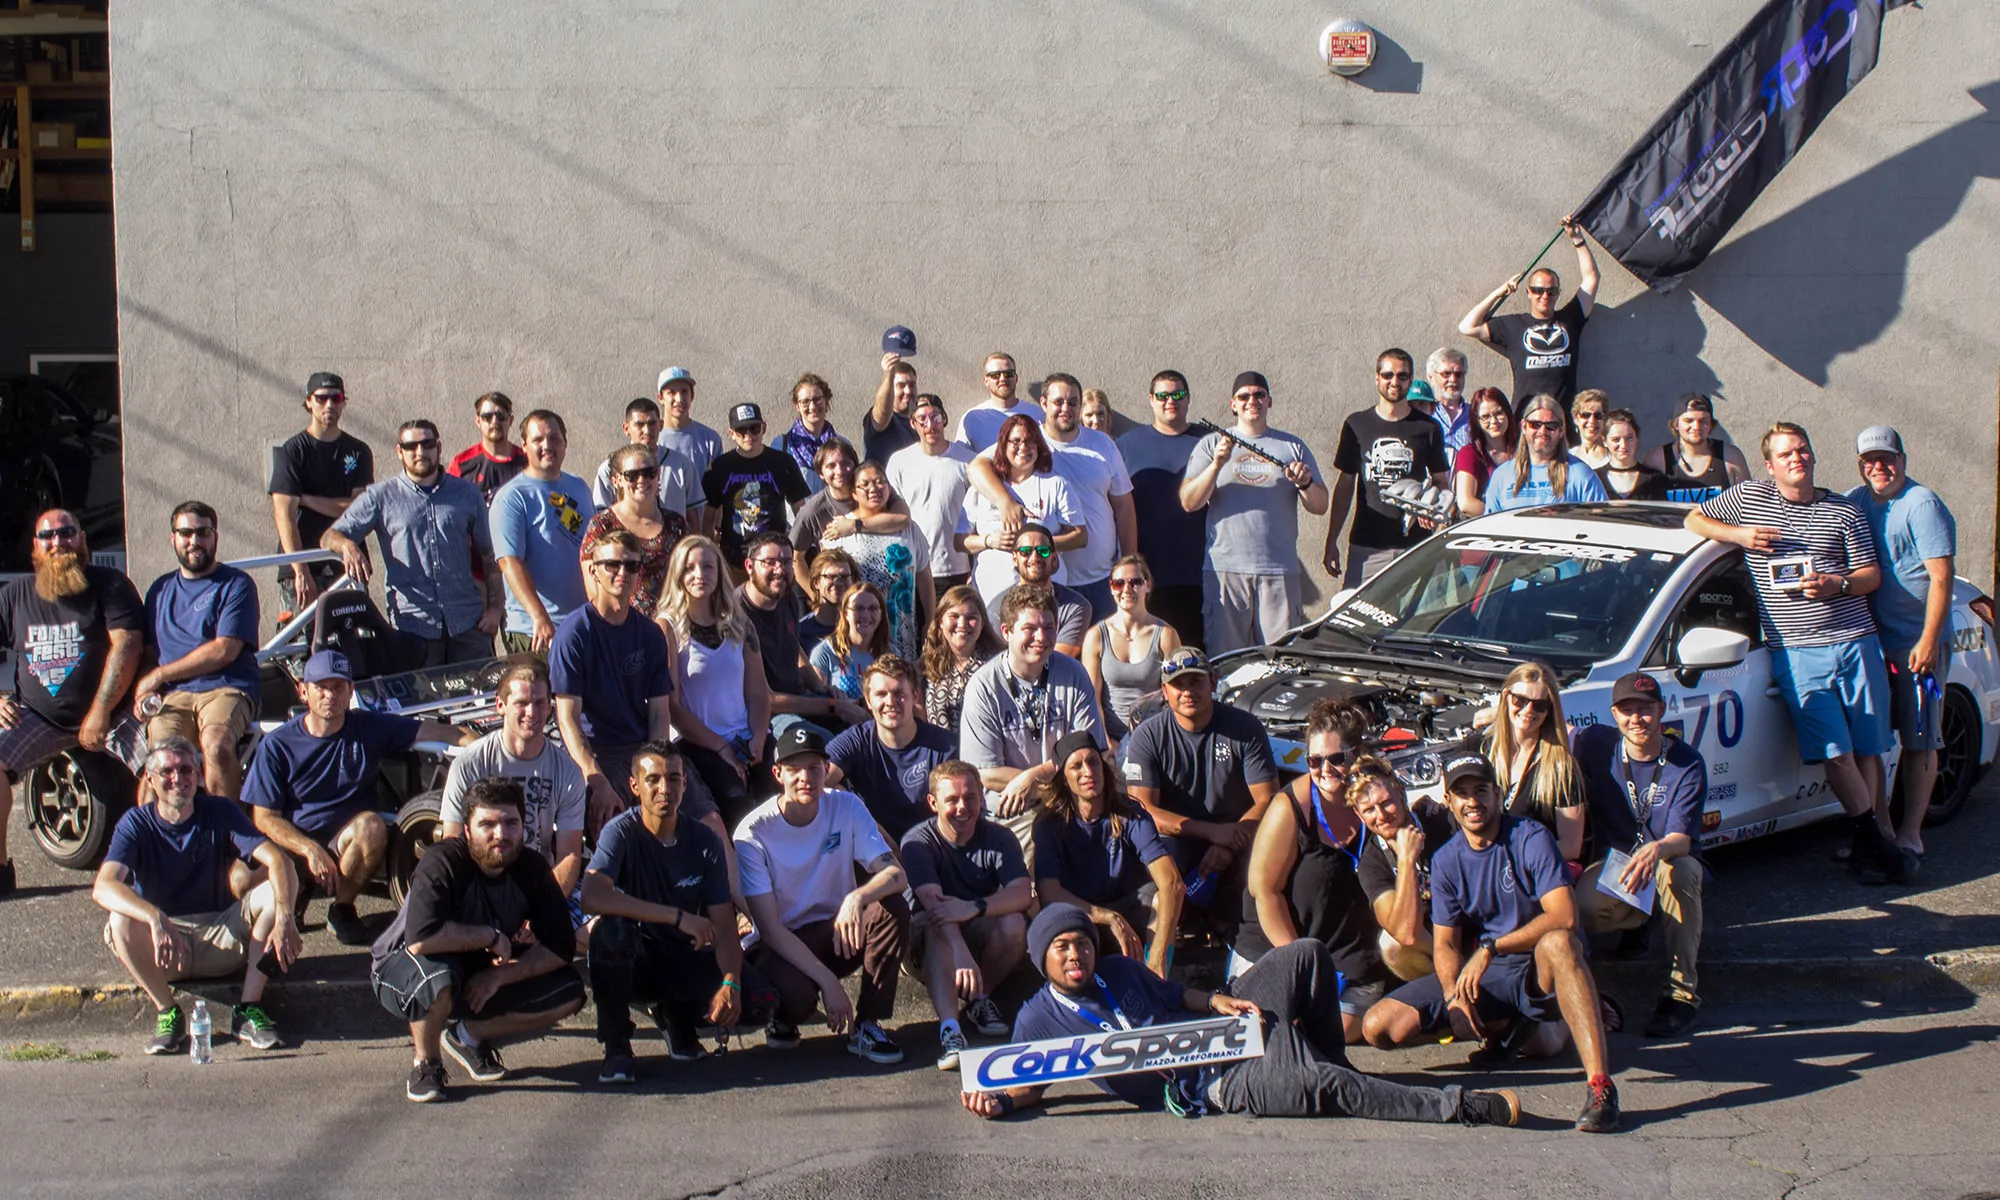
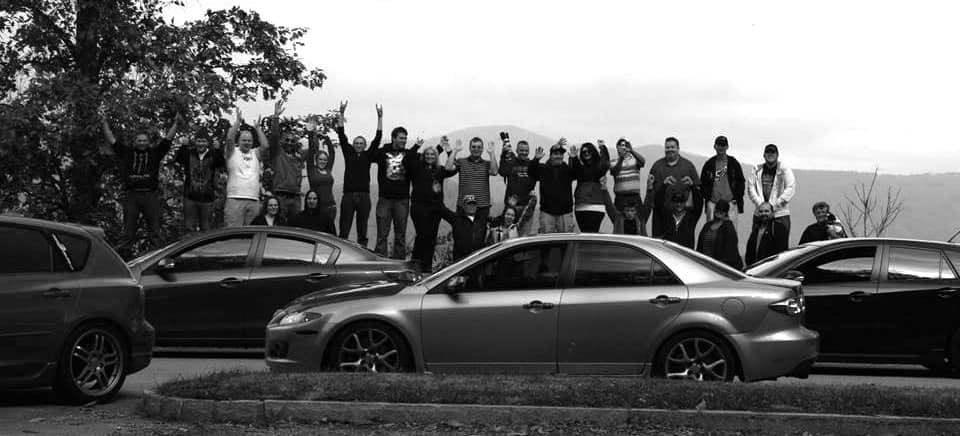
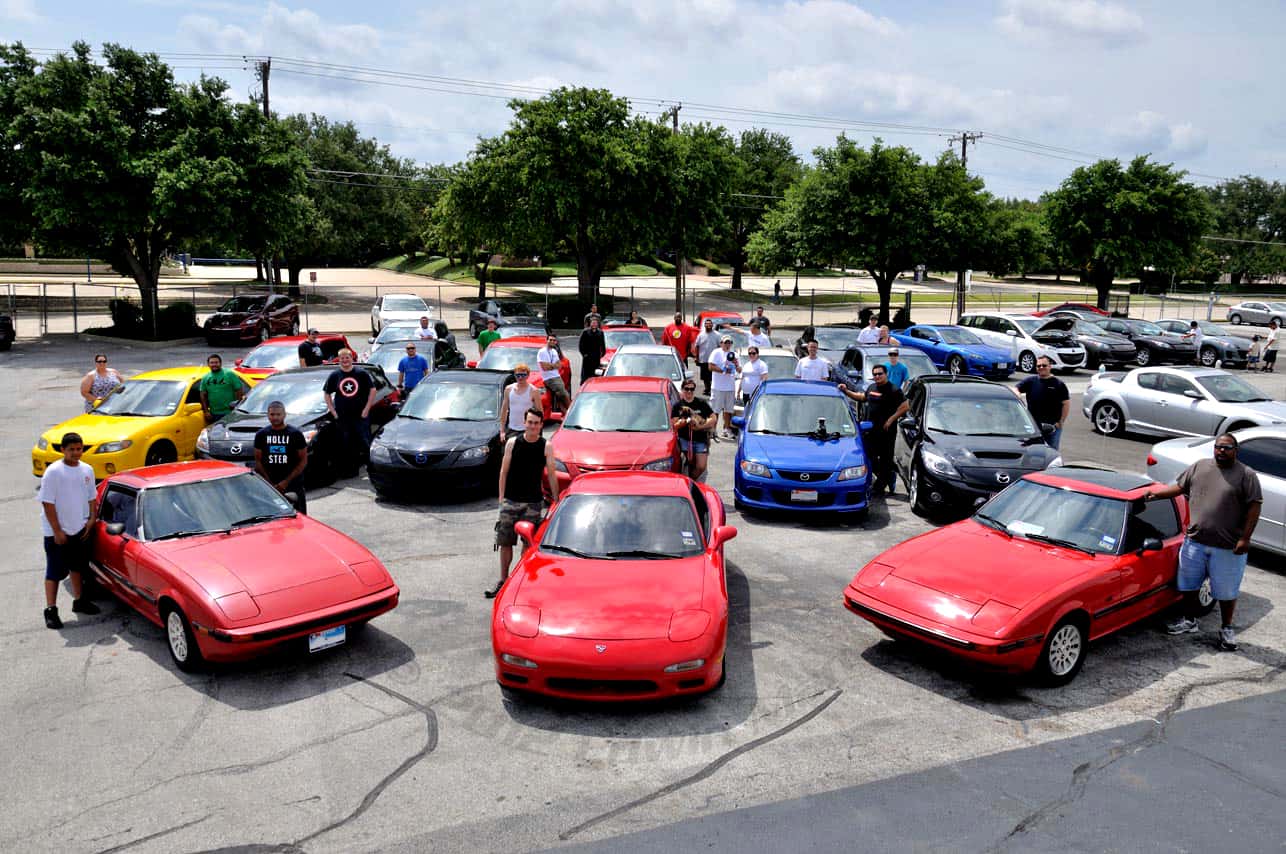
Did you know there are LOTS of Car Guys and Gals out there in the Mazdaspeed world?
From Nator Clubs and Mazda Nova Clubs to Mazdaspeed and Meet Up Clubs, the branding is slightly different for each area and each group, but the heart and soul of the people who get involved stays the same.
Great people, big appetites (for speed and food), awesome tastes in beers and booze, and a genuine care for their fellow club members. I have made sure to attend meets and get to know the nitty gritty center of our Mazda Community, mostly because who doesn’t want to do Car stuff with their Car friends. However, I also do it because it’s an integral part of CorkSport’s vision, to give unprecedented levels of customer support and connection to the Mazda Community.
We ultimately just want to LOVE OUR CUSTOMERS, and I’ll take one for the team and meet you Guys and Gals face to face.
We’ve been to the MidWest Nator meet, the East Coast Nator Meet, and the Boise Mazda Take-over event this past year. We have also hosted our CorkSport Dyno day and given the west coast Mazda community a place to gather as well! Let me just say, it’s been amazing getting to know everyone, and seeing some awesome familiar faces.
The one thing that really stands out for me is the sense of community that is built at the center of all of this. I’ll admit I’m a people person, so of course YOU are my favorite part of working for CorkSport, however, it’s a community like no other, regardless of the title it goes by. The values of the Mazda community stay fairly similar, with mods, install days, track days, meet ups, and expansion of the love we all share for the Mazda Platform.
A group of awesome individuals, getting together, teaching those who don’t know how, and taking are of those who do (and still break down).
There are Groups all over the US (and I’m sure international), that we don’t even know about. It’s my hope that when you read this, you pass me your group pages, club names, social addresses, etc., so that CorkSport can help others in your area connect!
Near and Far, no matter where you are, let CorkSport hear from you!
Until next time, stay safe, stay fast, stay happy my friends!
-Kim @ CorkSport
Dear Car Clubs: We Want To Hear From You! September 13th, 2018Derrick Ambrose
Track Tested CorkSport Approved 3rd Gen Mazda 3 Parts – Leading the Pack.
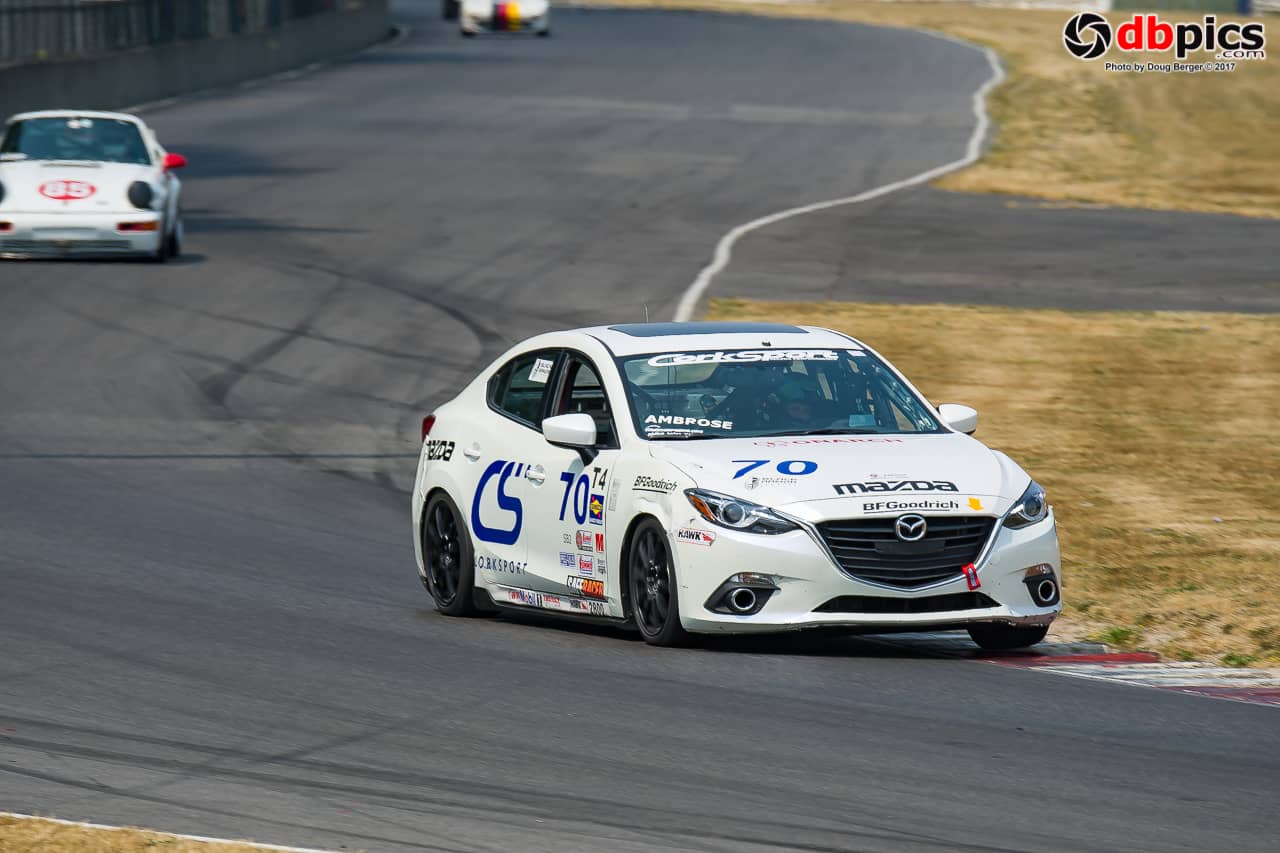
The last race weekend I had available before the runoffs turned out to be pretty interesting.
Locally there are very few T4 (touring 4) class cars so I often find myself running with other class cars and this weekend was no exception at Portland International Raceway. I showed up for qualifying on Friday morning with a new part to test and a suspension setup with something I had not tried.
I looked over the entry list the day before, and there read a list of cars you would expect to clobber a Mazda 3 on the track. 3 Porsche 911s, a pair of V8 mustangs, an STL Miata and more.
To make sure I had a clear track for qualifying, I hustled to the pre-grid to make sure I was the first car out. Straight out of the pits, I went flat out to get some distance on the Porsches to be able to push the car for the entire time I was out qualifying. As I watched the lap timer in the Mazda 3, my times kept dropping lap after lap. 6 laps in and I had already bested my fastest lap time at Portland by a second, so I called it quits and pulled in to the pits.
On the way out of the track I grabbed the time sheet to review and see where I placed. A quick review of the sheet showed I had qualified the Mazda 3 in second out of 10 cars and I was in front of 2 of the Porsches.
The start of the race didn’t go that great. Out of all the cars on the track I was in the bottom ½ for horsepower. But I was making up the speed in the corners.
One of the back cars jumped the start a bit and managed to take us 3 wide into a corner which is only good for 2. I was forced to give up some room to one of the Porsches to keep from having contact which put me back to 4th. Several laps into the race one of the Porsches who got ahead of me at the start spun off the track so I was able to move back up a spot while trying to chase down the leader who was running ~1 second a lap faster than I was. The 30 minute mark came pretty quick, and the race ended on a not-so-exciting note of me being in 3rd, and the leaders ~ ½ a lap ahead and all but a few of the rest of the field being lapped.
The big question you all want to ask is: “What were you testing for the 3rd Gen Mazda 3?”
First things first, the changes we made to the Mazda 3:
We made an adjustment with the CorkSport rear adjustable swaybar. Being able to make quick adjustments on the rear swaybar bar allows us to soften the suspension to match the alignment changes.
We had taken more rear camber out of the back of the car with the CorkSport adjustable camber arms, trying to decrease rear grip (yes you read that right). We have been having problems with front end push (understeer) so we worked on dialing rear grip out of the car. – We had the CorkSport front camber plates maxed out for camber to the class limits, but it wasn’t enough to offset the rear grip.
We originally were running our CorkSport Mazda 3 adjustable shocks on the track but we had to remove them as they are not legal for the Touring 4 class. The adjustable shocks make a world of a difference over what I have to use on the car and I wish we could’ve changed back. Being able to fine tune the Mazda 3 suspension is a great asset for any performance driver.
Now to the fun, what I got to test that was new:
The engineers here at CorkSport have been working on a revised Mazda 3 Rear engine mount for the 3/6/Cx5 over the past few months. The best way we have to extreme test parts is on the track.
Think of the race-testing this way: I am driving full throttle, banging gears, and when I am off the throttle means I am on the brakes, so there is no time for the mount to get any rest. There is the maximum amount of heat, load, and stress in a compressed time line, compared to street driven cars, so if failure is to occur it would be on the track.
At the end of the month, I will be doing a test on a final version of the rear engine mount at the SCCA Runoffs and competing to bring home a National Championship for CorkSport and Mazda.
You just can’t beat the fact that our CorkSport parts walk the talk when pushed to the extreme, which means they won’t let you down, no matter what you’re doing.
Charge for the WIN!
Derrick
Charging for the WIN! January 30th, 2019Derrick Ambrose
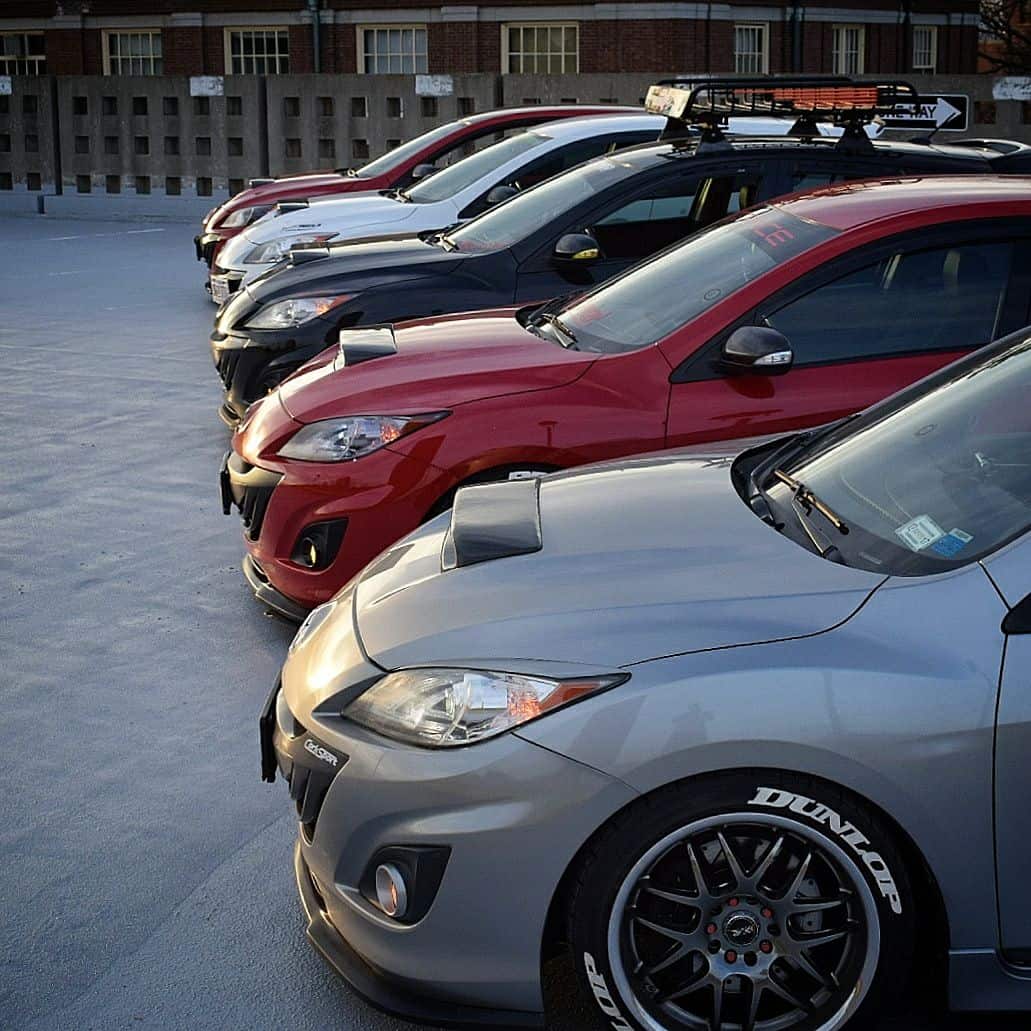
As if it wasn’t obvious, we have a plethora of vehicles to work with around here. True to fashion of course, we at CorkSport have gone and done it again: We went and filled some of the last remaining shop space with ANOTHER CAR.
Not just any car. Say “Hello” to our newest addition: 2018 Mazda 3 Hatchback, touring 2.5L SKYACTIVE-G. Equipped with an automatic transmission and some of the nicer creature comforts.
We love the sparkle of the Eternal Blue Mica and of course her 18” gunmetal dancing shoes. However, as with all things good and standard in the world, we couldn’t help but think that the potential for upgrading is endless.
Do we strip it and go full race car? Perhaps something crazy and AWD swap of sorts? Or maybe we take it way out of left field and go rally-style with it?
With the opportunities being endless, it was starting to make our heads hurt, so we decided to take a step back and start with the basics. We asked ourselves:
“How would our average customer who just picked this car up dream of modifying it?”
And that is exactly what we are doing.
If you guys are anything like us, then you have several hobbies that extend beyond just cars. Some of our team’s personal favorite other hobbies include hiking, camping, traveling, water sports, chilling at the beach, and has recently included obstacle course racing. With all these interests taking up different aspects of our time, we would need a ride that can accommodate our lifestyle. While it would be awesome to have a 6-second drag car, we’d probably have to lose some creature comforts or find a pot of gold to cover the cost, and that’s just not what the average Mazda enthusiast is about.
This project, like we said, is for YOU. And if it’s for you, then we need your help in putting it together.
PIC: NWAPA – Vinnie Nguyen
This car, or as we are designating it: “Project CBR” (CorkSport branded ride), will be built by the people for the people.
We are going to take you with us on the full journey of this car; from the basic mods to the full on weekend task. From the daily driver to the long road hauler. From the car wash to the full service details. We are going to show you everything and anything on this car.
And through the whole process, everything is going to be built with your help.
Over the next several months as we put some miles on our test mule, we will want your guys’ feedback.
Do we put springs and shocks on it or full coilovers?
What type of wheels should we get?
Tint the windows, wrap it, get rid of the chrome?
The list goes on!
Every couple of weeks, we will keep you updated on where the car stands and what you think we should do next.
We will create a section on the CorkSport site so you can follow along, ask questions, provide suggestions, and fully immerse yourself into the car. Ever so often, we will also host a poll and you guys will vote on what happens next!
Think reverse sponsored: Instead of CorkSport’s name being the only one on this ride, we will be giving Sponsorship Cred to the Mazda Enthusiasts who give us the ideas for our mods. (first come, first credits).
We’ll put YOUR NAME on the CorkSport Branded Ride.
If you have a Dream Mod, and We pull it off on the CBR, you’ll get the credits… Remember: The CBR is By the People, For the People!
Stay Tuned, we’ll need your feedback soon!
CorkSport
We want YOU to help us design the next CorkSport Branded Ride! September 22nd, 2017Derrick Ambrose
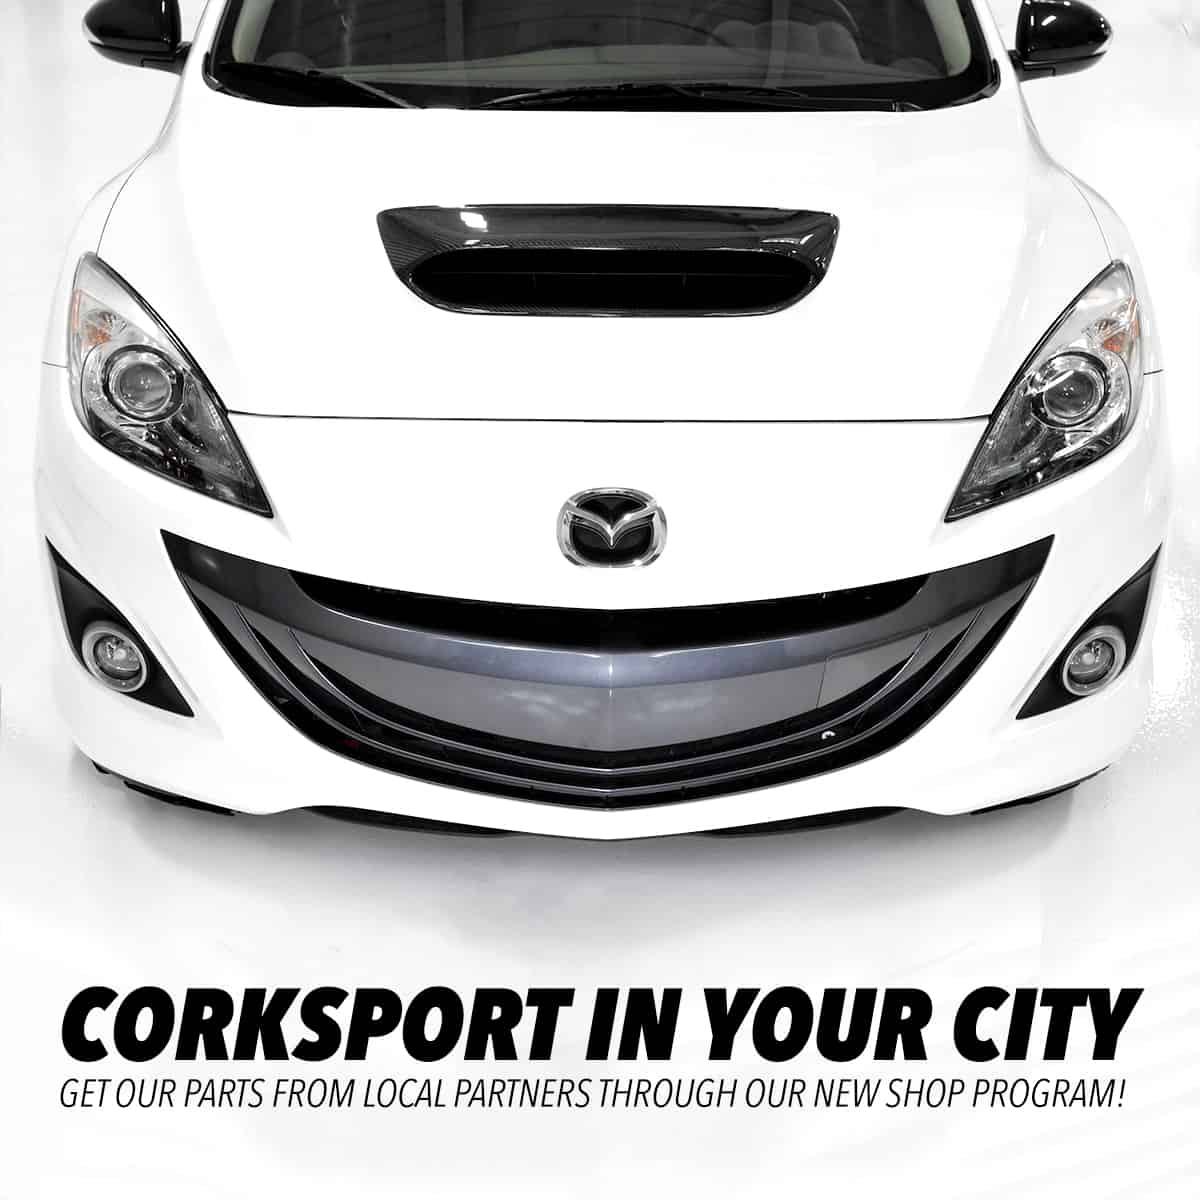
We know you’ve been seeing the social media posts calling for US Performance Installation Shops to contact us. So, as a customer, you have likely been reaching out to your local shop and telling them to call in or head to our link in order to get more info!
First off: A big THANK YOU to those who recommended their favorite shops, and to those Shops who have understood what we are about and got started in an awesome community partnership with CorkSport!
We’re excited to experience the support that has been passed along to the community, as well as to other small businesses through these partnerships.
We’re continuing to work with the Mazda Community to build, expand, and grow the number of enthusiasts out there. In doing this, the partnerships we are building will help the ‘newest generation’ of Mazda enthusiasts to get started somewhere. With the help of a local shop, they can learn what they need to know, have a trusted place to take their car, and find themselves inspired by the work they do.
PIC: Mazdas247.com
CorkSport’s Community Partnerships will allow for Mazda Enthusiasts to have a place to go for installation help, questions, concerns, and inspiration on what their car is capable of.
If you know of a Performance Installation Shop near you, or are one yourself; get in contact with CorkSport to see what we’re capable of accomplishing together!
Shout out to the following companies for being the earliest adopters of CorkSport’s Shop Program!
You’ll see below some of these Performance Shops are run by well-known Mazda enthusiasts, which is why we’ve chosen them as trusted community partners!
This is not an exhaustive list of our partners. We are building that list and you will soon be able to see which Shops we are partnered with on our website. This resource will provide you with a quick guide to where to go for installation help in the future!
We are looking forward to what we can build together in our expanded CorkSport family!
CorkSport Community Partnerships: building the Mazda Community, one enthusiast at a time.
Cheers,
Kim Russell,
Corksport Performance
Welcoming Our New Partners of The CorkSport Shop Program! September 13th, 2018Derrick Ambrose
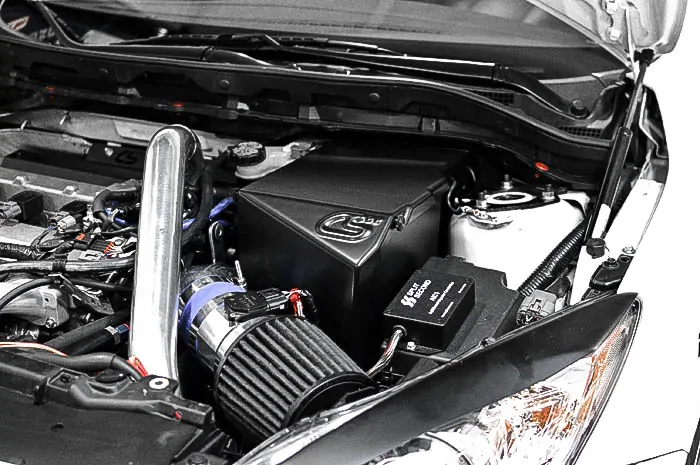
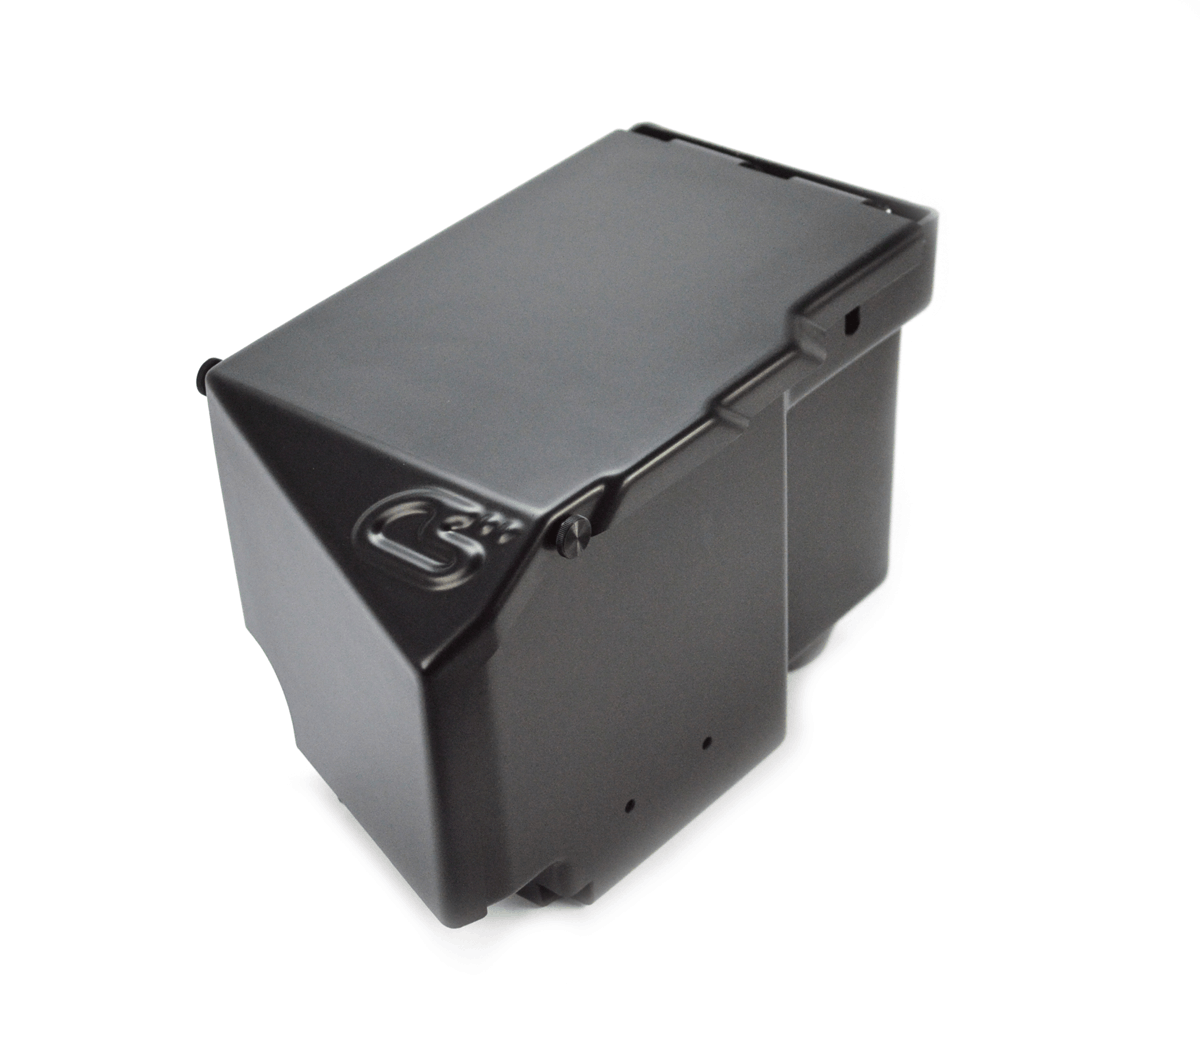
We love the clean and simple look of the CorkSport full-size battery box and we know you do also. Our goal was to bring that same level of awesomeness to all the big power guys and gals running 4” intakes and 51R batteries in your Mazdaspeed.
We knew we couldn’t compromise on the fit and finish you’ve grown to love, and this new battery box doesn’t disappoint.
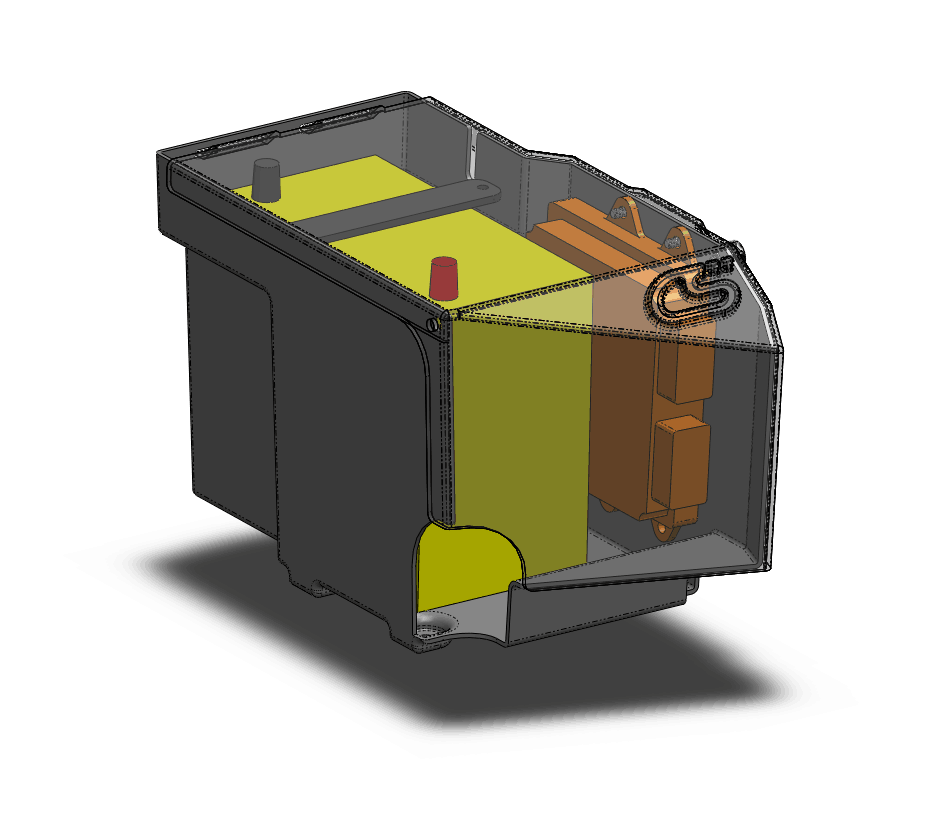
The greatest challenge came in the form of locating the ECU inside the box; as that is the whole point of the CorkSport battery boxes. With a bit of massaging and adjusting, we innovated a sleek solution for the ECU placement without compromising the style and fitment of the battery box.
In the original CorkSport Mazdaspeed battery box, the ECU was located on the front panel. This packaged well with the full-size battery and made access easy, but in order to increase the clearance for a 4” intake system in your Mazadaspeed, we had to reduce the width of the battery box as much as possible. This required us to rethink the location of the ECU and the overall design of the battery box to accommodate it. Check out the computer-drafted model below.
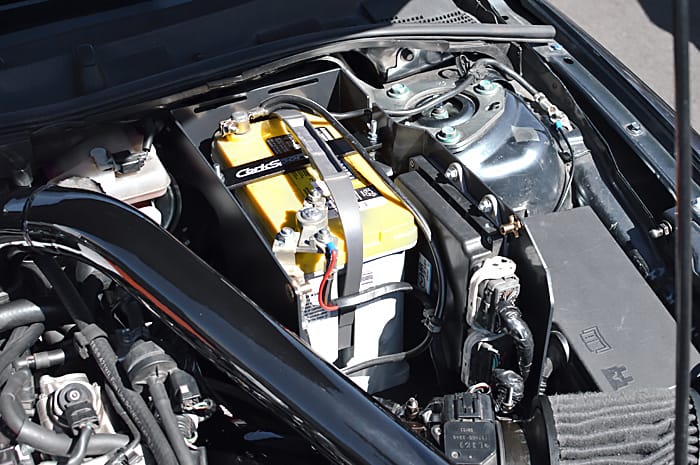
Moving the ECU to the side provided ample clearance for a 4” intake system and retained the standard battery location. The front of the battery box had to be extended out a bit, but this also gave us a chance to keep the wiring harness inside the box to maintain the high-level fit and finish. To finish off the installation, the battery is retained with M6 studs fastened into the battery box and a 0.120” anodized aluminum bracket.
If you’re looking to downsize your battery, upsize your intake system, or are just plain tired of looking at all those unsightly wires then let the CorkSport 51R ECU Relocation Battery Box be the answer to your goal.