This month, shockingly, we’ve got a Mazda 3 and a Mazdaspeed 3. Will this month be a repeat of last month? Or will the Mazda 3 pull off an upset victory?
First up we’ve got Ray’s 2009 Mazdaspeed 3. He’s gone big turbo, and has done just about everything you can do to a Mazdaspeed 3.
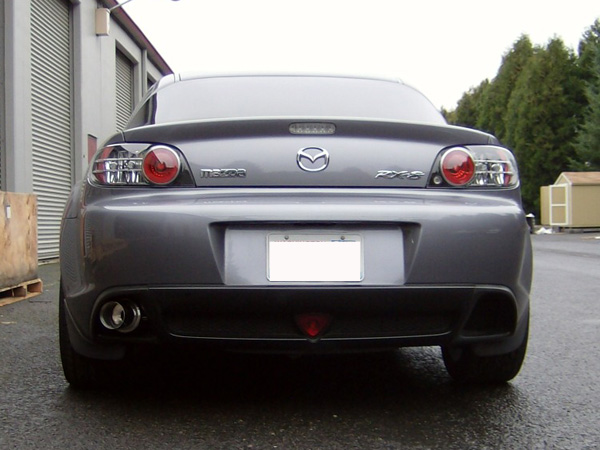
Our next gladiator in the arena of automotive combat is Joe. He lands the other end of the spectrum, keeping a refined, subtle, OEM look to his car with only clean styling cues to give away the enthusiast inside.
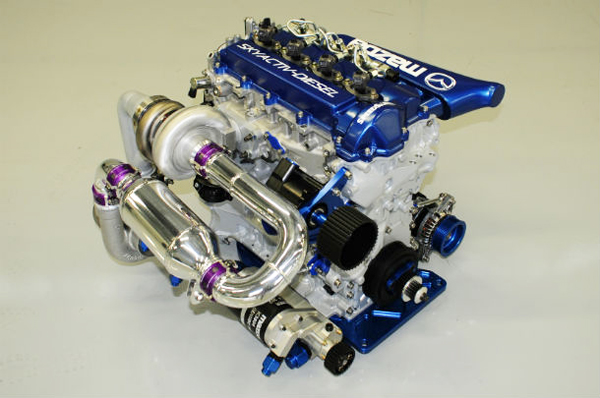
Mazda has already made the announcement that they intend to begin offering the Mazda SkyActiv-D (diesel engine) on the CX-5 in the US market in 2013 and as a leader in the motorsports arena, it should come as no surprise that the latest announcement surrounding their new SkyActiv diesel technology comes on the racetrack.
Mazda announced that they will be supplying SkyActiv-D engines to the GRAND-AM series GX class. Set to debut in 2013, the rules for the GX class are still being developed, but are expected to showcase the exploration of clean diesels, alternative fuels and even hybrid powertrains.
In press release distributed by Mazda Motorsports, Jay Amestoy, Vice President of Mazda Motorsports, Mazda North American Operations (MNAO) was quoted saying, “This opens a new chapter in racing for us. We’ve won with rotary technology, and now we’re looking to again put our customers in the winner’s circle with what we believe will be the most advanced and cleanest production-based powerplant the sport has ever seen.”
The engine is being jointly developed by Mazda Motor Corporation, Mazda North American Operations, and Speedsource Engineering and will be featuring a 14:1 low compression ratio, new two-stage turbocharger, a 5,200 rpm redline and compared to Mazda’s current-production 2.2L MZR-CD diesel engine, up to 20% reduction in fuel consumption, 20% reduction in internal engine friction and 10% reduction in weight.
On track testing will begin later this year. The actual Mazda model the SkyActiv racing engine will be installed on will be announced after the conclusion of the 2012 Grand-Am racing season. My guess is that we will see it debut on a Mazda 3, but only time will tell.
Gwynne-
SkyActiv-D Goes Racing June 5th, 2012Derrick Ambrose
I wrote a post about rumors of a Fiat/Mazda partnership in March and here we are several months later and the rumor of Mazda and Fiat working together has become a reality.
The official news is that Fiat is going to share Mazda’s upcoming Mx5 chassis in a new Alfa Romeo roadster of some type. Contrary to my other blog post on the topic, I am ok with this. Mazda will be able to re-coup some of the engineering and production costs from the Mx5 and I don’t see the Alfa and the MX5 really competing for the same buyer.
Reading between the lines on the announcement, I expect we will see the news of Mazdas being built in Fiat owned plants in the coming years and would expect it to be the new Skyactiv platform vehicles (aka Cx5 and new generation Mazda 3).
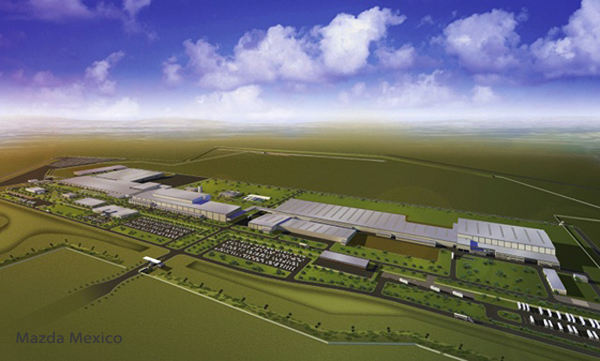
Assembling vehicles in the EU would benefit Mazda by allowing them to lower prices and be more competitive in the European market. Along with the Mazda plant being built in Mexico, Mazda has several bright spots in their production plans that will compliment their great sales numbers making them more competitive on the global market.
I do have some doubts about the quality of vehicles being built outside of Mazda plants in Japan. The Mazda 6s built in the auto alliance plant in Michigan seemed to be ok but the reliability stigma around Fiats and Alfas from the 70s and 80s makes me question the alliance’s long-term value.
Officially Fiat has said it does not want to purchase a stake in Mazda and wants to finish the Chrysler purchase in the near future. I’m not too sure I believe the statement offered by Fiat but at this point we will have to wait and see what happens.
There is an interesting side story in all of this. Mazda has agreed to have Sollers in Russia build the Cx5 and Mazda 6 for the Russian market. This deal was made after a deal for Fiat and Sollers fell through to have Sollers build vehicles in a joint venture.
With this move, the Mexico plant, and the agreement with Sollers in Russia, I see a great path for Mazda to move forward on and I look forward to seeing how this goes.
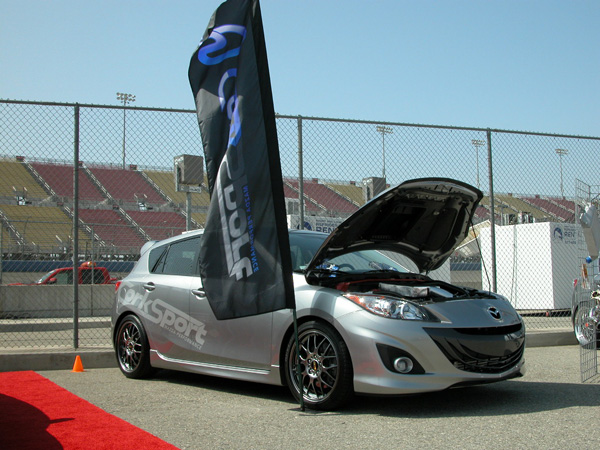
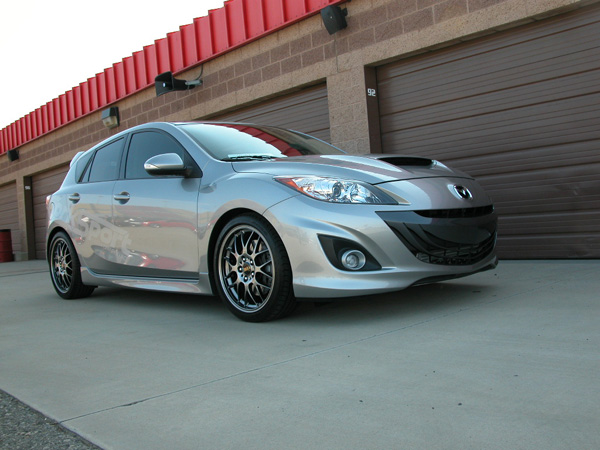
This month’s winner for our blog segment, The CorkSport Featured Car of the Month, goes to Christian who’s 2011 Mazdaspeed 3 plays the looks and the part for the role!
But the mods don’t stop there, in addition to his CS go fast parts, he has also added a COBB xle bpv, upgraded his fuel pump internals and motor mounts and added a short shifter kit, CorkSport Skid Plate, and COBB AP.
For improved handling Christian has added HKS Hypermax Coilovers, Auto EXE front, rear, and bottom strut bars and BBS Wheels. To help him stop his speedy ride he has also added CorkSport Stainless Brake Lines and Stop Tech Slotted Rotors.
Ever since Christian learned how to build his first engine, he was hooked, but this is the first Mazda he has ever owned. He knew immediately that it was the perfect ride for him, “It is lightweight, powerful, and has superb handling” said Christian, “All I have to say is I love my Mazda.”
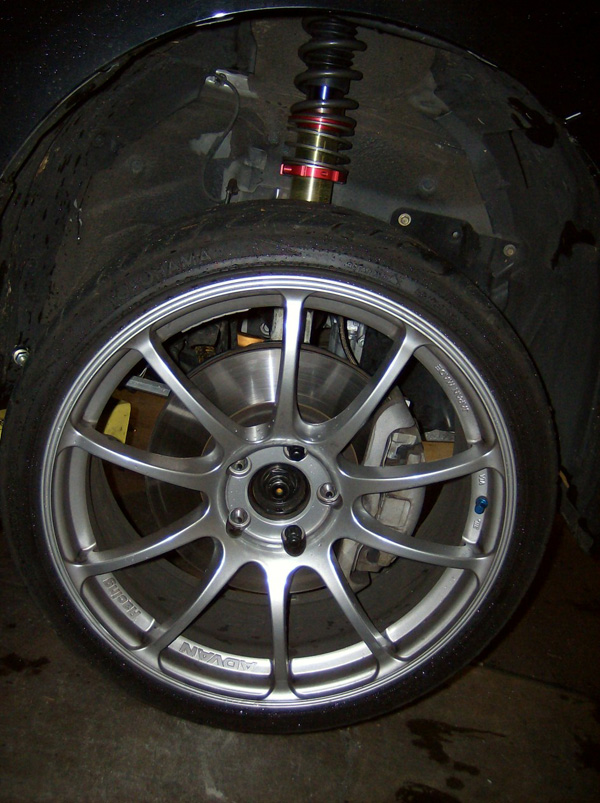
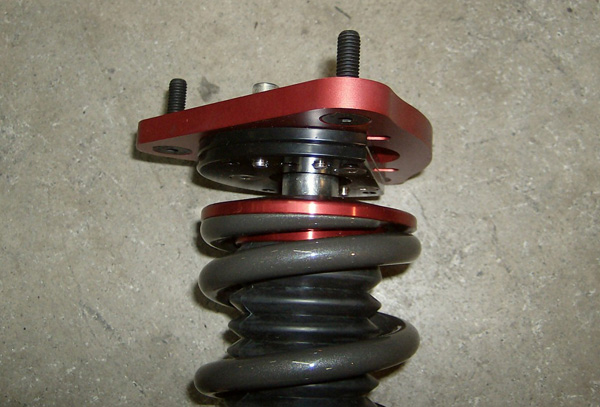
As many of you know, here at CorkSport we always have products in different stages of development and recently have been splitting our time between two areas of the Mazda world, suspension and exhaust.
Because we support so many models, our time gets allocated between several different product lines to ensure we have parts coming out consistently to support our whole customer base. Today, I will be covering just a few of the items I have been working on over the last several weeks and give you an idea of what we have working in the pipeline.
This summer it will be time to step up, or drop down, to a new set of coilovers designed by CorkSport. They will of course be CorkSport quality and be optimized for most of our customer base. Adjustable height, adjustable dampening and front camber adjustment will be a few of the characteristics. We are also working on producing some camber adjusters for the rear as a separate product.
We have also been exploring many options to get internals or a fuel pump upgrade to market over the past several months and we have started preliminary testing and design of CorkSport’s own fuel pump upgrade solution for our customers. We are in the preliminary stages of testing and will be working through the development process over the next several months.
Mazdaspeed 6 owners have been lacking options on the market for a front sway bar application for a while but don’t worry, this summer you should have that bar you’ve always dreamed of. Our beta car has had this bar on for a while and with a few revisions it is getting tremendous results in terms of improved handling and feel. We are in the final stage of development, are going into production now and expecting a full release of the product as early as next month.
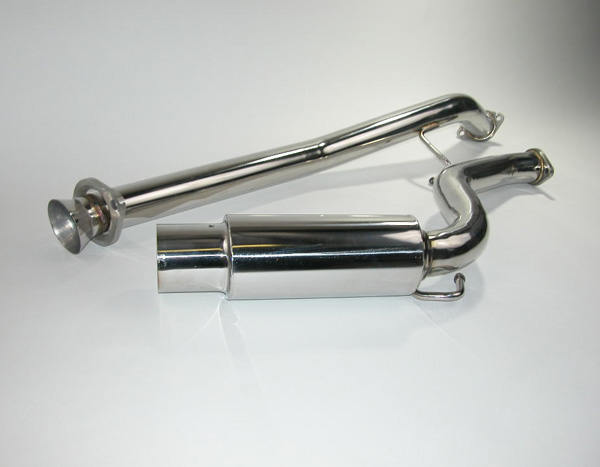
All of you RX-8 fans out there will be glad to know we are in the final stages of development for a single exit exhaust. It has been a long time coming but the drift style exhaust is almost ready for release. We are doing final test fitment now and have identified some beta testers that will be getting the parts on a pre-release later this month. The Beta testers will run the exhaust making sure they like the fitment and sound of the part and will help us to refine our installation instructions to make sure that they are easy to follow before we release it for sale to the public.
Keep watching the blogs because we will be sharing more information that will give and inside look on the engineering and development of many of the parts we are releasing. I will be writing an in depth blog on the coilovers and coilover development and will also be writing a blog on all the information we are learning about fuel pumps, including spill valves, relief valves, fuel injectors, fuel pump internals, and information on the cam that drives the pumps.
Brydon –
CorkSport Product Development Update May 29th, 2012Derrick Ambrose