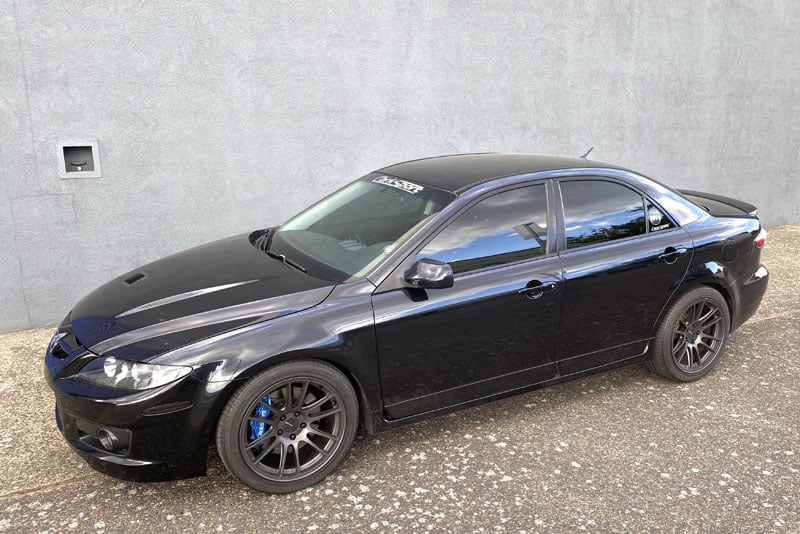
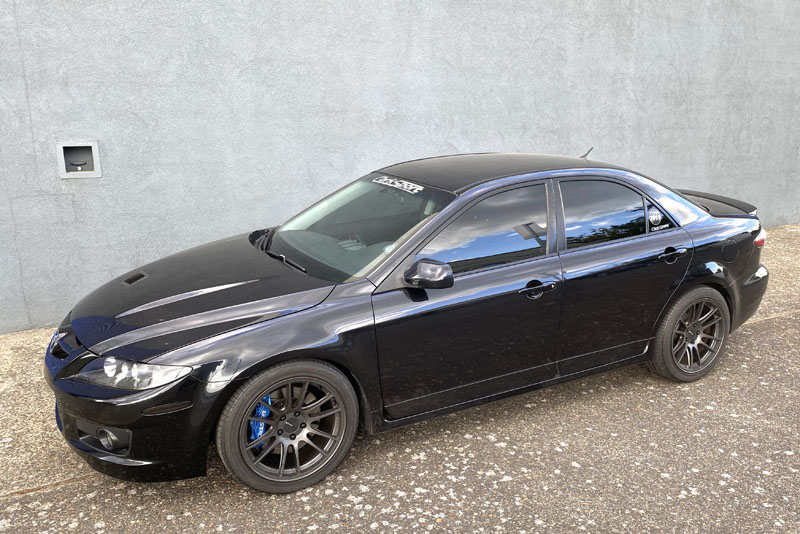
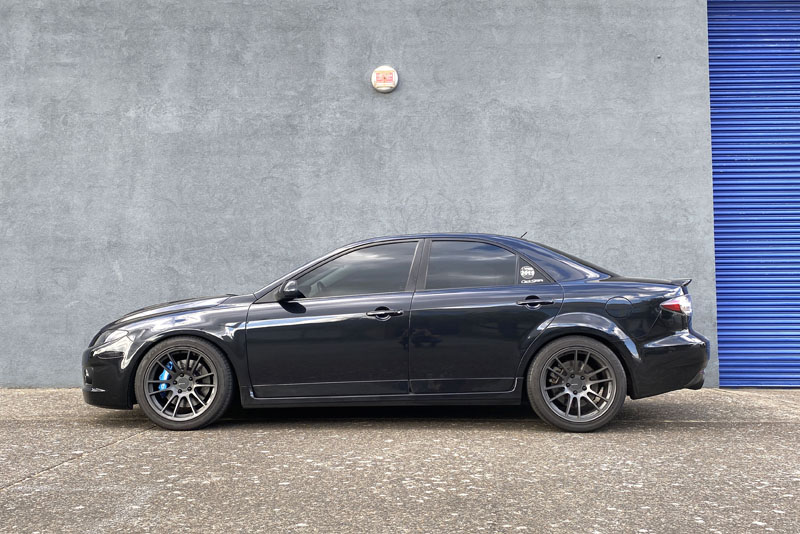
CorkSport is proud to announce the Mazdaspeed 6 Lowering Springs are back and better than ever! We made some slight revisions to promote a more consistent ride and handling but kept the ride height drop about the same as our previous springs. If you’re looking to get rid of your 4×4 fitment and add some much-needed cornering ability to your MS6, read on for more details and check out our product listing HERE to purchase!
Focus On Design
We started off by focusing on the most important aspect of a set of lowering springs: handling. The CS springs lower your Speed’s center of gravity for less body roll and increased driver confidence. Stiffer than OEM spring rates further decrease body roll and provide a sportier ride for more feedback when on your favorite backroad. Final spring rates are approximately 5.1K front and 4.1K rear. Compared to OEM, this is a larger change in the rear than the front to promote more neutral handling and less understeer.
Springs That Work
Don’t worry though, spring rates were kept mild to keep the MS6 comfortable on the daily commute. It is a sportier feeling ride, but not too drastic of a change to ensure the CS springs still work well with OEM shocks & struts. Aftermarket units work even better as they have stiffer damping to match the stiffer springs. They are not required, however, we do recommend new OEM shocks and struts or aftermarket replacements if you’re still on the original (15+ year old) dampers.
The Right Height
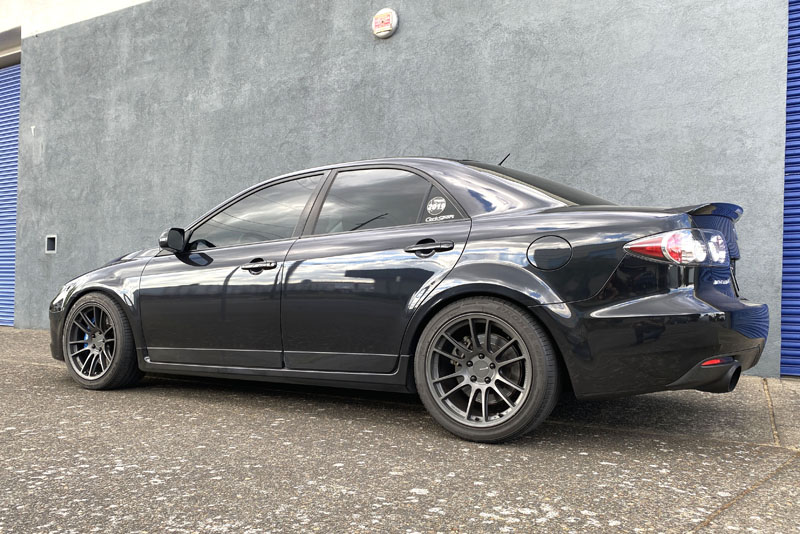
Now let’s get to what most of you are looking for: ride height. The CorkSport Mazdaspeed 6 lowering springs are approximately 1.6” lower in the front and 1.25” lower in the rear than OEM. This height gives reduced wheel gap that is even front and rear without being too low and having to worry about scraping on every driveway and speedbump. This is right about the same as our old lowering springs with just a touch more rake for less squat when the car is loaded up with people or tools.
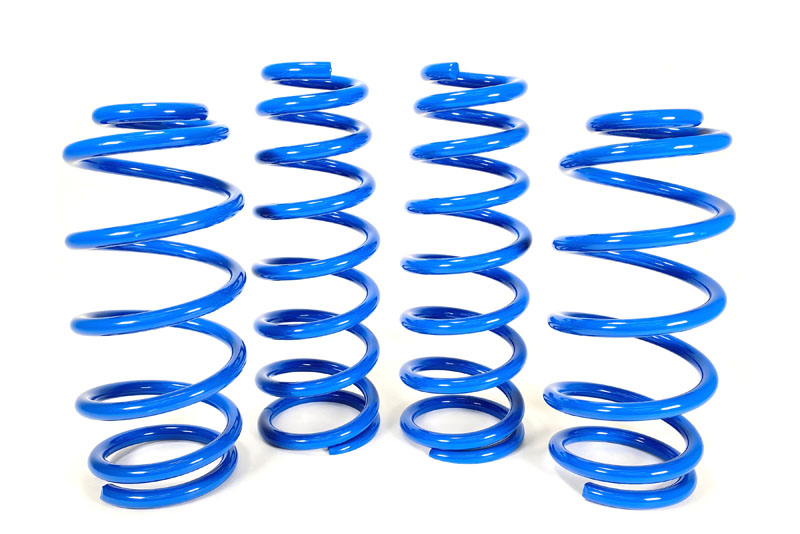
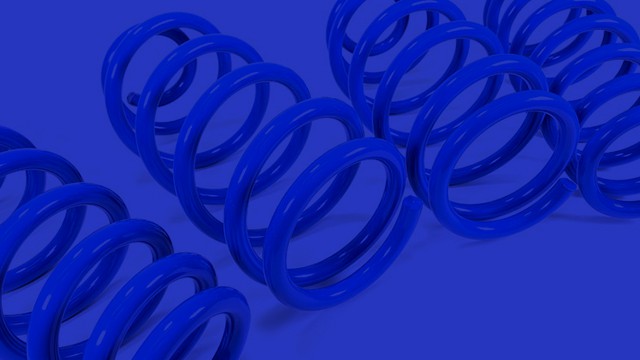
Finally, the new CS springs are finished in a new color! Blue powder-coated finish ensures a great look and long lasting corrosion resistance.
Thanks for following along the CS blog and checking out the new CorkSport MS6 Lowering Springs. Be sure to check out the product listing HERE for more images and don’t hesitate to contact us with any questions, we’re always happy to help!
Connect With Us!
Get the Mazdaspeed 6 Lowering Springs
The Mazdaspeed 6 Lowering Springs are back and better than ever! Get yours and enjoy the ride!
You may also like: