I am the “New, Old” guy that answers the phone here at CorkSport along with Derrick.
I used to work here a few years ago, left to explore other job options and go back to school, and now I’ve come back home to CorkSport. There are lots of changes but some things are still the same.
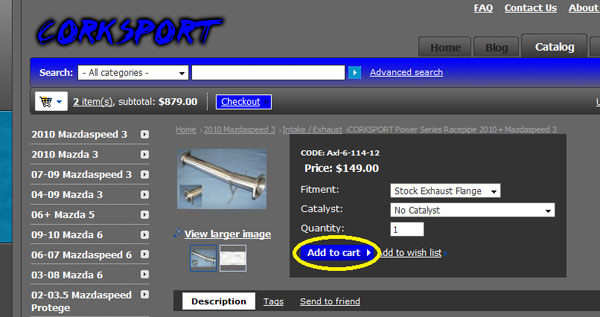
If you send a email in from the web page I’m the guy that gets it. One of the questions I get frequently is “How much is shipping.” So I thought I would share with you a easy way to get a quote right from our web page.
To Estimating Shipping Costs:
Add the part to your cart
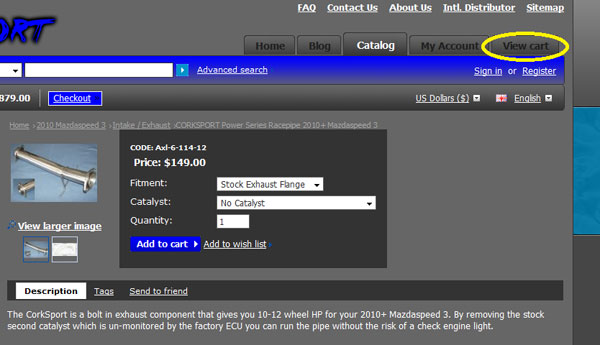
Click on the view cart tab
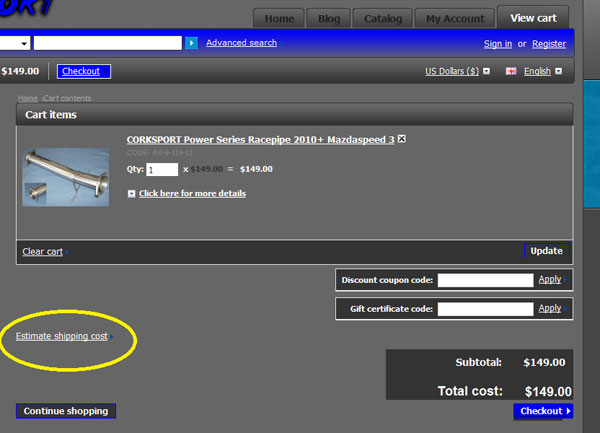
Click on estimate shipping cost
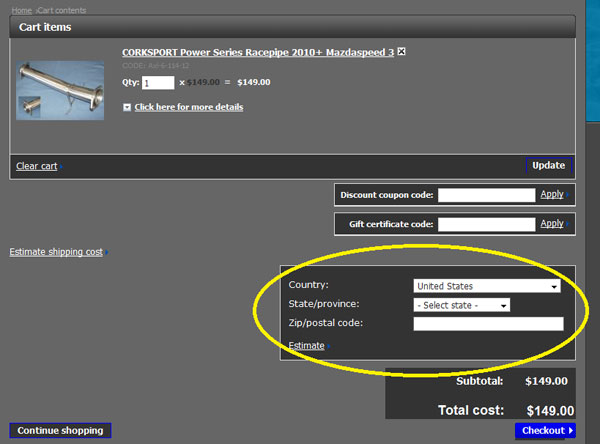
Then enter your information on the right
This will give you a good estimate of what shipping is going to cost you. You still may want to check with us for shipping costs on large products like body kits and stuff like that.
If you have any questions please email us anytime.
I was reading an article about GM’s so called recovery and the author made the quote in regards to Mazda. “Mazda makes interesting, fun-to-drive cars, including the Miata roadster and the sporty Mazda 3 compact. But the company lacks marketing clout and a strong dealer network, so its U.S. market share has been stuck between 2% and 3% forever”
Some of the quote is true; Mazda has not been able to increase their market share beyond the 2-3% in North America. However, I disagree with the marketing clout statement though being the factor. BMW, Audi, Mercedes, Mitsubishi, and Subaru, and Volkswagen all have lower market shares than Mazda. All of these car companies spend as much, if not more than Mazda on marketing. Mazda has been treading a different path compared to other brands, and lets the strength of their model lineup do the selling for them instead of wasting millions of dollars on overblown marketing campaigns. Don’t get me wrong, Mazda’s goal is to sell cars and make money like any other business, but Mazda makes fun to drive vehicles and thus markets themselves differently. Mazda speaks in their advertising to being sporty, fun to drive, and economical, which targets a younger demographic.
Look at the Mazda 3 for example, it is a great car, fun to drive, (arguably) great styling. The average age of a Mazda customer is 42 years old, which might not seem young, but is significant in terms of people purchasing new cars. Mazda’s marketing to younger demographics takes them in different directions from other brands like GM. Mazda is very active with their marketing on Facebook and more recently YouTube. If you want to see a good example showing the difference between Mazda and General Motors marketing look on each of their Facebook pages.
So Mazda doesn’t pump millions of dollars into television advertising like other auto manufacturers. Mazda chooses to sponsor enthusiast events like Hot Import Nights and supports weekend racers with their Mazdaspeed Motorsports program. There are television adds but they are nowhere as numerous as other manufacturers.
Is it bad to be different? Not at all in my opinion, Mazda chooses to market themselves differently from the other manufacturers. I am sure the other 2-3% of the market who has purchased a Mazda agrees with me. Mazda has marketing clout, just not where the author of the quote looks.
You can read a little about me in the “Meet The Bloggers” section, but I’ll go in to a little more detail here. My name is Jake Fahlsing and I am one of the new product development engineers here at Corksport. I was born and raised in Minnesota, but have lived in Colorado, Kansas and the UP of Michigan (where I obtained my degrees at Michigan Tech). At 25 I am one of the youngest guys here, but with that comes a fresh mind from a different generation (not saying that anyone here is old).
I was involved in the Formula SAE team at Michigan Tech. For those that don’t know what that is: It is a school sponsored team of students that put their engineering and business skills into a real world application. The FSAE team must design and build a new car for every competition (held in mid May, usually at Michigan International Raceway). Using a Honda CBR F4i engine as our starting point, we designed, tested, manufactured and installed everything from the space frame tube chassis, to the rear diff housing. I was the controls team leader and competition driver of the vehicle. I was in charge of the brakes, throttle, shifting, impact attenuator, and dash along with the people working on those parts. I have personally designed and built several components for the car, but my latest project was a set of lightweight paddle shifters and shift linkage. Once at competition, we competed in several events including 1,000ft acceleration time, brake test, skid pad, an autocross course, and a 22km endurance race (which is also judged on fuel economy, not just time). Also, we were judged by senior level engineers from several Fortune 500 companies on design and sales presentations. With a budget usually around $12,000, it makes for several late nights in the shop and many team members calling around for donated materials and parts. The picture is of the 2008-2009 school year vehicle.
After finishing school (BSME & MBA), Corksport seemed like the perfect fit for me. The innovative design, quality, and attention to detail are what drew me here. As a product development engineer for Corksport, I hope to bring in some new ideas that you will see released in the not too distant future.
I love designing new products and seeing them through to the end. Nothing is more rewarding than having a customer say they loved a product that was something I designed, created, and tested. I have found in previous design projects, that a combination of new age technology (Computer Aided Drafting, Finite Element Analysis, and Computational Fluid Dynamics) combined with old fashion hands on engineering, fabrication, and testing is what makes a product successful.
The best product ideas come from the customer, and without you, we would not be in business. So if you have a good idea for a new product, be sure to go to our main page and click on the product ideas link.
Being new to the area comes with all sorts of little things that I am constantly learning. For example, you can’t pump your own gas in Oregon (I found that out for myself)? And it’s pronounced “Organ” not Oregon? Also, people love their speed bumps. Finally, I will never again leave my sunroof open while going in to a store if even for 5 minutes. The weather here can change from blue skies and sunny, to dark and rainy in seconds. I’m sure I could create an entire post on this, but I’ll leave it at that.
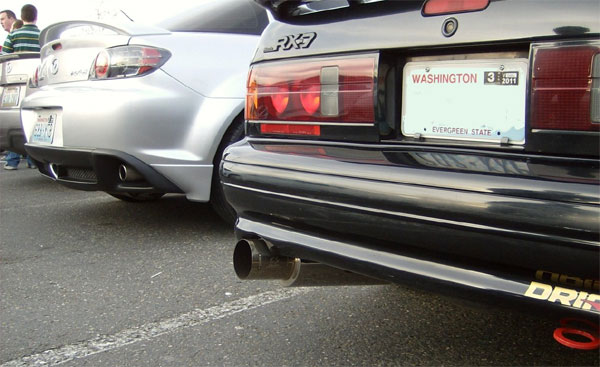
The April monthly meet for the MazdasNW was held at Godfather’s Pizza in Federal Way, Washington on April 14th. This was the first event this year where rain was not a threat. We had a great showing of Mazdas of all types present, Mazda 3s, Mazdaspeed 3s, RX-8s, etc.
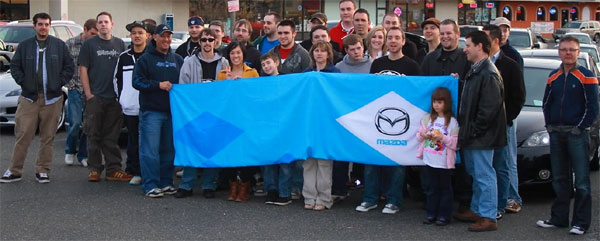
The event also had a Mazda travelling flag present. The idea behind it is to take a picture of the flag and pass it along to other Mazda enthusiasts. You can see the first picture below. To see the progress of the flag check out the forum post on Mazdas247.
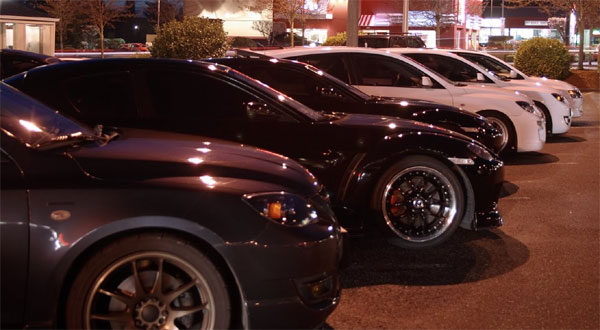
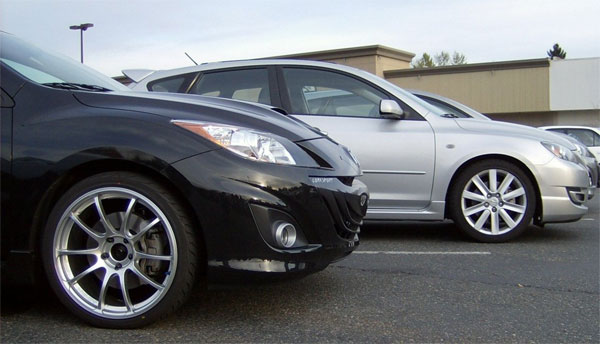
With plenty of Mazdaspeed 3s at the event there was a chance to look at plenty of different cars with various levels of modifications. We took out the CorkSport 2010 Mazdaspeed 3 to the event. It also has enough cargo space for us to fit an RX-8 bumper which we delivered to a lucky customer.
New and old Mazdaspeed 3s
It was great talking with everyone at the event and catching up on mods people have done to their Mazdas. I look forward to the next event.
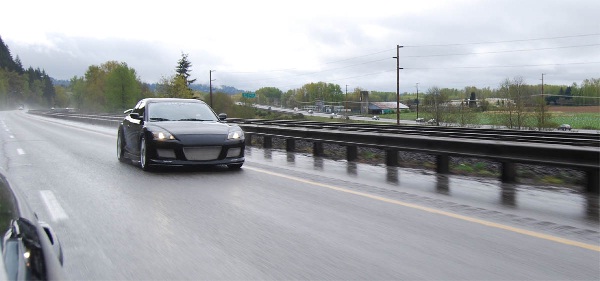
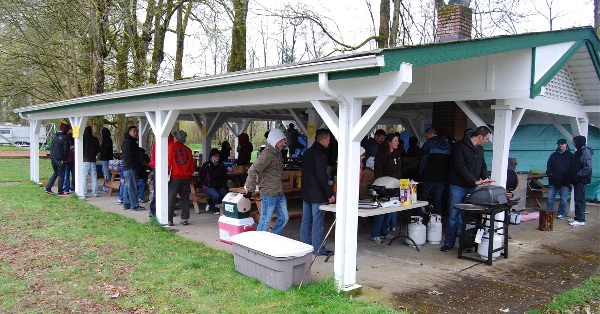
MazdasNW hosted a BBQ in Chehalis Washington on April 3rd. The event was held at Alexander Park which has a covered picnic area and is located on a local river. Being this is the NW there was a few scattered rain showers combined with some wind made the event cold but not unexpected for the location.
CorkSport RX-8 Rolling to the Event up I-5
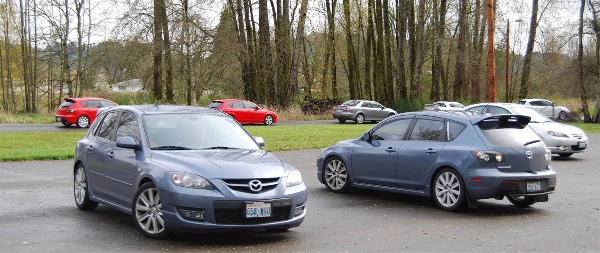
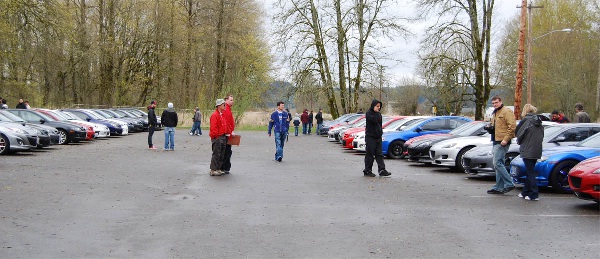
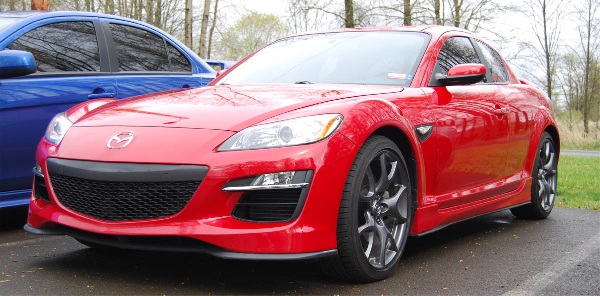
There were 39 Mazdas which were present at various points during the day with the counts being 10 Mazda 3s, 12 Mazdaspeed 3s, three Mazdaspeed 6s, 12 RX-8s including a 2009 R3 in red, 1 FC RX-7 and one 01-03 Protégé 5. There were plenty of families at the event with people bringing kids and significant others (including a few dogs, more about them later).
Parking Lot Dance for Parking Spots
A Full Parking lot of Mazdas
2009 RX-8 R3
There was a raffle which parts were given away from various vendors including CorkSport. We donated Mazda 3 and Mazdaspeed 3 motor mount inserts, along with some t-shirts and decals.
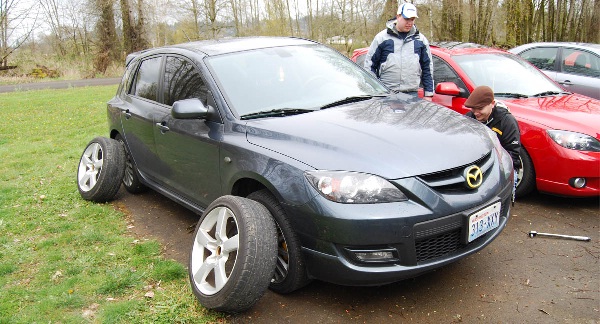
What is an event without a little wrenching. There were several modifications which went down in the parking lot. A Mazda 3 owner changed his rear sway bar end links to Mazdaspeed 3 models which required climbing around under his car in the parking lot.
Upgrading the Mazda 3
New Shoes for the Mazdaspeed 3
Good Food and Great Company
The MazdasNW crew broke out the BBQs and cooked up some good food. I want to give a special thank you for putting on the event and arranging everything. It was a well run event and I look forward to more this summer.
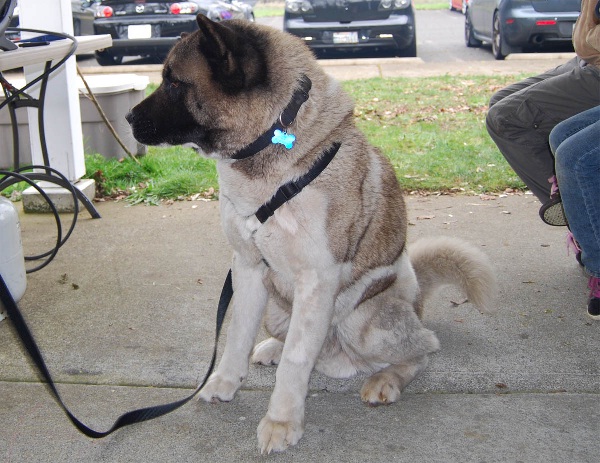
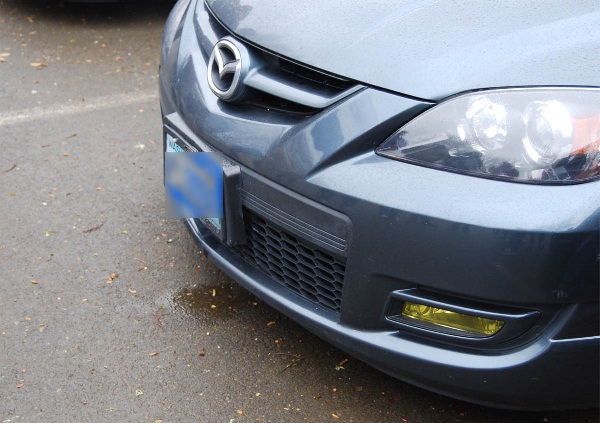
There one was naughty dog at the event who decided to use a Mazdaspeed 3 as a location to take a break. Thankfully someone with a water bottle went to the rescue of the Mazdaspeed 3.
Naughty Dog
The “Victimized” Mazdaspeed 3
See everyone at the next event and don’t forget to say hello if you see me there.