It’s easy to lose sight of ‘Performance’ during the daily grind of developing and selling performance parts. This means different things to different people, I understand. To Travis (Shipping) and Chris (Sales) this means getting involved in Autocross/Solo. Both of them are new to this form of motorsports, but both are veterans of sanctioned drag racing. How will that translate to quick turns on asphalt parking lots? Stay tuned during the upcoming season to find out. Or even better, get involved and join us!
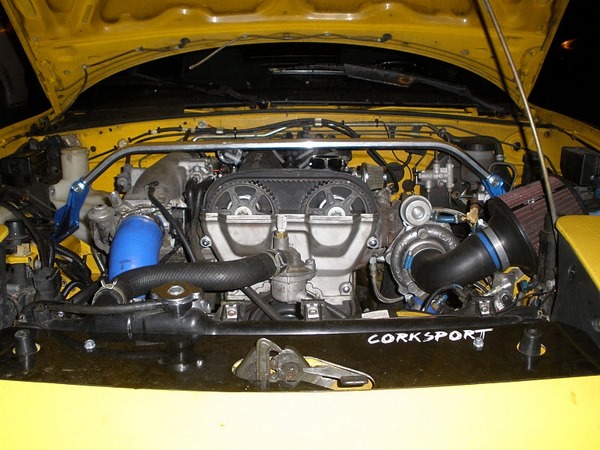
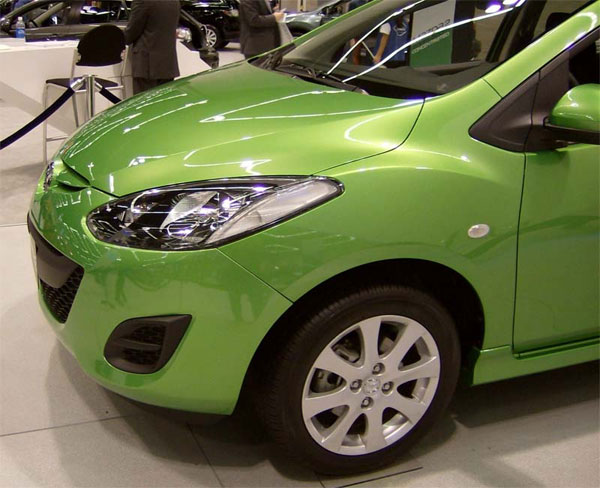
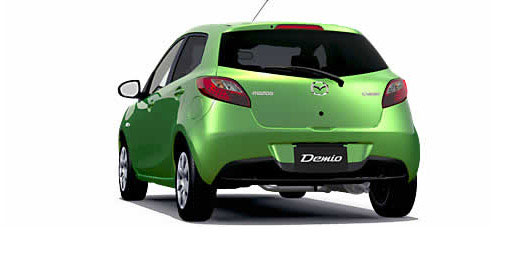
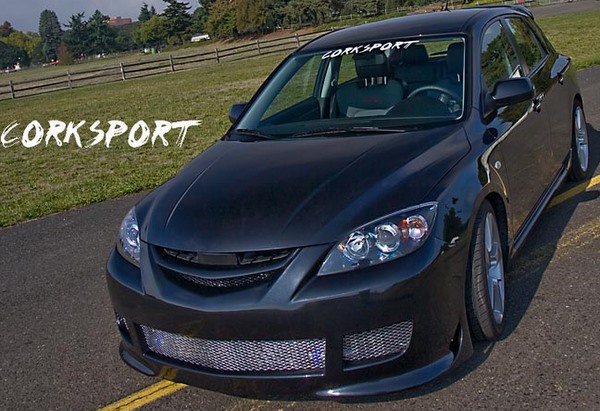
Below is their planned schedule. They decided to take turns running a 2007 Mazdaspeed3 loaded with CS parts.
Practice Day Saturday, March 27th – PIR North Paddock
Event #1 Sunday, March 28th – PIR North Paddock, $25
Novice School Saturday, April 24th- PIR South Paddock (Pre-registration is required.), $50.
Event #2 Sunday, April 25th- PIR South Paddock, $25
Intermediate School Saturday, June 12th, Packwood, WA (Pre-registration is required)
Event #3 Sunday, June 13th – Packwood, WA, $25
Event #4 Saturday, July 10th – Packwood, WA, $25
Event #5 Sunday, July 11th, – Packwood, WA, $25
Event #6 Saturday, August 21st – Packwood, WA, $25
Event #7 Sunday, August 22nd – Packwood, WA, $25
Event #8 Saturday, September 18th – PIR South Paddock, $25
Event #9 Sunday, September 19th – PIR South Paddock, $25
The plan is to make each PIR event, the novice school and at least 1 Packwood weekend event. The car will likely be classed in DSP, details still to be worked out.
We’ll post a blog introducing the car, Travis & Chris, and progress so far after their first event later this month.
Do any of you guys autocross your cars? Let us know what you think.