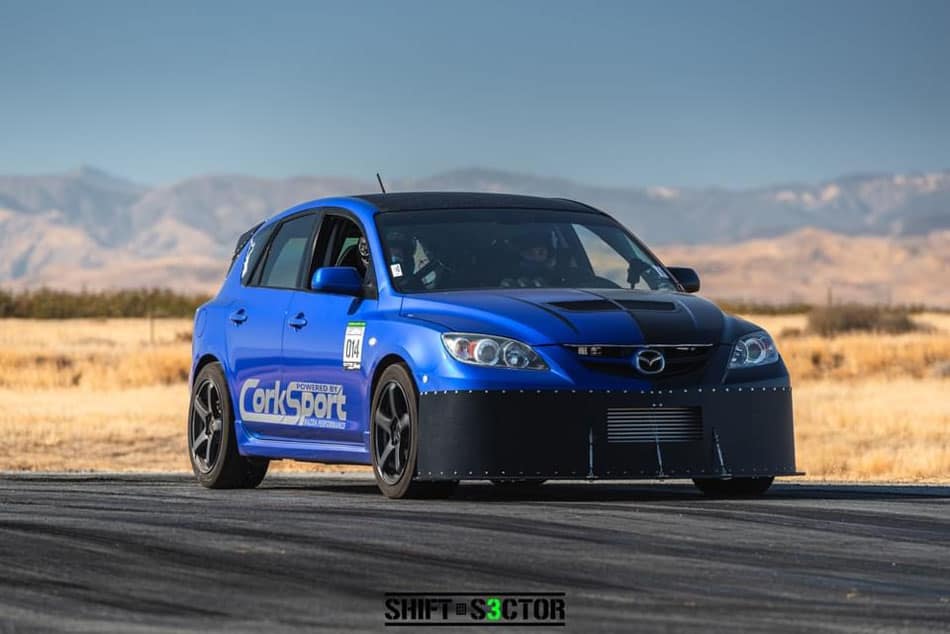
Safety first right? As much as I want to survive an unfortunate incident while racing my 650+whp Mazdaspeed3…I have a bone to pick with safety. Sometimes it’s a real pain in the A**.
Let me explain…and hopefully help you learn from my experience.
Today we are talking about how to paint a roll cage, specifically one that has been custom built to fit tightly inside the cab of a GEN1 Mazdaspeed 3. How does this relate to safety? Well…a cage is made from raw steel in “mild” or “chromoly” materials. Both of these metals will corrode/rust over time. Not only will this result in a very ugly cage inside your car, but it could eventually affect the structural integrity of the roll cage, and that would defeat the whole purpose of it.
With that I decided to paint the roll cage in my Mazdaspeed 3. I daily drive and race the car AND I live in the PNW which has lots of rain and moisture. In fact, in the couple weeks that I did drive the car with the raw cage, I was already getting surface rust build up…gross.

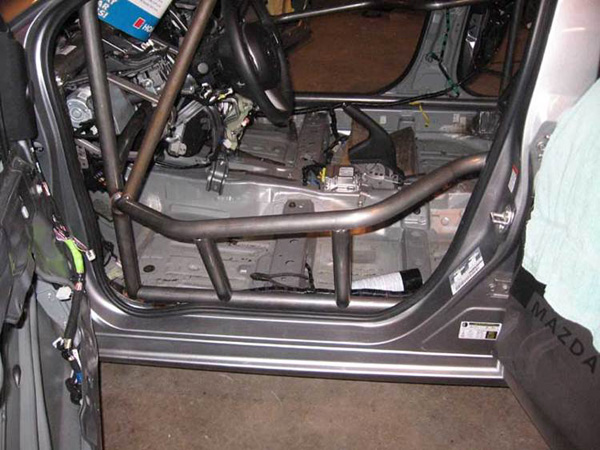
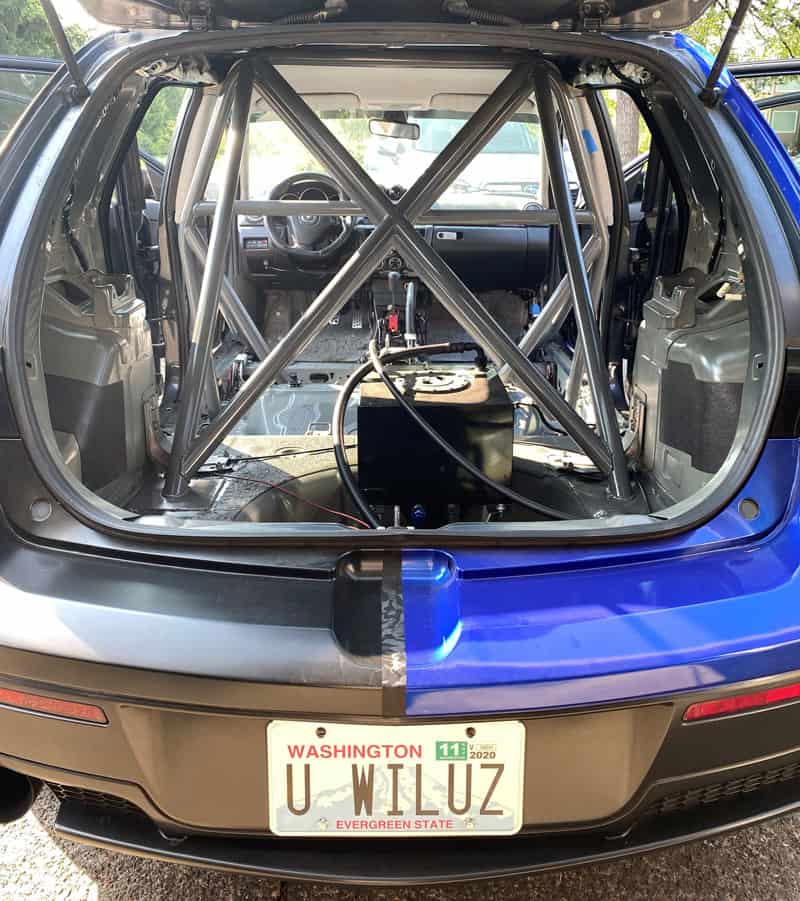
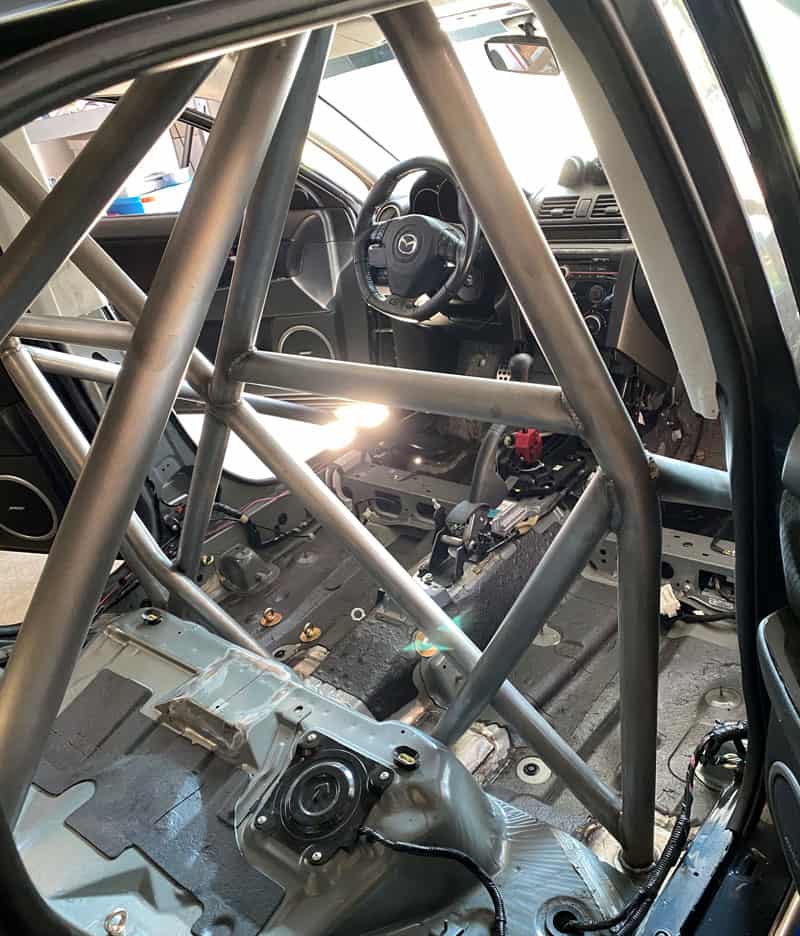
To add to the difficulty, the cage in my Mazdaspeed was custom built from scratch vs a kit so it was very tight fitting and I have extra “X-bracing” added for increased roll over protection. This just added to the amount of surface area to paint and the number of locations with bars very close to each other.
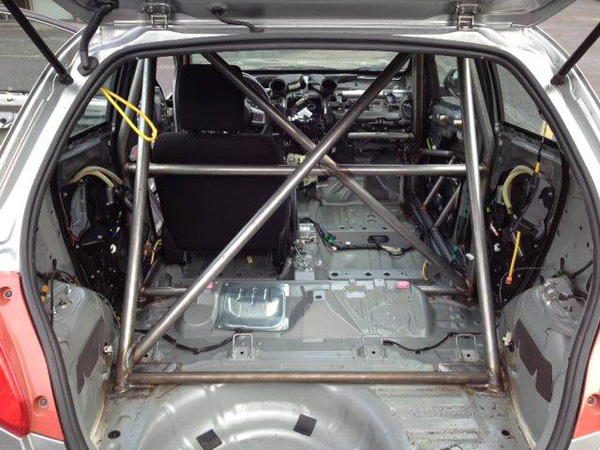
The roll cage/hoop in my #halfmilespeed3 is technically a 8-point cage with an added X-brace in the main hoop and between the rear strut braces. The X-bracing is what helps with high speed roll over protection, but with a weight penalty. Go look at any modern rally car and you’ll see X-bracing plus lots more.
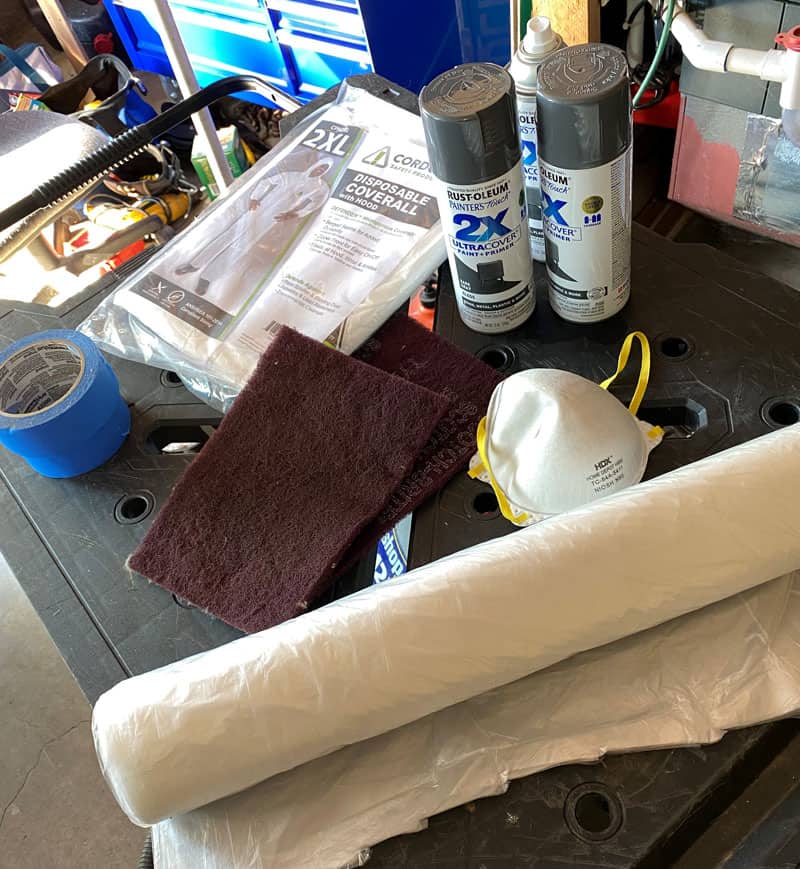
Ok, time to get our hands dirty. Here are the major items you will need to paint your cage:
- Paint – I used a rust-oleum paint & Primer Combo. Make sure it works with a metal surface. 2-3 cans will be needed to complete the job and I’d suggest a high gloss enamel finish. It will be much easier to clean.
- Safety Equipment – Goggles, Face Mask (a real one with a rating for fine dust), Bunny Suit (because you will get paint ALL over you), Gloves
- Scotch Brite Pads – You will need this so you can remove any rust build up (assuming it is minor, if you have a heavily rusting and rough cage then you will need to get far more aggressive)
- Cleaner and Rags – Gotta clean the cage after the scotch brite process
- Plastic Wrap – This is like industrial size cling wrap. Easily found at Home Depot or other hardware shops in the painting isle.
- Blue Tape – A few rolls of the 1.5” will do.
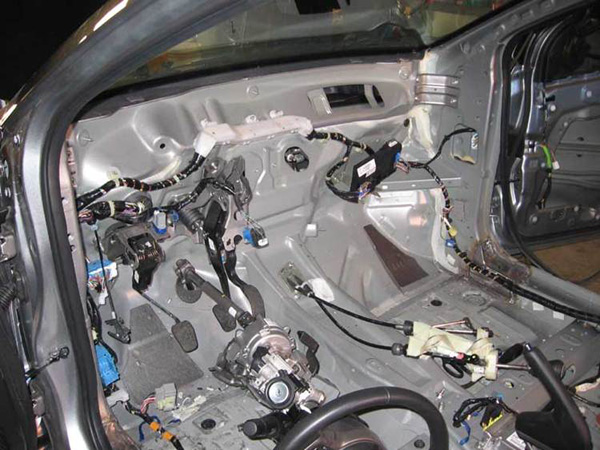
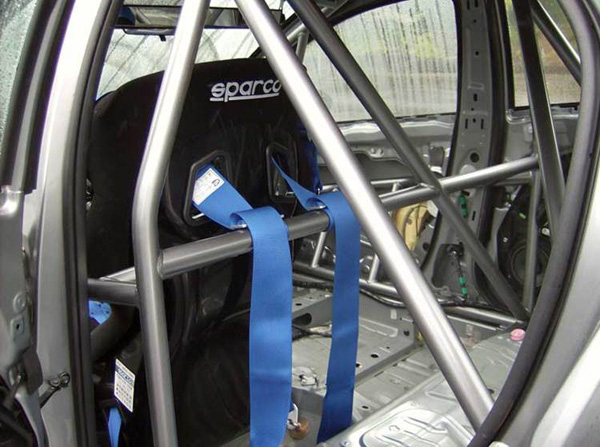
Step 1: Remove everything you can from the interior (which may not actually be much if you have a cage. Take your seats out, carpet (what’s left), center console, …etc
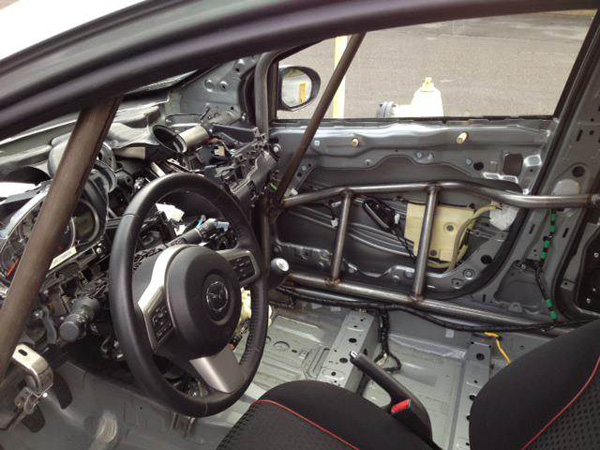
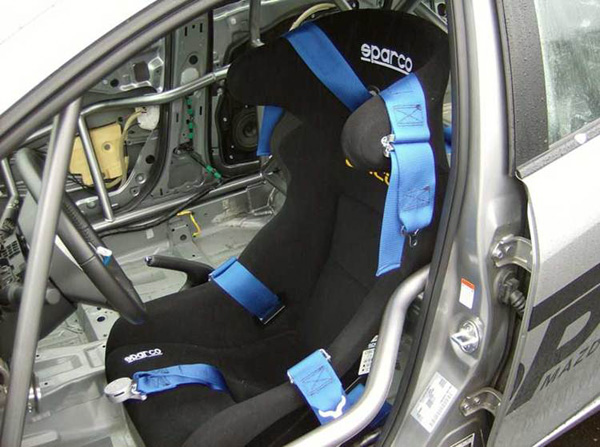
When I had the cage installed I decided I wanted to keep the front two seats as factory as possible. With that I have kept my carpet, center console, dash, door cards, roof upholstery…other than the door bars from the cage, you would have no idea the car has a cage when sitting in the front seats.
Step 2: Scotch Brite Time! Grab a pad and start giving your cage a nice rub down. You need to go over all surfaces of the cage if you want good adhesion of the paint to the metal surface. Once done, do a quick check and I bet you find some missed spots. Get those also…
Step 3: Clean up time! Grab some clean rags and a cleaner that does not leave any residue. Clean all the cage surfaces to remove any dust and/or oil. This is equally as important for good paint adhesion.
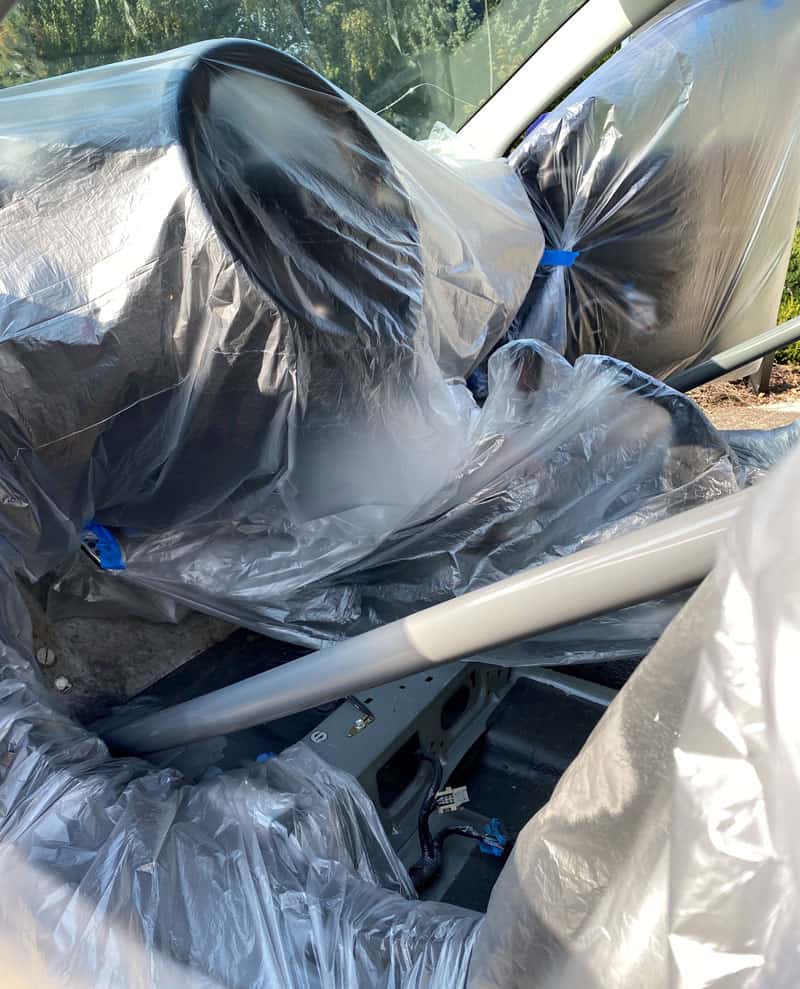
Step 4: Time to seal up the car. My number one advice here is avoid wind if possible. This plastic sheet loves to blow away in the wind…it can be very frustrating. If you have a friend that can help, that would be a great idea.
You basically want to cover all exposed surfaces inside the car and a lot of the outside of the car. While you are spray painting, you will be creating a lot of overspray mist floating in the air. This will settle on all surfaces inside and out.
I completely wrapped my doors and door edges, inside and outside of the car a bit.
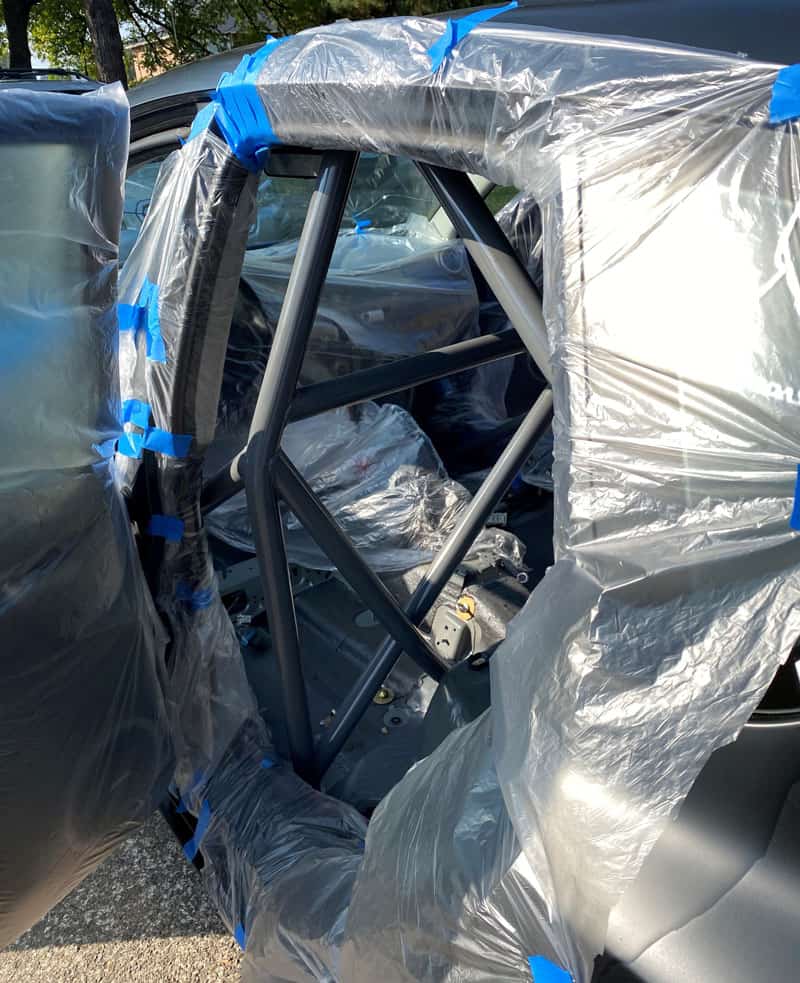
I completely covered my dash and shifter assembly.
For the roof upholstery I did not use the plastic wrap, I actually used a piece of cardboard to act like a shield. I held the cardboard with one hand, shielding the roof while I sprayed the upper sections of the cage. It was effective and much easier than plastic wrap for that area.
Step 5: Time to actually paint. First you need to get into your bunny suit, get your gloves on, your face mask and goggles. Be proud of how ridiculous you look!
Before you start spraying, make sure you are in a well ventilated area and do not have any other cars or items in close proximity; they will get paint on them.
Actually Painting: I would advise starting with the hard to reach arrears first. You are essentially painting inside a jungle gym so get to the hard to reach areas first so you don’t have to worry about touching wet paint later. I started in the center and top of the cage because I had to be in the car to do so. Then was able to get to the more outer parts of the cage while outside of the cage.
Applying the paint is a bit of an art. You want to apply smooth and consistent layers. Your hand is always moving side to side as you spray. Don’t point and shoot or you will get runs in the paint.
Do a first coat that mostly covers all the surface area, then let it tach up for about an hour or reference the instructions on the can. Then apply another coat of paint. Trust me you will find thin or missed spots.

Step 6: Get out of the bunny suit. Hahaha ya this can be a process
Anyways, I pushed my car back into the garage and let the paint cure overnight before removing the plastic wrap. I didn’t want to risk the plastic wrap touching/sticking to the fresh paint. You may not have that luxury and if you don’t I would at least give the paint a couple hours to cure before removing the plastic.
Other takeaways – this was an ALL DAY PROJECT. I thought I could get it done in half a day, but with the concerns about keeping the still installed interior looking good, I was extra cautious with the plastic wrap which added time. I also did not want to do this again later so I was extra detailed with the painting process. Checking for missed spots and thin areas after each coat.
However, the result was well worth the work and I have no regrets about painting the cage. I can now drive my car without worry of the cage getting ugly or losing strength due to corrosion. I highly recommend that you take the day or so to make this happen in your car.

I hope you enjoyed this blog and thank you for following along with the @halfmilespeed3. Stay connected (instagram, blog & “Built With Barett” video series) as we share more and more about the @halfmilespeed3 build…engine, seats, roll-cage, and power! Rolling into the Shift Sector 2021 season we will have more great content to share!
-Barett @ CS
Connect with us: