Goodbye 323 GTX. Goodbye Cusco, GT Spec, Pedders, Autometer, Injen, Knightsports, KVR, RE-Amemiya, Mazdaspeed, and about 50 other product lines.
You may have noticed a recent news post announcing we are phasing out Mazda 323 GTX Parts. The 1988-89 GTX (in USA) was a great car for its time. Many owners have maintained and upgraded their cars to the point they are more powerful and better handling than some of the newest cars. A remarkable testament to the car considering it is over 20 years old!
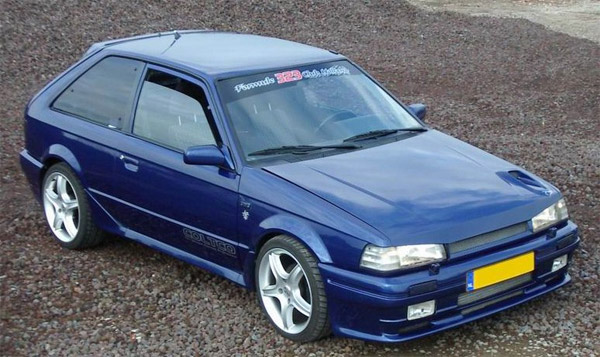
Unfortunately, there just aren’t enough of them left on the road to justify further development and support. Sales have steadily declined for this car for many years. Ultimately, I think the recession was the last straw for us. Very limited inventory remains and we plan to remove this car from our catalog by the end of the year. To answer the most common question we’ve received since the official announcement last week: “Yes, a few parts will likely end up in our clearance sale”. To reflect on the most common comment we’ve received so far, “You Suck”; it is regrettable, truly. We don’t like it either, but it was ultimately our customers that made the decision for us.
We are also phasing out many product lines, as I mentioned earlier. Border, RE-Amemiya, Mazdaspeed, Knightsports, and FEED are venerable Japanese brands. They have always been slow movers for us, have long lead times for our customers, and sales volumes don’t support keeping parts in inventory. Japanese quality is exceptional, truly, and if you have the taste (and wallet) for these parts we are confident you’ll find a way to get them.
Brands like Injen, Centerforce, KVR, NGK, Unichip, Koyo, and Greddy have many products that are redundant to our own catalog. We are committed to making CorkSport parts the best value on the market but we don’t make everything. We’ve selected a few partners to fill out our product line. The remainders are being dropped from our catalog.
We’ll be launching a new approach to business early next year that builds upon our reputation for high quality parts at an excellent value and supported by the best customer service in the industry. This plan requires a commitment we cannot maintain while serving sales of other brand names. When you think “CS” will you think ‘customer service’ (pardon the lame humor)? We hope so.
There are no gimmicks here. We don’t trademark some odd spelling of a performance sounding words to trick you into believing your getting technology that is different from everything else out there. You are smart enough to recognize that sort of marketing. We could try gimmicks like free shipping but that means we inflate our prices to cover the cost (and thus it is not free to you) or we erode profits and have less opportunity to use them to serve you better. Better to know what you are paying for in my opinion.
Our goal is value. Price, quality, support before/during/after the sale, shipping, packaging, and warranty all go into the value equation. We are focusing our product line in order to offer better value to our customers through improved customer service and support.
Please send us your feedback. We promise to read and consider all of it.
– Rich