


Jeff @Print.Fab.Drive
- Comment
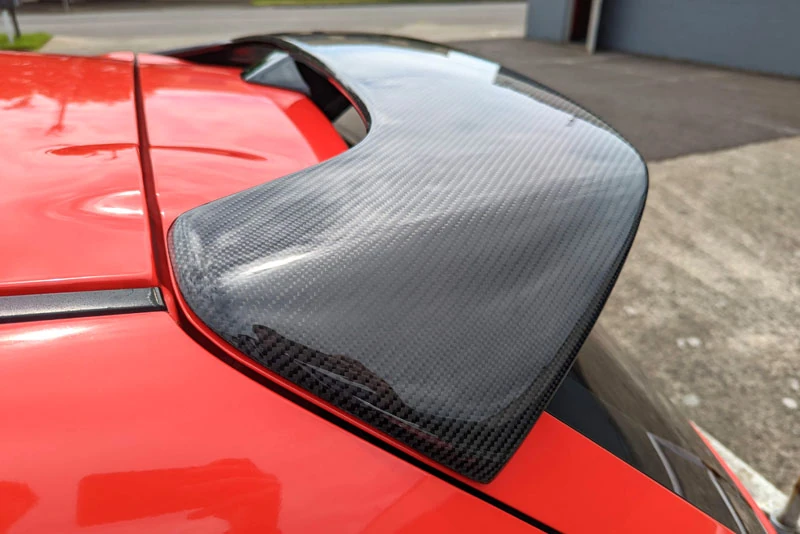
For my car, the installation required drilling a hole in the hatch body to route the brake light wiring, and adding plugs to two extra plastic clip mounting points meant for the factory NA spoiler. I’ll be posting my 3D-printed plug files and installation videos online in the future.
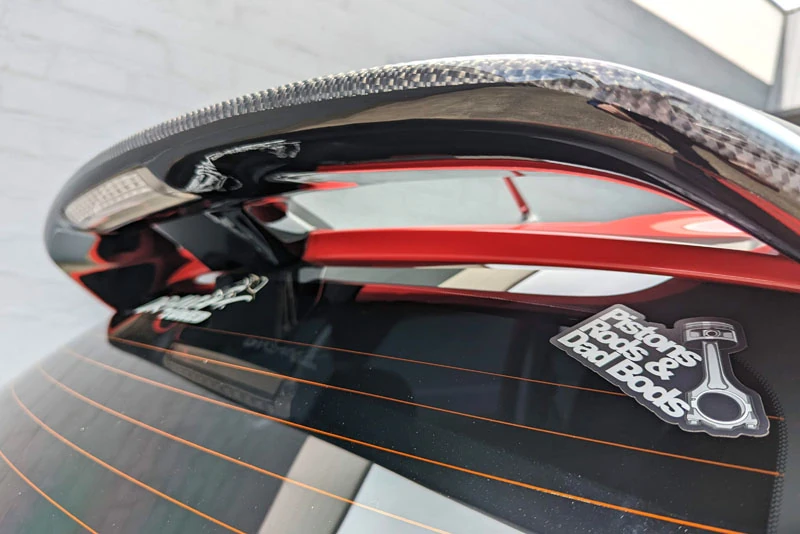
Did you notice it comes with a built-in LED third brake light? I didn’t—at least, not when I ordered it—so that ended up being a pleasant surprise. You’ll need to splice the wires from your original third brake light. Please do it properly, using secure connections that won’t short out. Protect the wiring at the pass-through hole with a rubber grommet and seal it up with clear silicone RTV to prevent leaks.
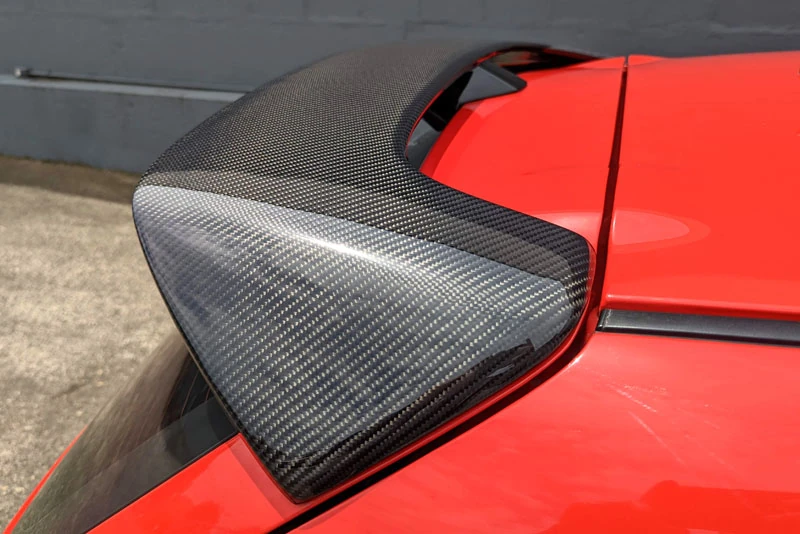
Right out of the box, this thing looks beautiful! Be sure to read the directions and labeling—this part needs to be clear-coated for protection. Use a 2K clear coat. If you’re not confident doing it yourself, pay a professional. You do not want your coating to be full of dirt, runs, clouding, etc. I’m also having mine ceramic-coated, mostly because I have a lot of local birds who like to use my car for target practice.
For the gram counters, the entire spoiler with brake light was nearly two ounces lighter than the factory spoiler. I forgot to weigh the factory one for a proper comparison.