Mazdaslow to Mazdaspeed

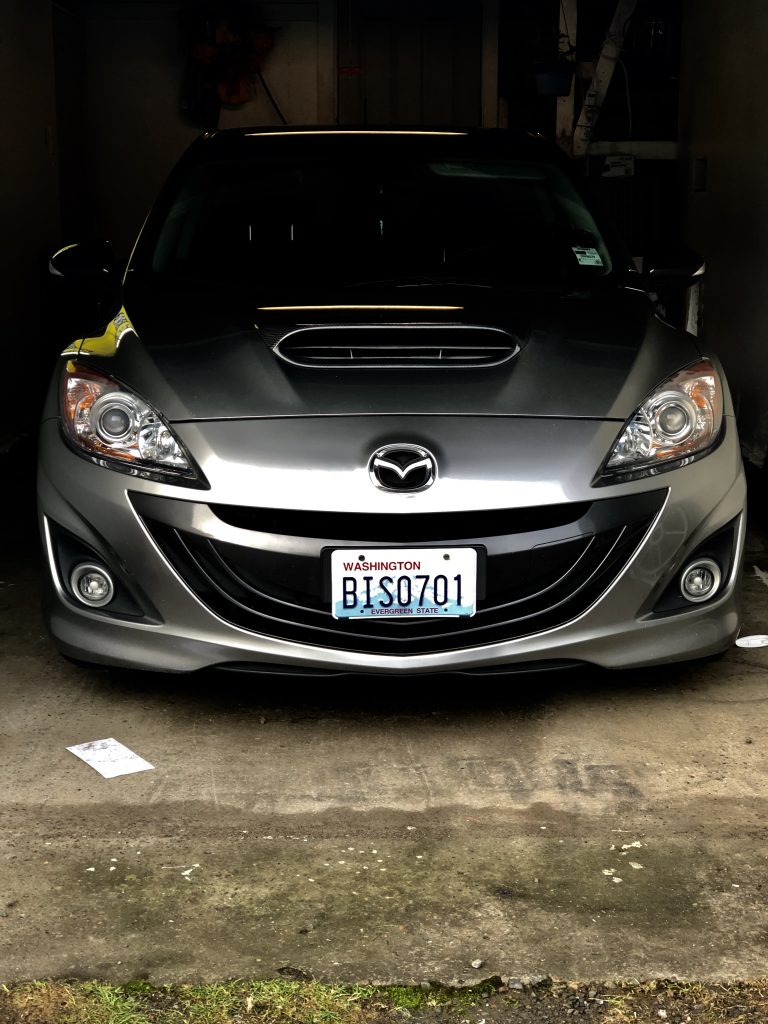
Let me take you to an extraordinarily dull time in my life, the last time I started my Mazdaspeed when it was still stock.

September 14th, 2018 was a beautiful September day in Washington. I started my car at 6:45 am, just like every other weekday. The Speed3 burbled to life, but it was relatively quiet, flat, and a bit uninteresting. No one knew I was leaving for work – I wasn’t shaking any windows, but that was going to change.

CorkSport mod budget. Employee incentive.
At CorkSport

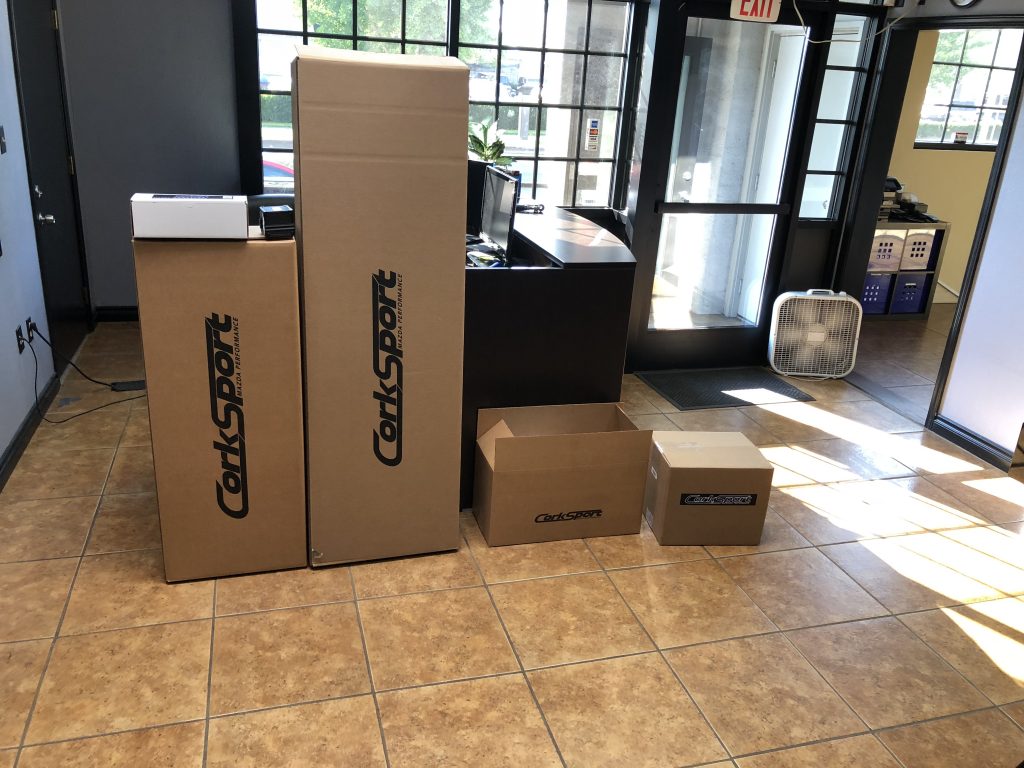
Once I arrived at work and spread some Friday cheer, I settled in. Almost immediately, I could feel the pile of parts in the corner behind my desk, glaring at the back of my head. I thought to myself, “Don’t turn around – focus damn it!” The day had finally come – install day. Thankfully with our awesome half-day Fridays, I was out of the office and on my way to Brett’s house before 12:30 pm. 

After we loaded up Brett’s Rodeo with a load of parts, we set sail to our destination, a place where many tears have been shed, knuckles have been busted, and where dreams have come true; Brett’s garage. Every tool you’ve ever needed and gadgets you didn’t know existed. There were even a few specialty items present, that if he didn’t have quite frankly, this couldn’t have happened.

CorkSport employee mazdaspeed getting washed
Shop all Mazdaspeed 3 Parts

We started with thorough degreasing of the engine bay and setting up the essential supplies- because what is an install day without beer and snacks! Once the car has cooled down, I started with taking out the battery box, intake, and intercooler; and then the fun really started. I’ve read the horror stories, I’ve watched the videos, and I thought I spent enough time mentally preparing myself for what was about to come – I was wrong.

The Downpipe

We all know about the Mazdaspeed downpipe on our cars. The devil engineered the placement of this thing, and he had his minions tighten the bolts. There isn’t enough PB blaster in the world to help the corrosion and excessive heat that these bolts withstand. We got the first one out with little to no issue, but it just got progressively harder from there. It was only a matter of time before rounding off the edges of that last bolt. Thankfully Brett has an extractor tool that we hammered on there, and with the small act of god, it was successfully extracted.

My experience with removing the downpipe from the exhaust, as is everyone’s experience, was different. Mine was influenced by the previous owner adding a 2.5″ resonated exhaust on it from the second cat back. The downpipe didn’t want to come out until I wiggled a pry bar in between the flange and put Brett’s Caliper spreader in there (again tools I didn’t even know I needed) and applied sheer grunt force. I got the flange to bend, and after learning a few new choice words, we got it out. By this time, it was 11:30 pm, and we still had a few other things to unbolt before the exhaust came out. Instead of using power tools and waking every neighbor up in a two-block radius, we called it a night.

The Morning After

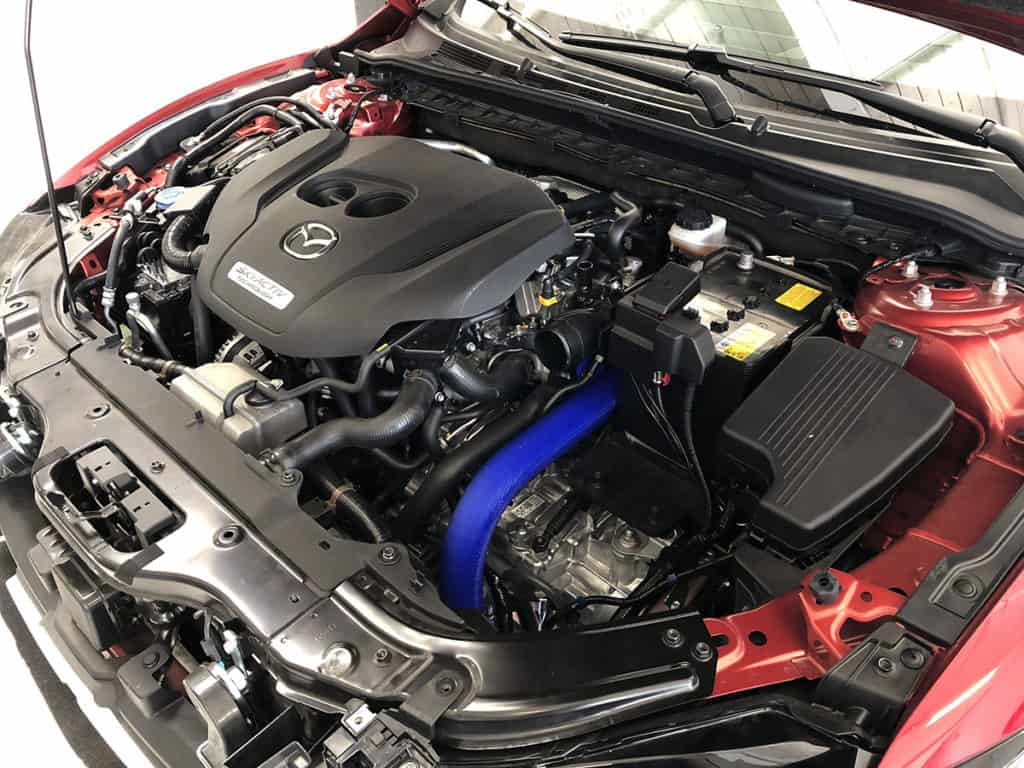
After some much-needed coffee, we made it back from the hardware store (replaced the downpipe nut from hell) it’s time to party. We started with sliding in my new downpipe with the High flow Cat what a breeze compared to taking it out. Next came my intake, I went with the 3.5″ so I don’t have to buy another one when I finally go with our CorkSport CST4 turbo. Still might go with the new CST5. Then I put in my ECU Relocation Box, and I have to say, what a clean looking piece to have in your engine bay! 

CorkSport Mazdaspeed engine bay parts TMIC with Intake, battery box, turbo
Mazdaspeed 3 TMIC Top Mount Intercooler

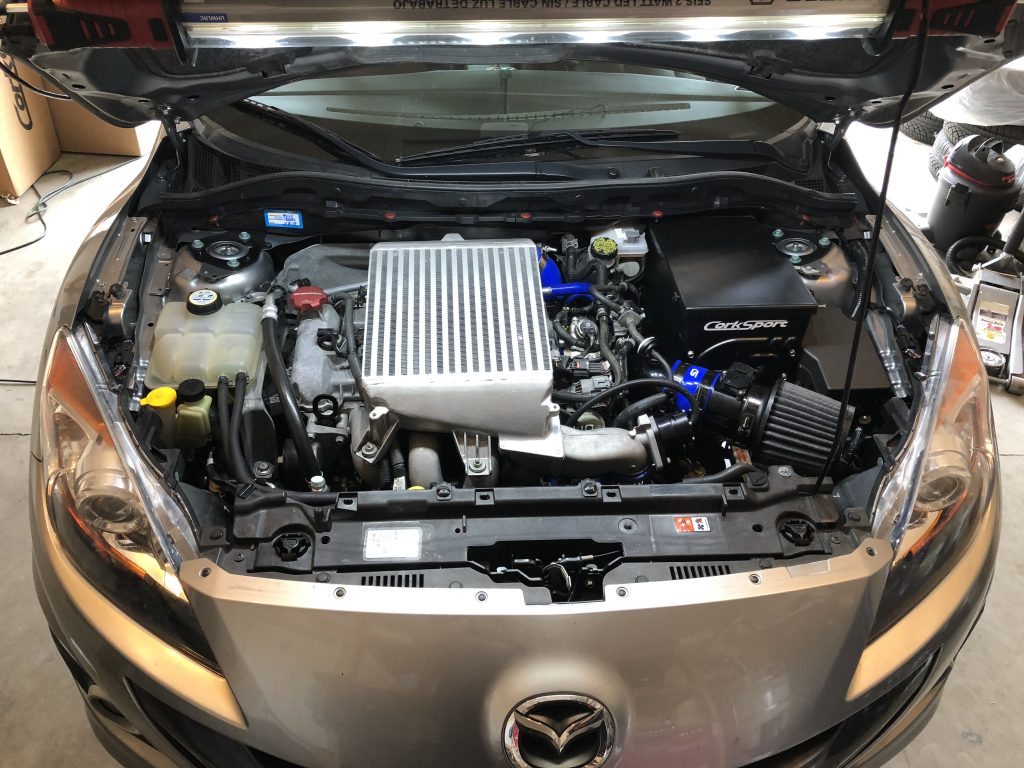
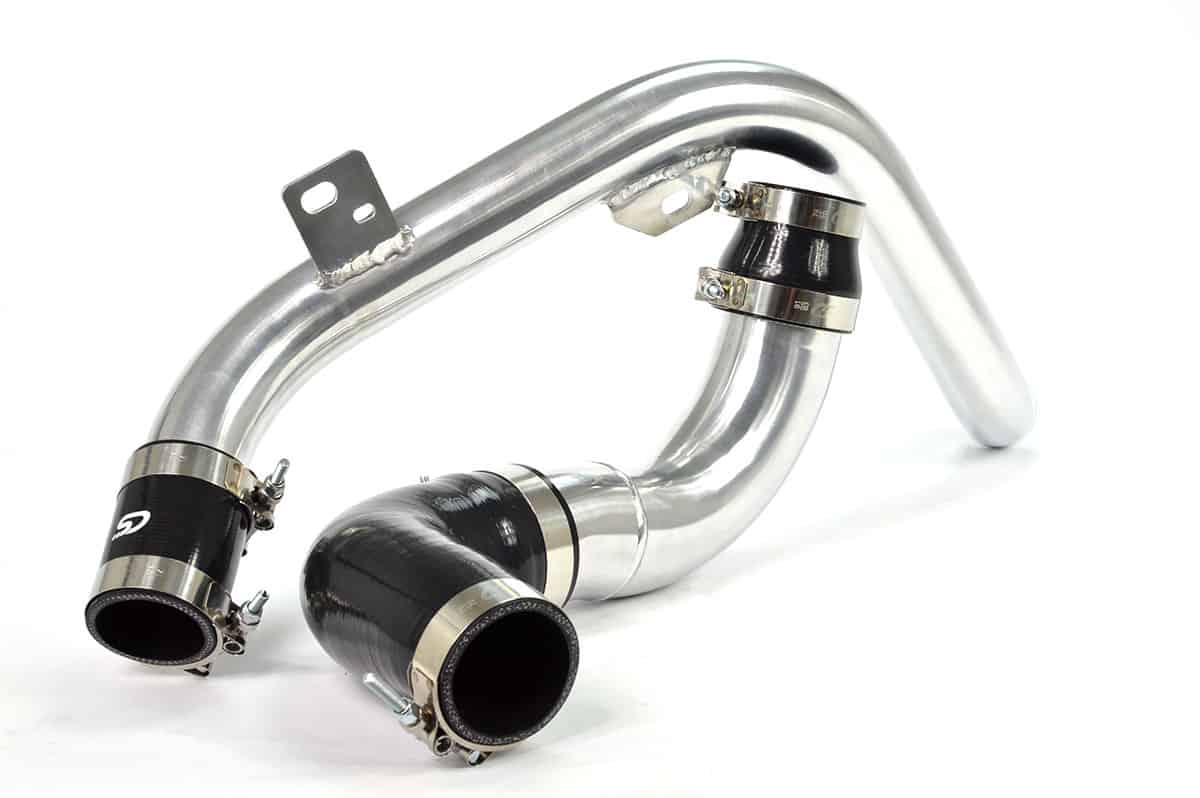
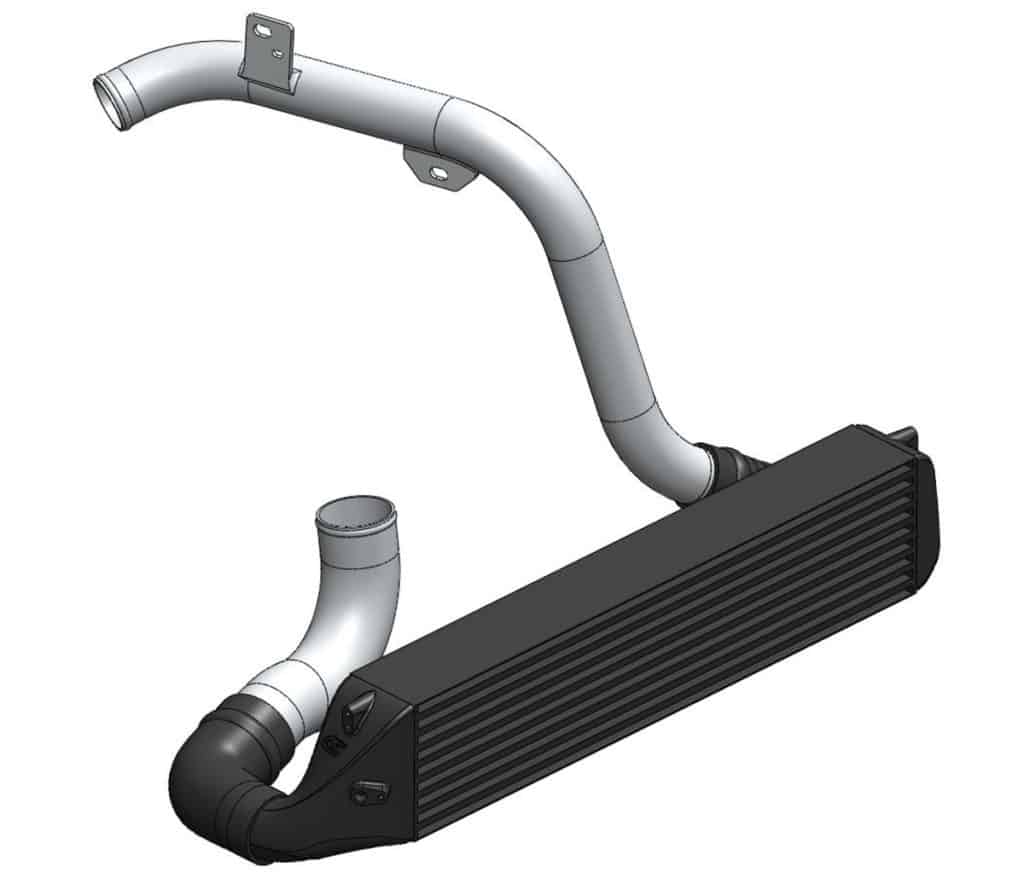
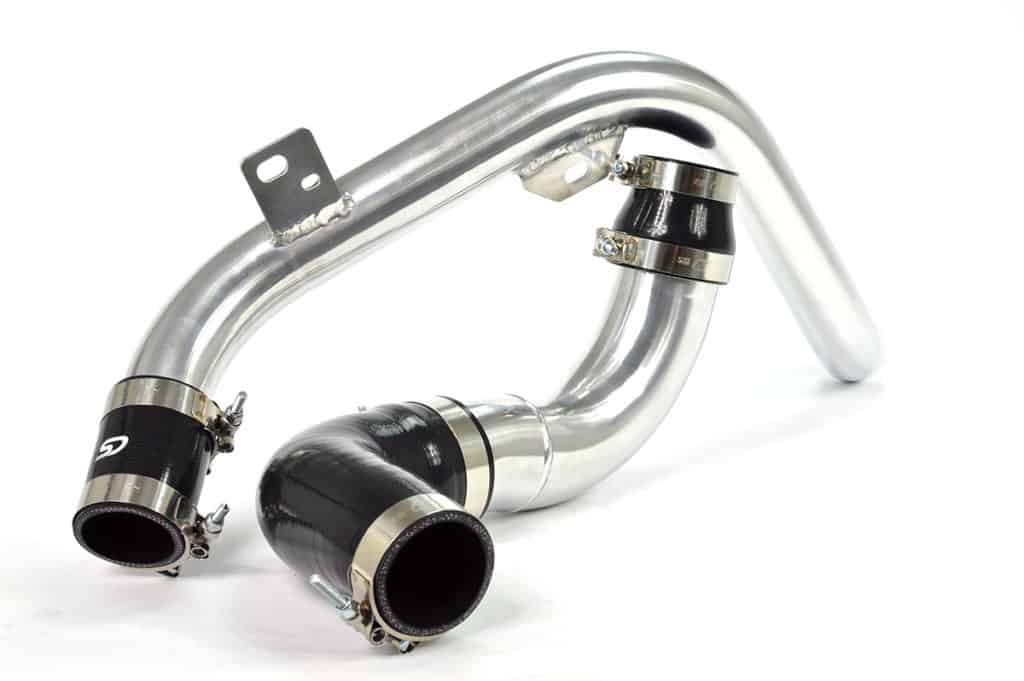
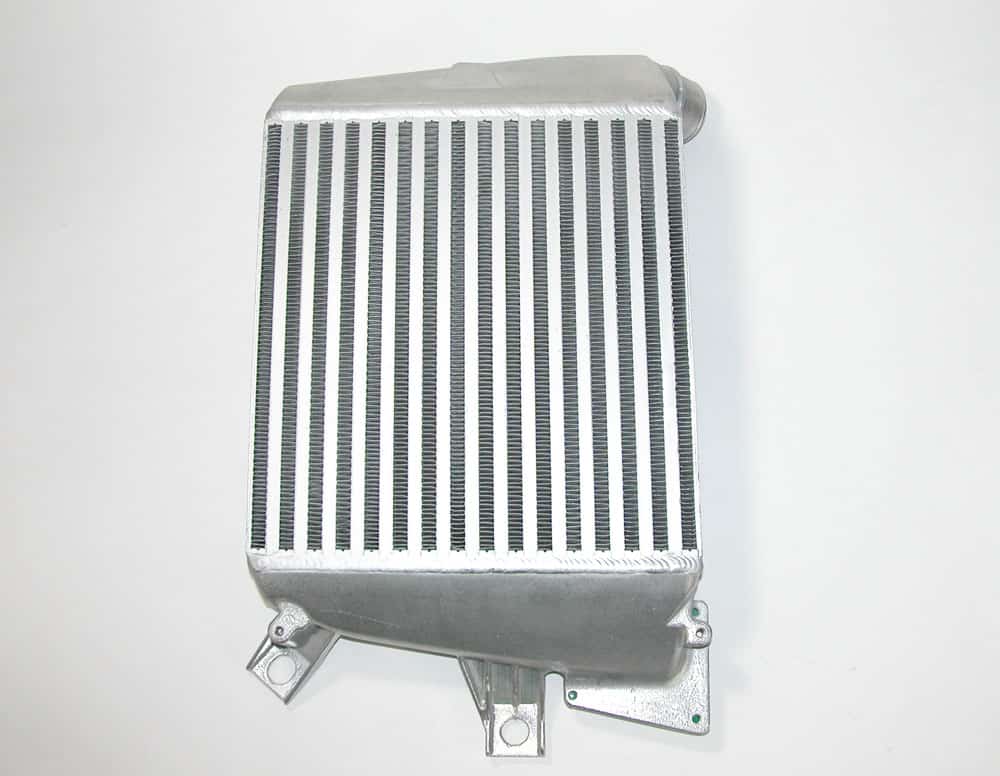
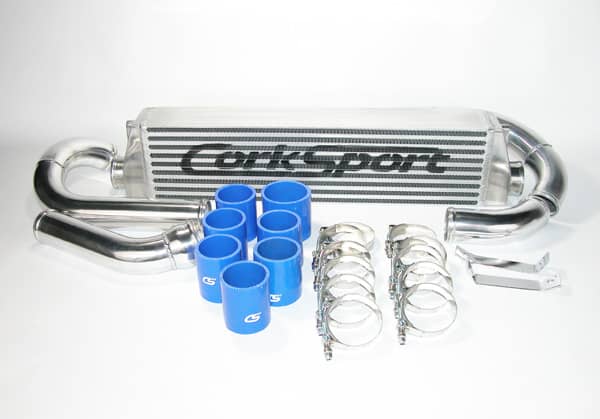
We changed out the OEM spark plugs for some NGK 6510 gapped to .026 and started to put on my new TMIC that is rated up to 450WHP after we got the TMIC it was time to put on my shiny new boost tubes Engine bay= Complete.

Now time to get underneath and put on my highly anticipated Non-Resonated Cat-Back exhaust and my Stage II RMM. Goodbye, torque steer! Once we had the exhaust mostly in place, I realized if I didn’t have the CS exhaust hangers I would have been in trouble. The person before me had his exhaust welded quite poorly in place of the hangers, and I didn’t have an option to use my OEM ones. 

Moment of Truth

After everything was double-checked and rechecked, it was time for the moment of truth. I hooked up my battery, I flashed my new tune from Erik Bjork at Drama Tune, and now it was Go Time! I will say hearing my car make those sweet sounds was one of the best moments of my life. I’ve been waiting for this moment since I purchased my car, and it was one of the most surreal experiences I have ever had.

We let the car run for a few minutes and checked to make sure I didn’t have any leaks, and then we headed out for a test drive.

In the immortal words of George Takei “Oh My!”

That was my thought, EVEN on just a base map. My car felt and sounded 1000% different than before. The intake was amplifying fun new mechanical noises – like I was hearing my turbo and BOV dance for the first time. The crackle from the exhaust on a hard 2nd to 3rd upshift was intoxicating, all the while my RMM putting in work to make sure I didn’t torque steer into someone’s front lawn. What an experience! I would even call this life-changing for me. The funny part of the story is that I wasn’t planning on buying all these items at once – true intentions of a foolish car enthusiast. Thankfully for me, I have a fantastic career within CorkSport and have a great friend who helped me make my dreams come true. Who wants a stock car when you work for the number one place in the world for Mazda Performance, not this guy?

Mazdaspeed 3 2010-2013 Front Gray with CorkSport hood scoop
Zach from CorkSport

Keep an eye out for my turbo blog, because it’s only a matter of time until the mod bug bites me again.

Connect with us

You may also like

Stay up-to-date on the latest news and product updates from CorkSport.

* indicates required

SkyActiv 2.5T: Let’s Talk Intercooler Pipe Upgrades

We recently went over the stock intercooler & piping system for the 2018+ Mazda 6 2.5T. If you missed it, be sure to check out the blog HERE.

Today, it’s the first look at the CorkSport parts that will be coming in the near future to remedy the issues we found with the OEM system. We are not covering our upgraded intercooler just yet though; today’s focus is piping upgrades!

Mazda 6 SkyActiv 2.5T engine with Intercooler Pipe

As you can see we’ve been busy getting the Mazda 6 upgraded intercooler piping designed & 3D printed for test fitting (while you can’t see it I promise the cold pipe is hanging out in there too!). I’m happy to say there’s plenty of room to fit the upgraded piping sizes that we were targeting and hopefully, they will net us a few HP gains without any other changes.

These horsepower gains typically come from removing sharp bends and diameter reductions in the stock piping that cause pressure losses. Then, the turbocharger can operate more efficiently to reach the desired boost level. Now how about some more detail on how and why each pipe has changed.

Modeling and design for FMIC piping upgrade for Mazda 6

Starting off with the hot side of things (piping from turbo to intercooler), check out the CAD image above. As you can see, the OEM piping (left) is smaller than the CorkSport Mazdsa 6 piping (right). In fact, we plan to use 2.25” piping for the hot side. Note that the plastic OEM piping is much thicker wall than the CS aluminum piping so even if the outer diameter looks similar, the inside diameter is much larger.

In addition, we keep this same inside diameter throughout while the OEM piping has a major diameter reduction through the middle. For those of you coming from a Mazdaspeed 3, 2.25” is the same size used on the hot side of all CS intercooler kits and has proven itself to support 600+WHP on Barett’s car (more info on that HERE). While we know the Sky-T may not be to that level just yet, 2.25” is a great size that gets the hot air to the intercooler as fast as possible while retaining high horsepower capabilities.

It’s not all about size though. Instead of using many tight radius direction changes like OEM, the CorkSport hot pipe uses smooth, large-radius mandrel bends throughout. This means smoother and faster airflow to your intercooler. Lastly, you may notice the CS hot pipe is significantly longer than the OEM hard plastic unit (the OEM rubber tube starts at the connection point circled in the image above). This reduces the amount of flexible connectors used, limiting what could expand at high boost levels. That being said, the CorkSport kit will use high-strength silicone with four fabric reinforcement layers to prevent any expansion anyways.

Design of piping

The cold side of the system was already a decent diameter from the factory, but as you can see, we went even larger. The rubber OEM cold pipe will be replaced with a 3” diameter aluminum pipe. This large diameter pipe and huge volume of air that comes with it right before the throttle body has proven to help throttle response and reduce boost lag on our GEN2 Mazdaspeed 3 FMIC kit. We hope to get much of the same from the SkyActiv 2.5T. The cold side also uses large radius mandrel bends for smooth and fast airflow.

Lastly, the cold side piping reduces the amount of flexible connectors used. And just like the hot side, each end of the pipe will use 4-ply reinforced silicone to prevent any expansion under high boost levels.

Those of you with a keen eye will have realized that our planned silicone connectors do not use the same connection style as the OEM intercooler. This is for good reason: we believe that the OEM intercooler will run out of cooling capacity before the OEM piping really becomes an issue. So a piping upgrade by itself wouldn’t show too much of a performance advantage.

In addition, we were able to design the piping to be the best it can without using the constraints of the OEM intercooler. So yes, the upcoming CorkSport intercooler upgrade will be required for the CS Mazda 6 piping upgrade to work, but it’s so the CS piping & FMIC combo can be the best it can be for you all!

For those of you that have stuck around this long, check out this tease of a CAD model of the CorkSport FMIC & Piping kit.

Mazda 6 Intercooler Pipe Design with FMIC

And just because we like teasing you, check this early prototype out. Testing to come soon!

Mazda 6 Intercooler Pipes

Stay tuned for more, as next time we will cover the intercooler itself. Also, let us know your thoughts down below, we love your input!

-Daniel @ CorkSport

“Which intercooler should I get?”

“Which intercooler should I get?” At Corksport we get this question almost every day. The debate of top mount intercooler vs. front mount intercooler has been one that has raged on in the forums for years. Just looking around you will see both options on all sorts of cars. So what is the answer?

Mazdaspeed 3 Top Mount Intercooler


The Mazdaspeed 3 and Mazdaspeed 6 both come with top mount intercoolers (TMIC’s) from the factory. There are many reasons for this, but the main one is that it is much cheaper to manufacture and install. A Top Mount Intercooler can be installed directly to the engine at the factory so it is ready to drop into the car which saves both time and money.

Beside the TMIC, the other option available is the front mount intercooler (FMIC). Both styles have their pros and cons. The upsides of the TMIC is that it uses the shortest possible path from the turbo to the engine. This reduces the amount of time it takes for the car to accelerate, this feeling can be amplified between shifts when the power comes back on very quickly. The TMIC also is very simple and compact with very few connections and possible places to leak. A TMIC will also weigh very little compared to a FMIC setup and usually is in a place with very good airflow.


CorkSport-Intercooler-Mazda-Mazdaspeed-3-Front-Mount-vs-Top-Mount-2


The downside of TMIC’s is that they are generally limited in size by the design of the car and can be much smaller than most FMIC’s. They are typically placed very high in the engine bay, raising the car’s center of gravity. Most importantly though, the biggest downside of the TMIC is that it sits in a hot engine bay. Just by sitting on top of the motor, the TMIC can soak up heat thereby decreasing its effectiveness in cooling the air compressed by your turbo.


CorkSport-Intercooler-Mazda-Mazdaspeed-3-Front-Mount-vs-Top-Mount


The principals are mostly the same for the pros and cons of the FMIC. The core of a FMIC can be much larger, and in the case of a properly designed system, can cool temperatures much more effectively. Being placed further away from the engine and out into the stream of air can make the FMIC much cooler and more importantly, more consistent. One last reason that many people love FMIC’s is the look, nothing says I mean business more than a massive bar and plate core smiling in your rear view.

The biggest downside of a FMIC is that the install process is much longer. Other downsides of FMIC’s can be the much longer piping needed to route compressed air to them. This piping can increase turbo lag and usually has many couplers that can have the potential to leak or cause other issues.


So what does CorkSport say? As a general rule we would say if you don’t plan to add more than 50-100 horsepower, a top mount intercooler will work just fine and be much easier on your plans and wallet. If you eventually want to go wild with your car and build it up much higher than stock, you will probably want to look hard at a front mount intercooler. Our advice would be to try to plan in advance what you want out of the car so that you only have to buy parts once.

Happy spooling!

CorkSport Top Mount Intercooler Development Process

The idea for the CorkSport Top Mount Intercooler (TMIC) was originally developed from a thread started by azmavhockey3 on the Mazdas247 forum. This idea exchange by Mazda owners on the forum lead to an in-depth development process that included several design iterations, prototype testing, sample testing, and finally production testing. The end result was the recently released CorkSport TMIC which provides solid power gains at a great value.

The following graphic demonstrates the development and testing process for the CorkSport TMIC.

Why a 3″ Core for the TMIC 

  1. Helps Maximize dissipation.
  2. Can directly bolt on the OEM cover which is designed to mate with the hood venting shroud for optimal flow.
  3. Leaves a clean look in the engine bay and covers up many of the wire and hoses near the fuel pump.

Max Gains

(Click Here to download a pdf of the TMIC Development and Testing Infographic)

Read More About the CorkSport TMIC

Stay up-to-date on the latest news and product updates from CorkSport.

* indicates required