The Slippery Slope of Modding

If the title doesn’t tell the story then you must still be at the top of the hill; good luck with that as it won’t last long.  Now let me tell you my story.

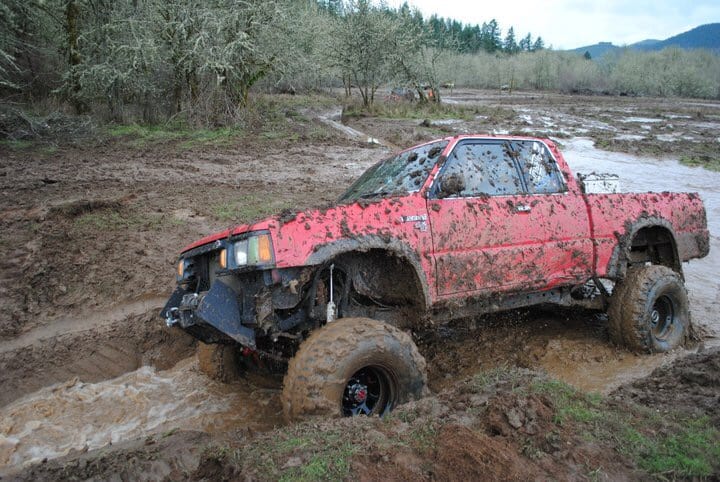
Even before I got my Mazdaspeed3 I was a tinkerer; I wouldn’t call it modding because there were no off-the-shelf parts for my vehicle at the time.  I was 16 years old with my first truck; I quickly made it loud and obnoxious among many other things.

Flash forward to my later years, and you’ll find that I haven’t changed; things have just gotten more expensive… ya, you know what I’m talking about.  We don’t grow up; our toys just get more expensive.

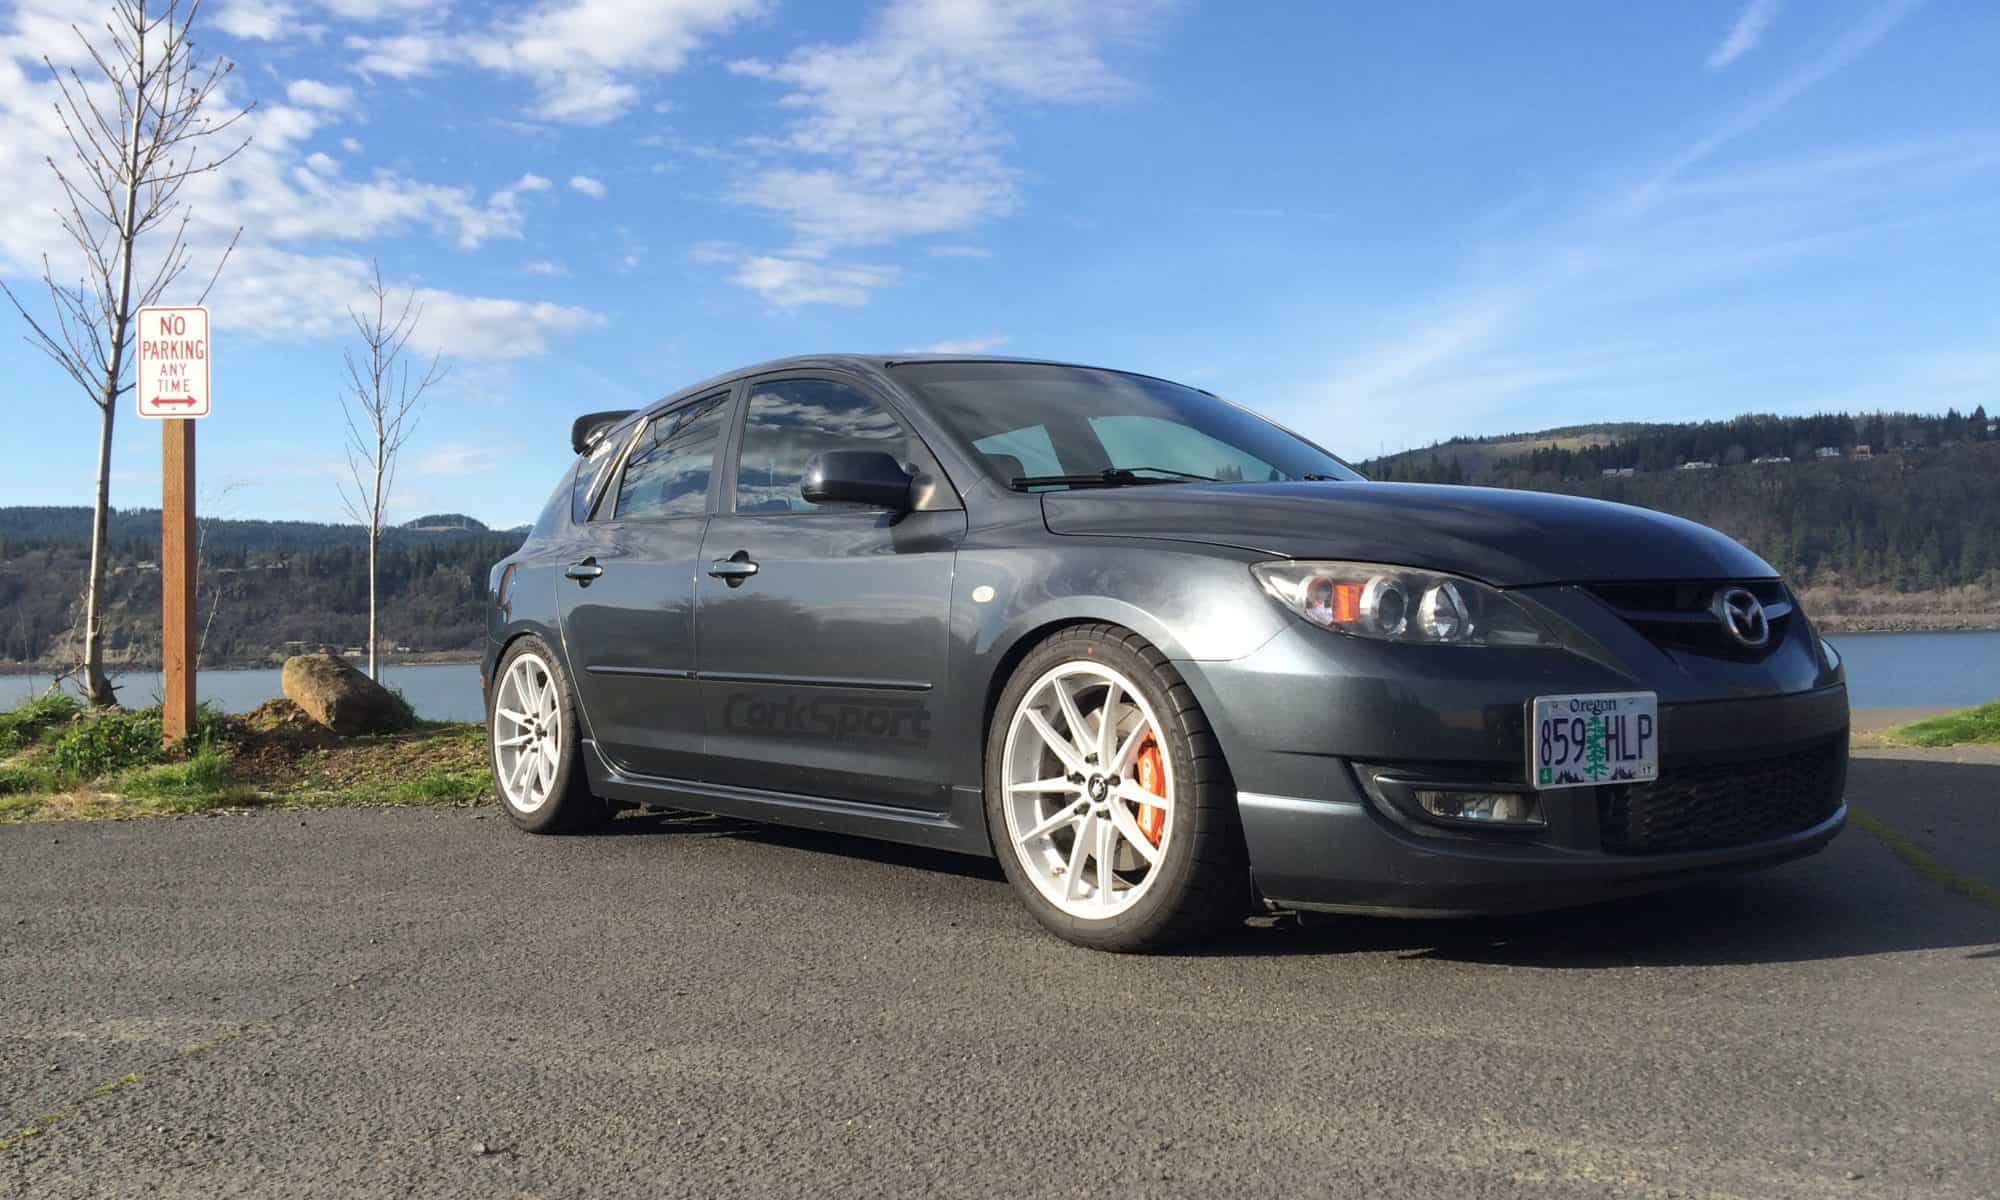
So I got my 2009 Mazdaspeed 3 in 2014 with a fresh Mazda Motorsports short block, a CorkSport SRI, and Race Pipe.  Oh, don’t let me forget the CS Fuel Pump Internals and Cobb AP… I don’t want to get roasted on my blog. Anyway, that setup was short lived.  

Within two weeks’ time, just long enough to break-in the engine, there was a prototype CorkSport Mazdaspeed turbo on my car along with an assortment of other goodies such as a Downpipe, Cat-Back Exhaust, and a few suspension goodies.  Two weeks! That’s all it took!

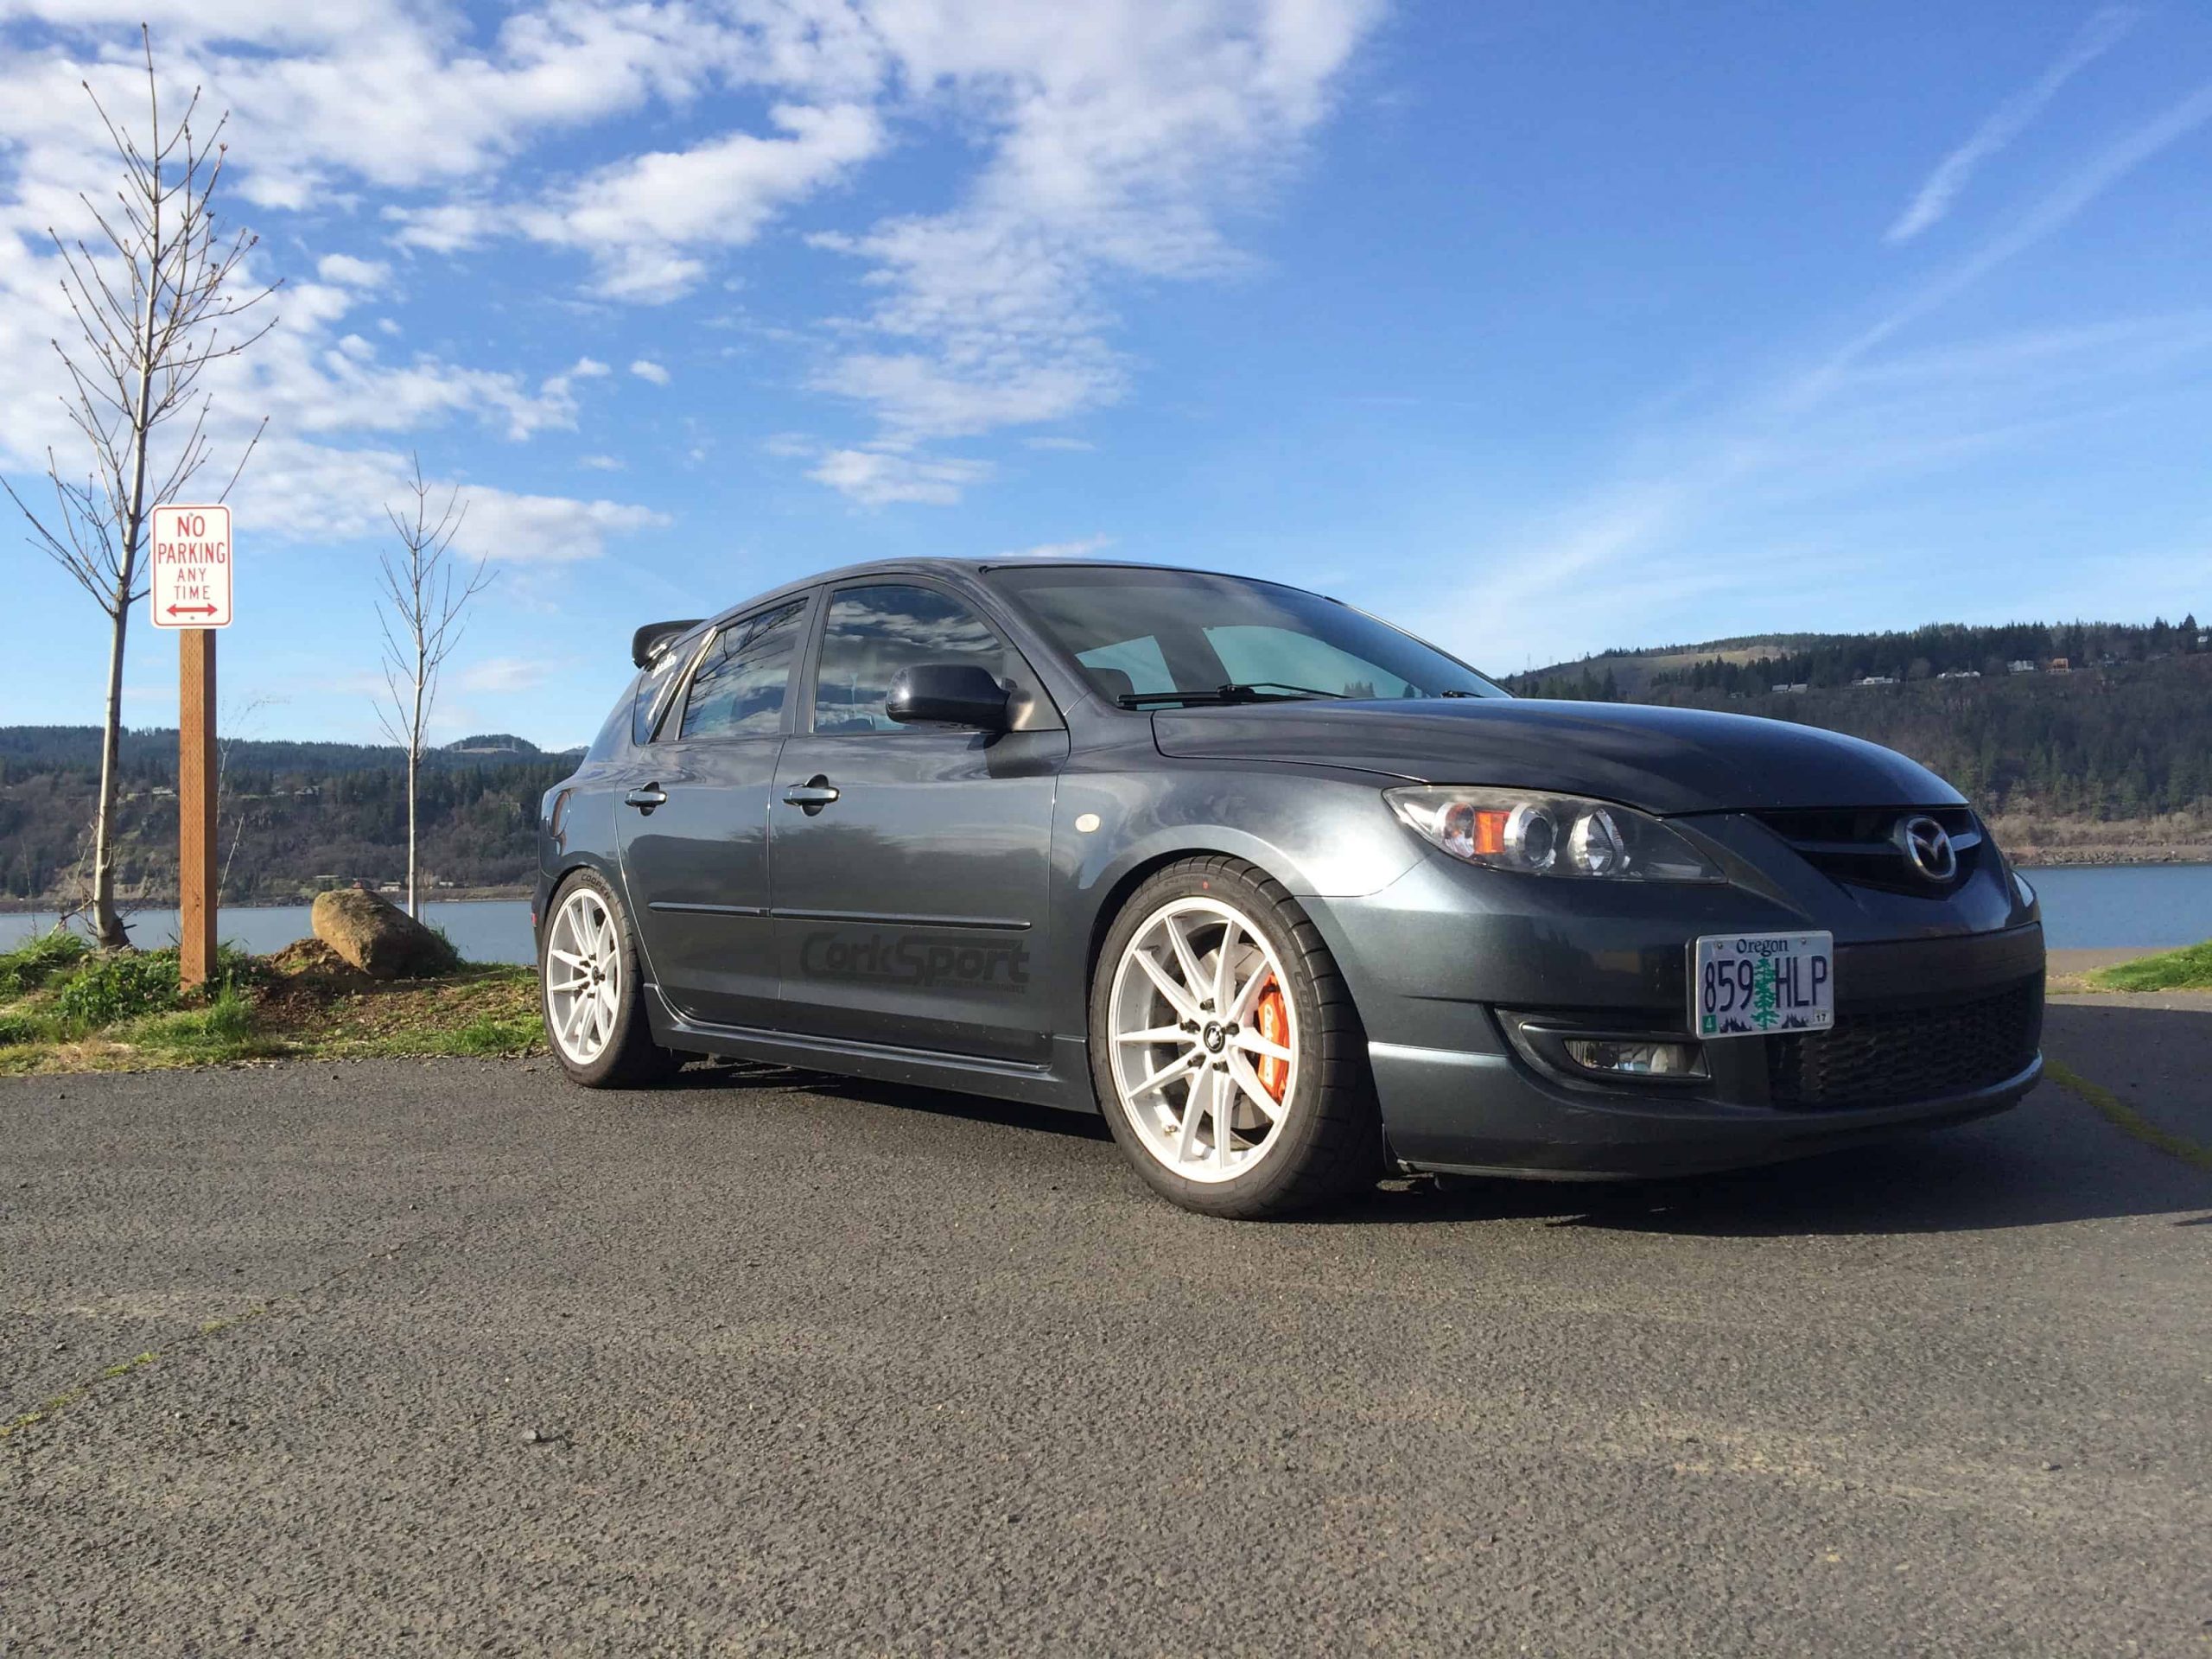
Over the next year, the car had new parts on it every month…perks of the job you could say.  I tried the Mazdaspeed3 TMIC setup, and then like everyone else moved to an FMIC setup, new CS Struts and Springs got set up, went to a 3.5” intake, got the engine all mounted up and then various other engine power products like the CorkSport Intake Manifold and Camshafts.  Oh! I almost forgot the MS3 Big Brake Kit up front! Damn I have to say going fast is fun, but “throwing out the parachute” as you dive into a corner is just as exhilarating.

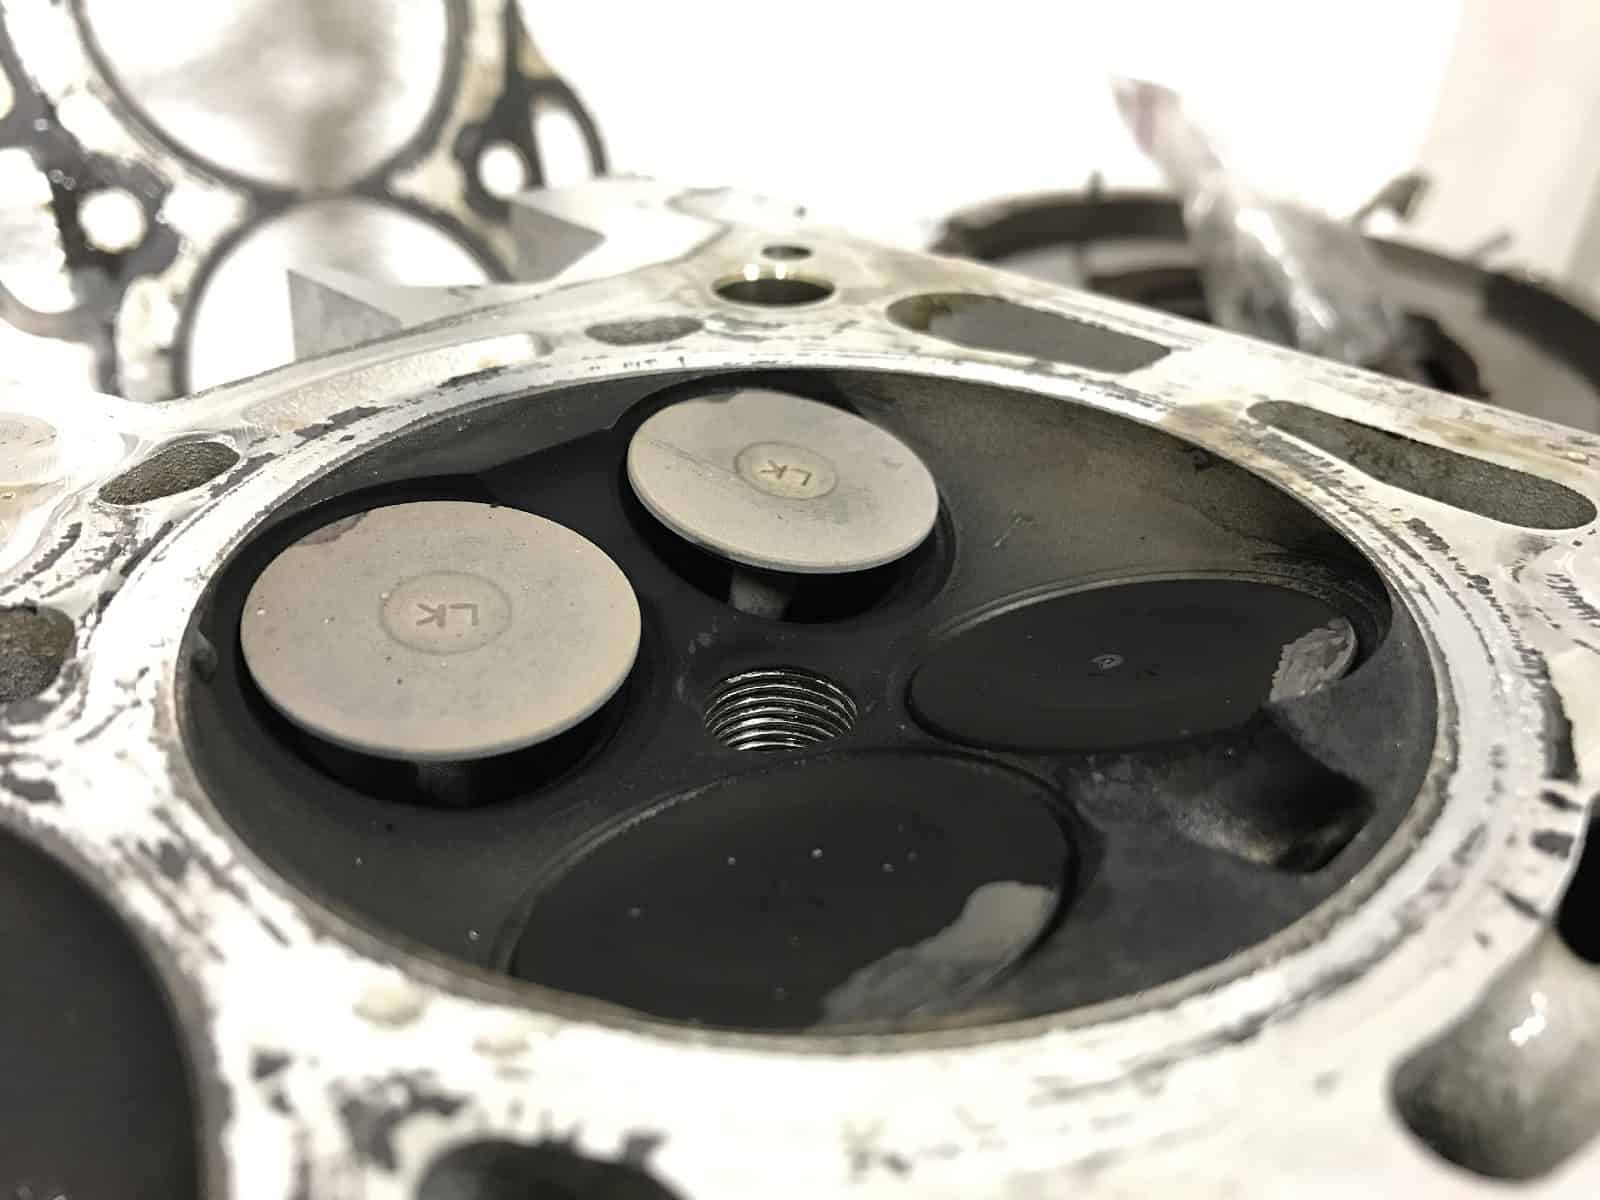
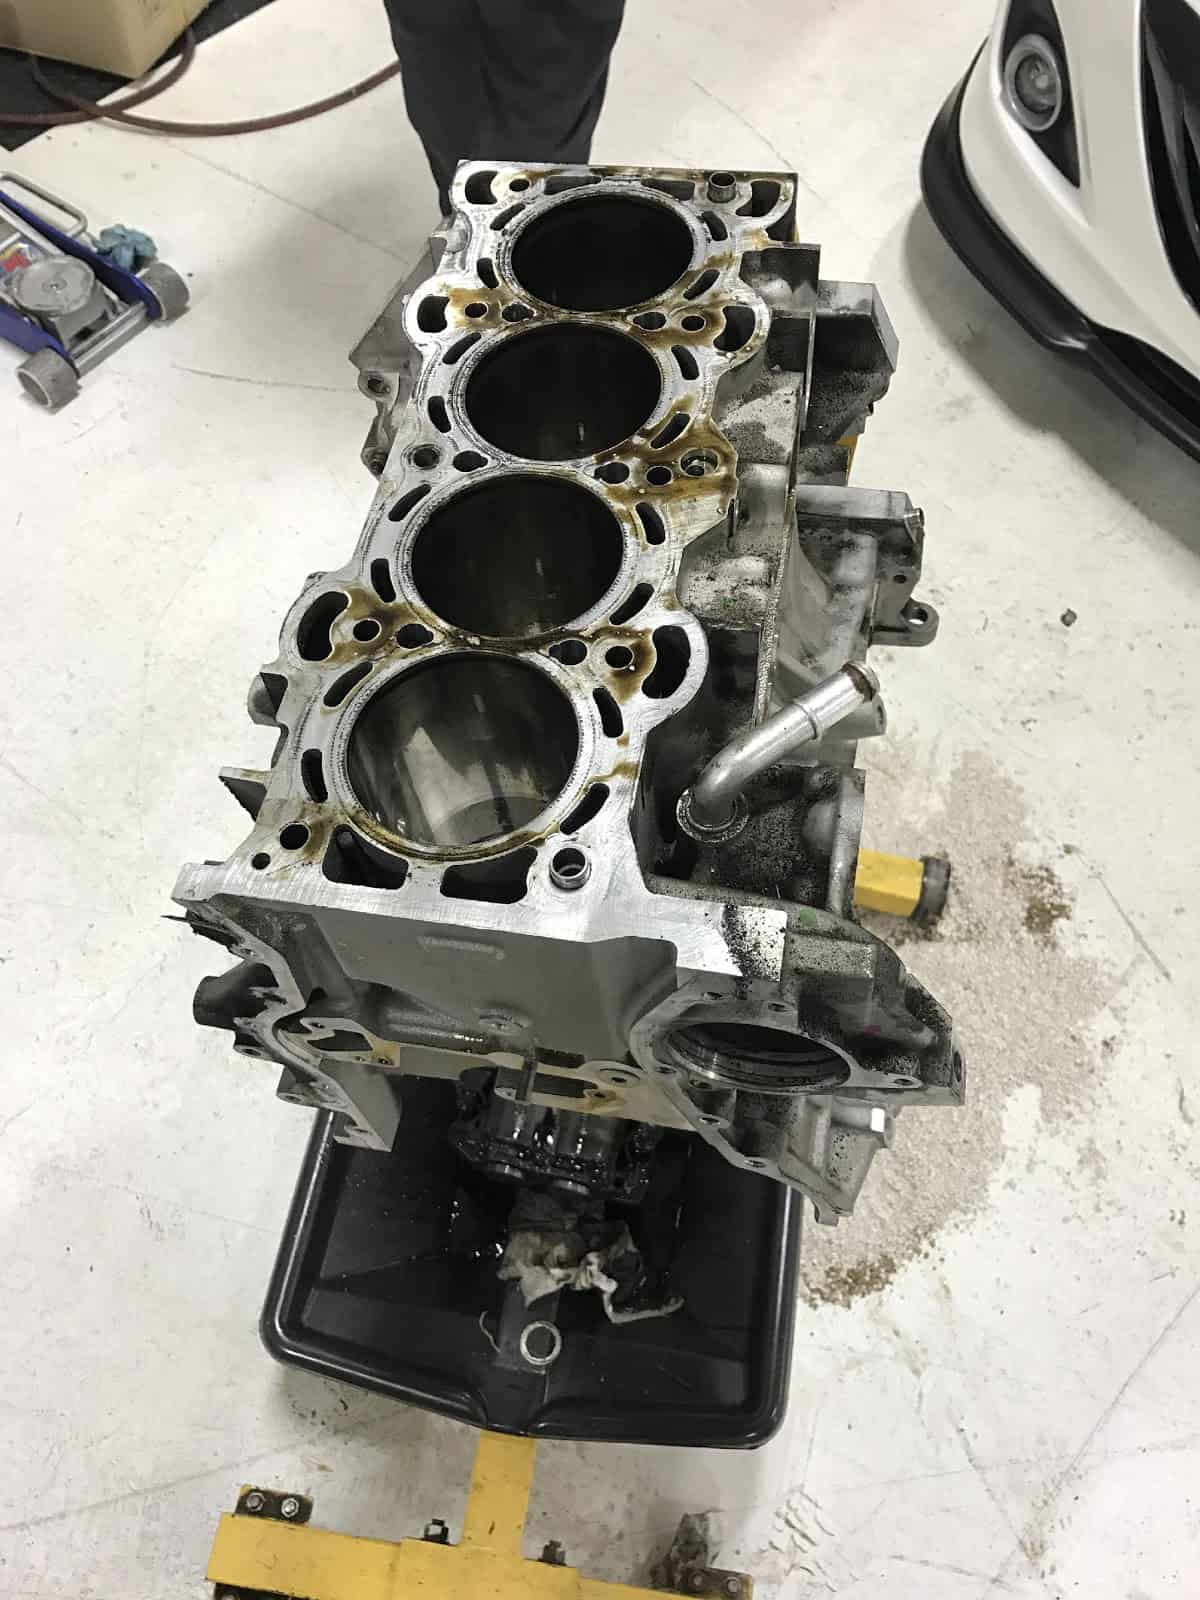
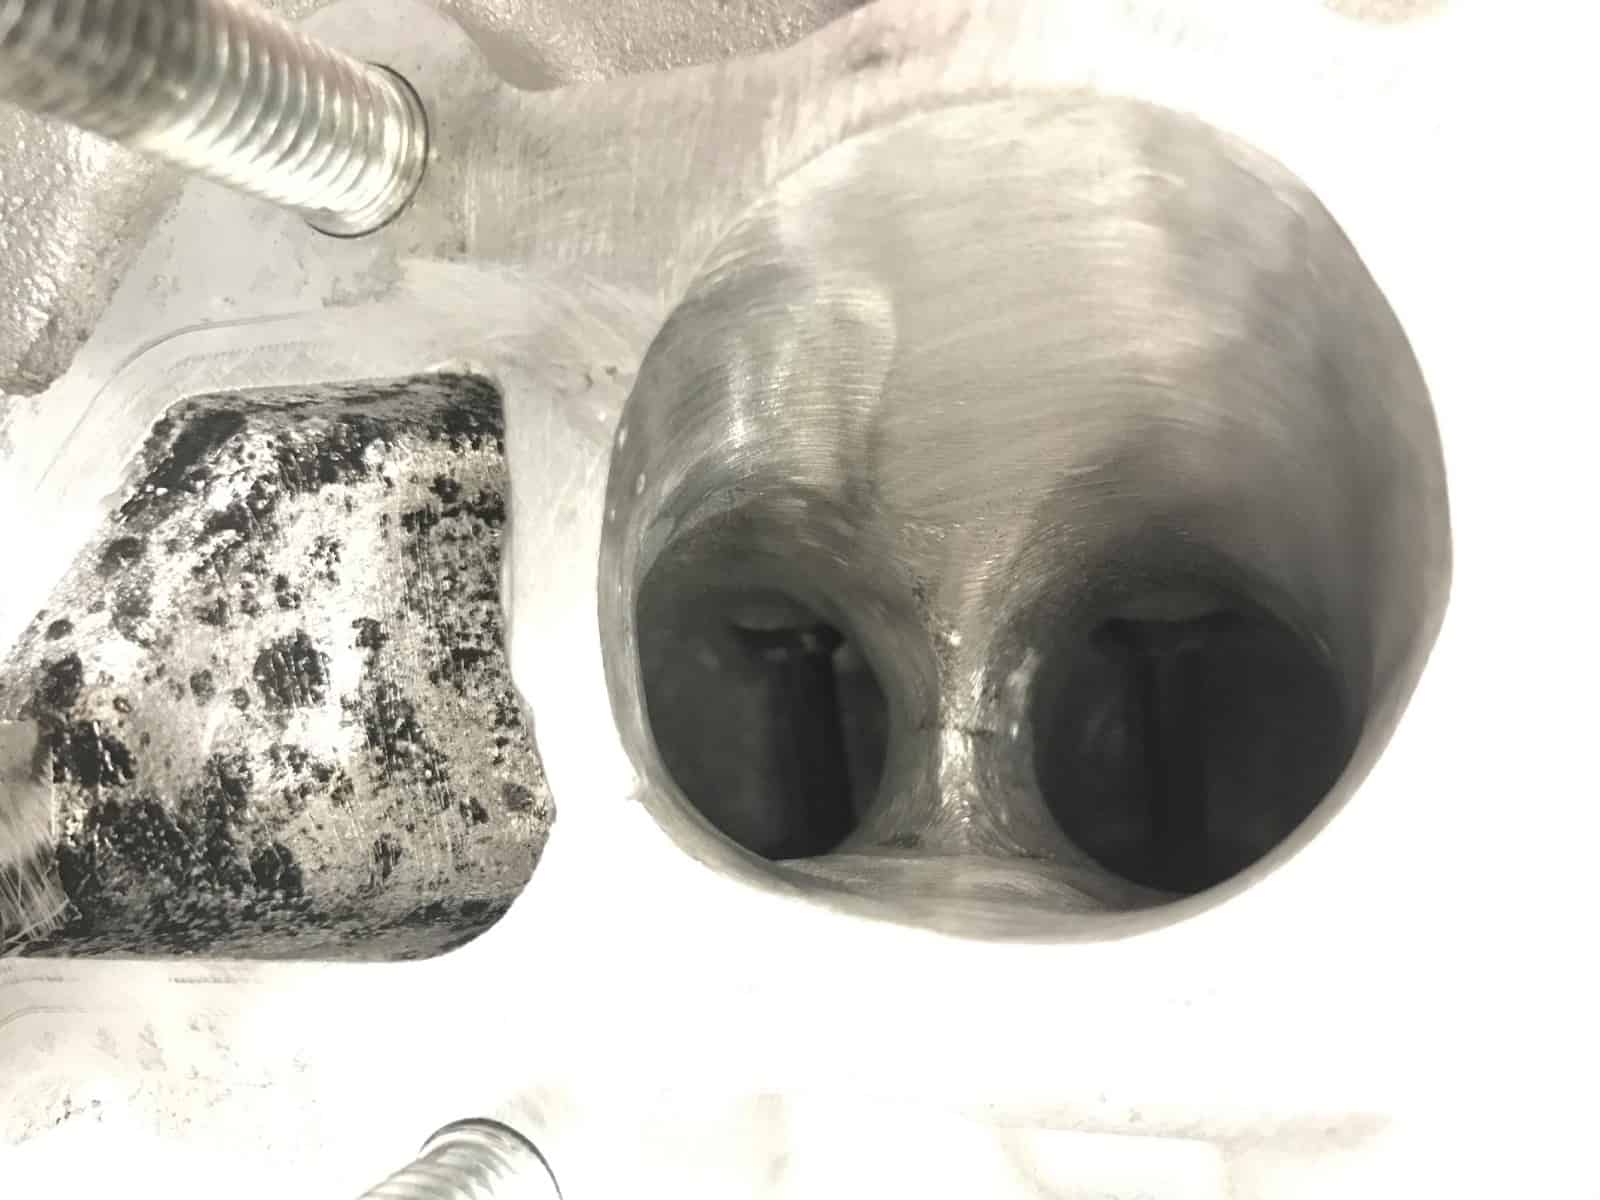
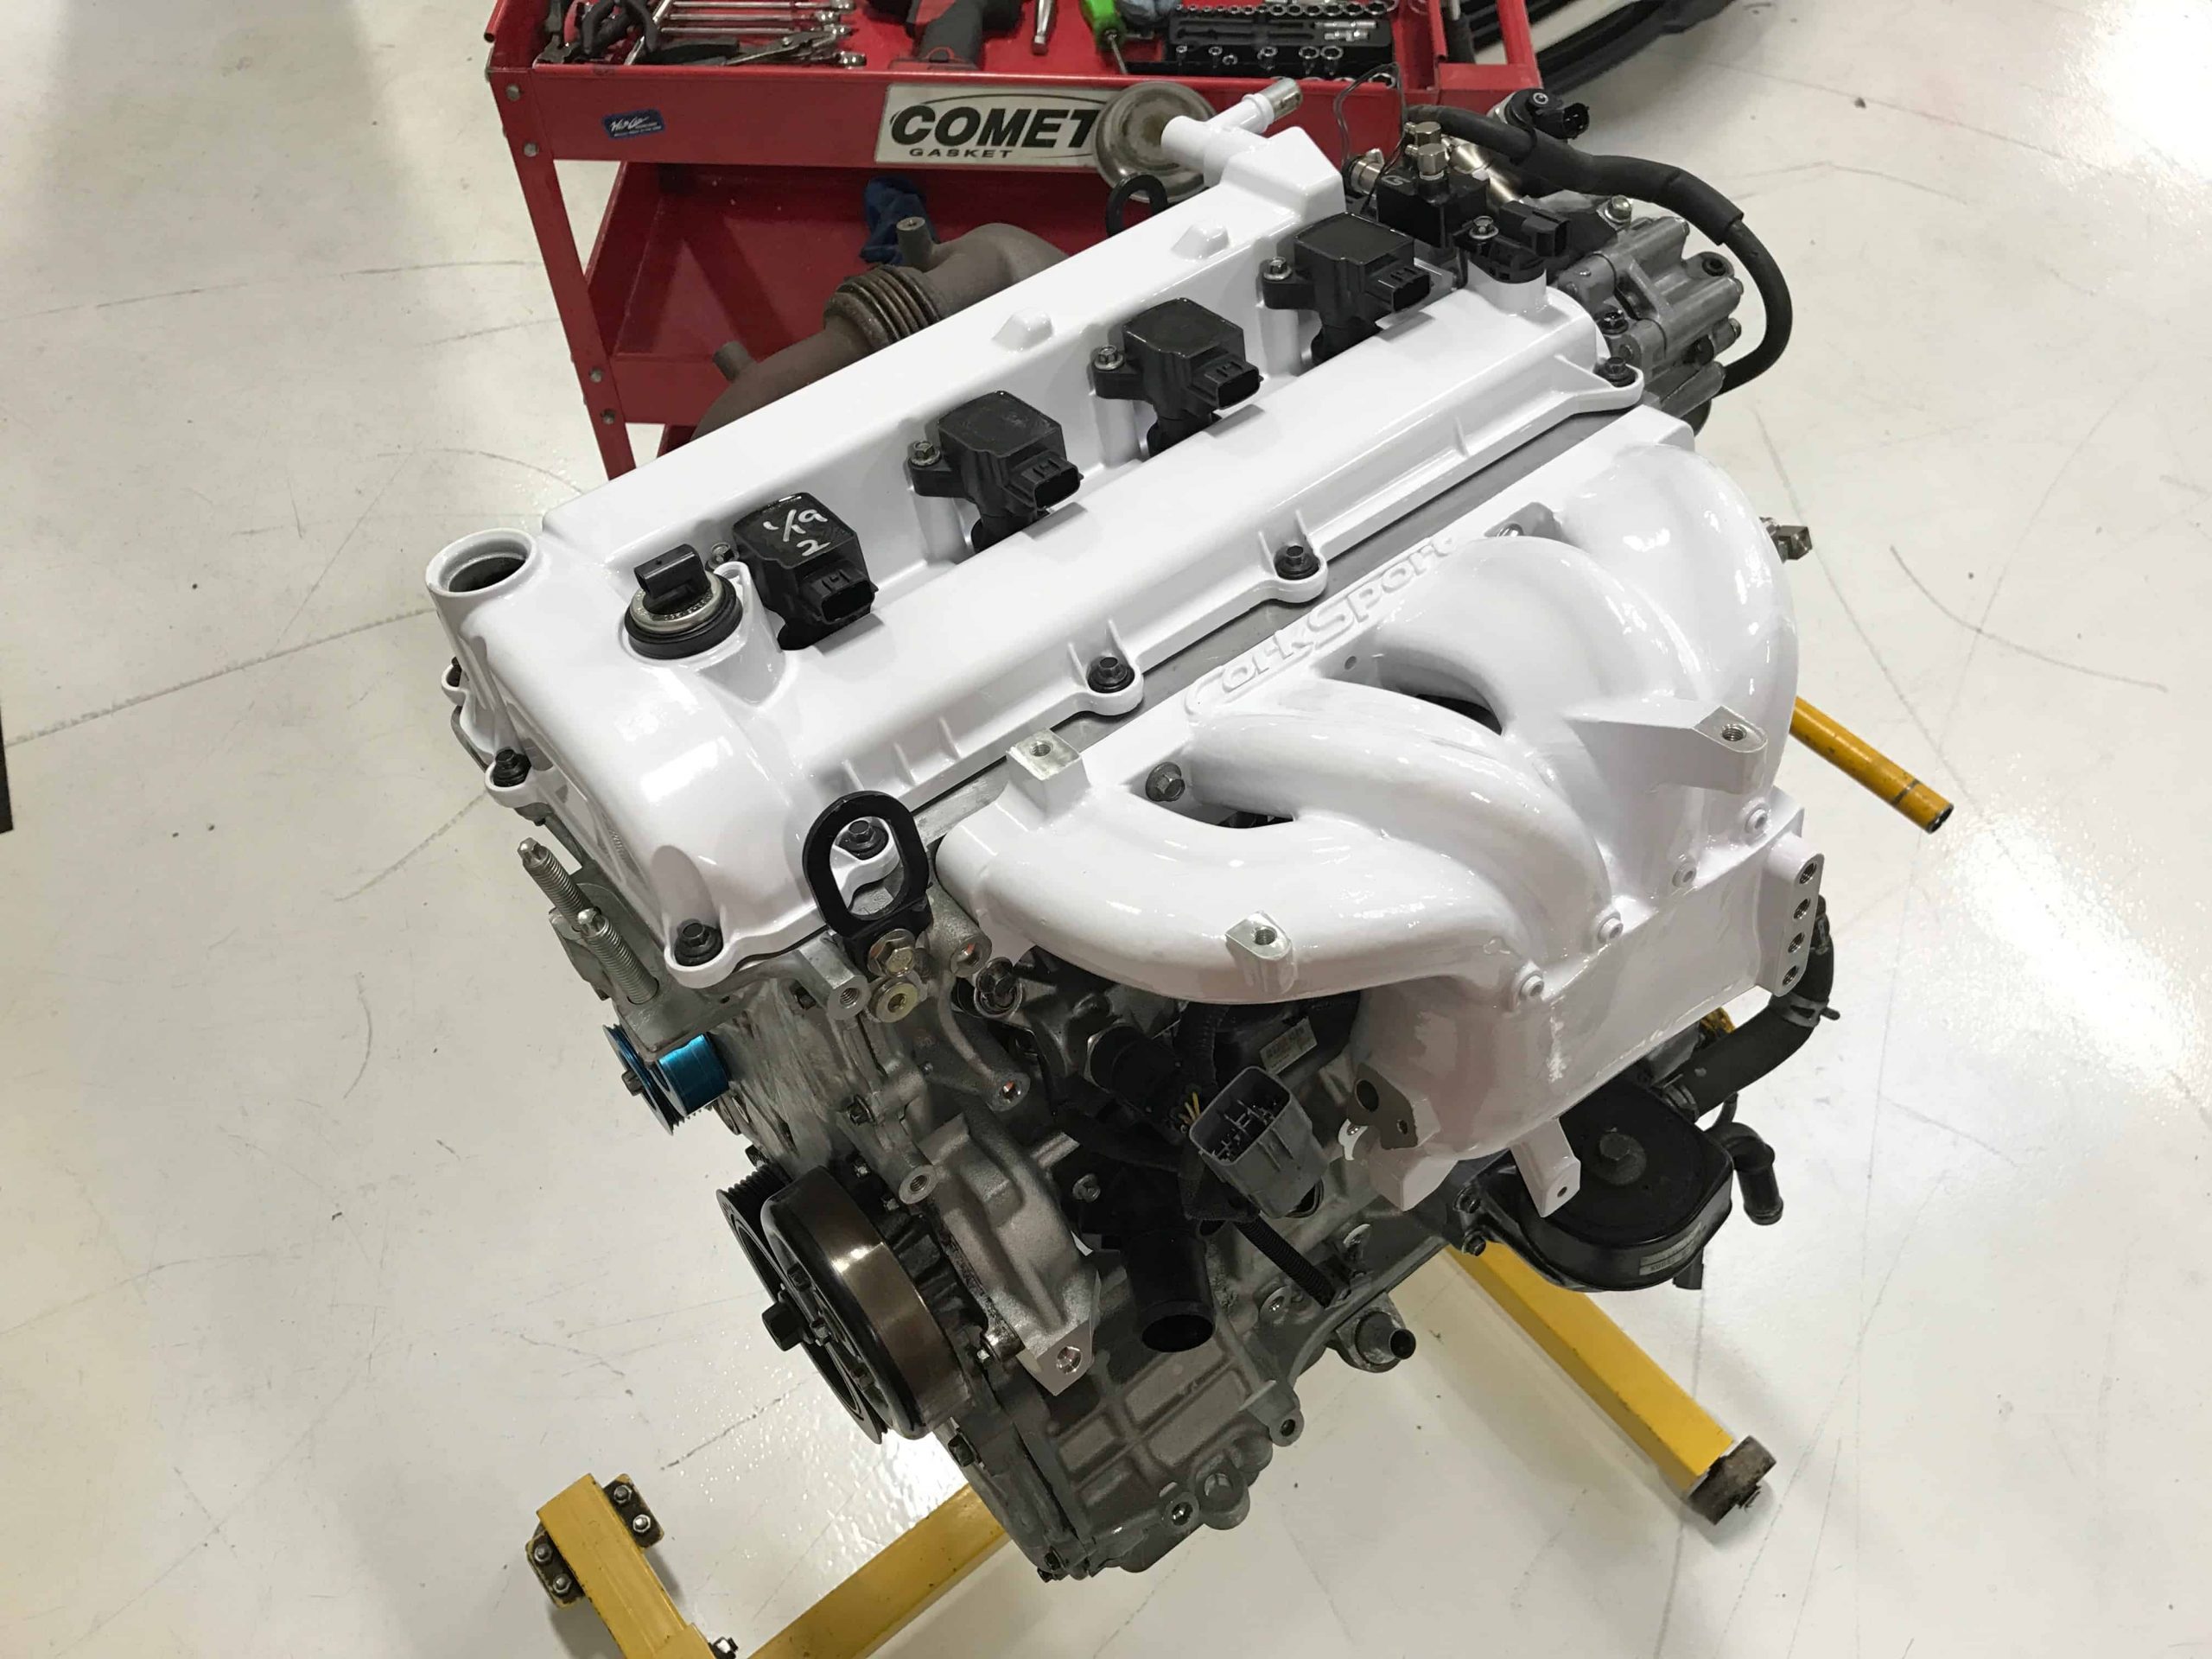
Like any seasoned Mazdaspeed owner knows, the OE short block was not long for the world.  18K miles later the infamous friction washers got me with a silent death. All… yes, I mean ALL…of the valves were bent, and the head was looking a bit rough, but luckily I didn’t vent the block.  

At that point, my beloved Mazdaspeed and I were not seeing eye-to-eye (I think we have all had this feeling with our project cars right?  You debate pushing it off a cliff?) so she sat for a good nine months before I decided I was ready to build the engine.

Wait. What? Remember that slippery slope I told you about? Well, when you are already this deep into the car the slope is covered in gear oil and damn near vertical…so I went deeper into the darkness known as project cars.  

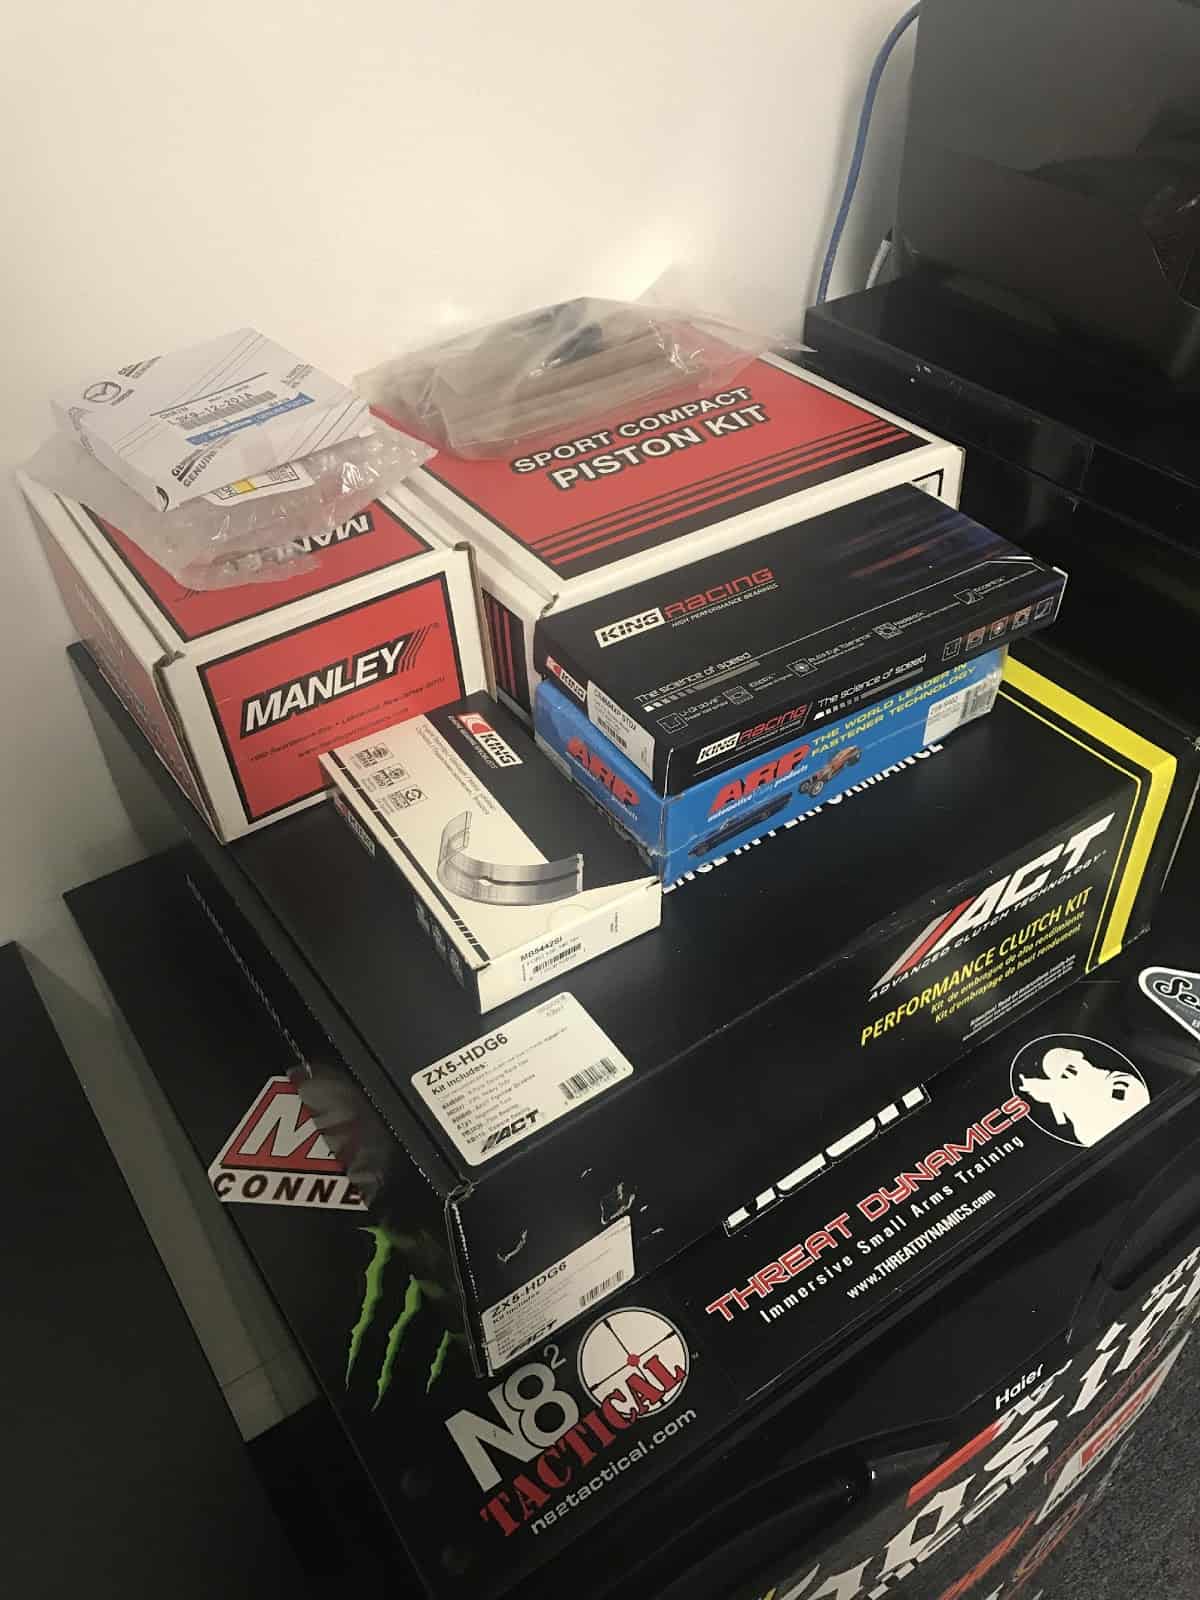
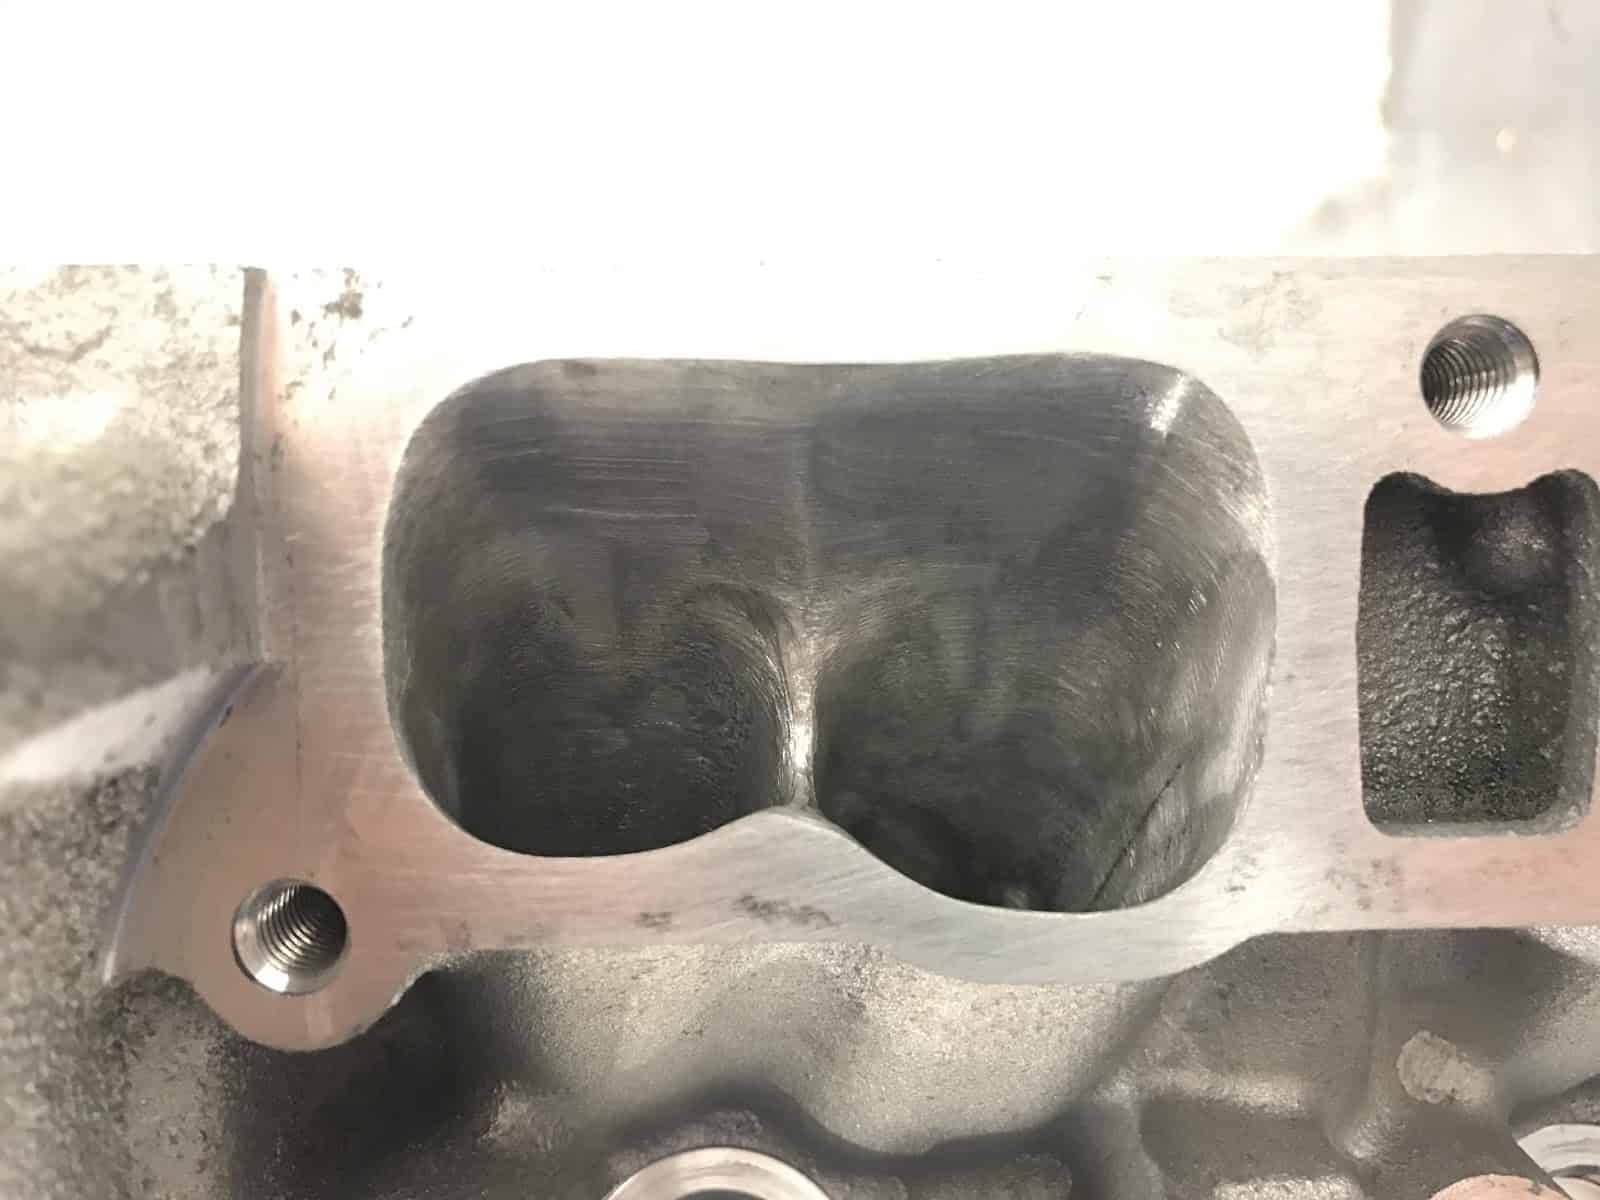
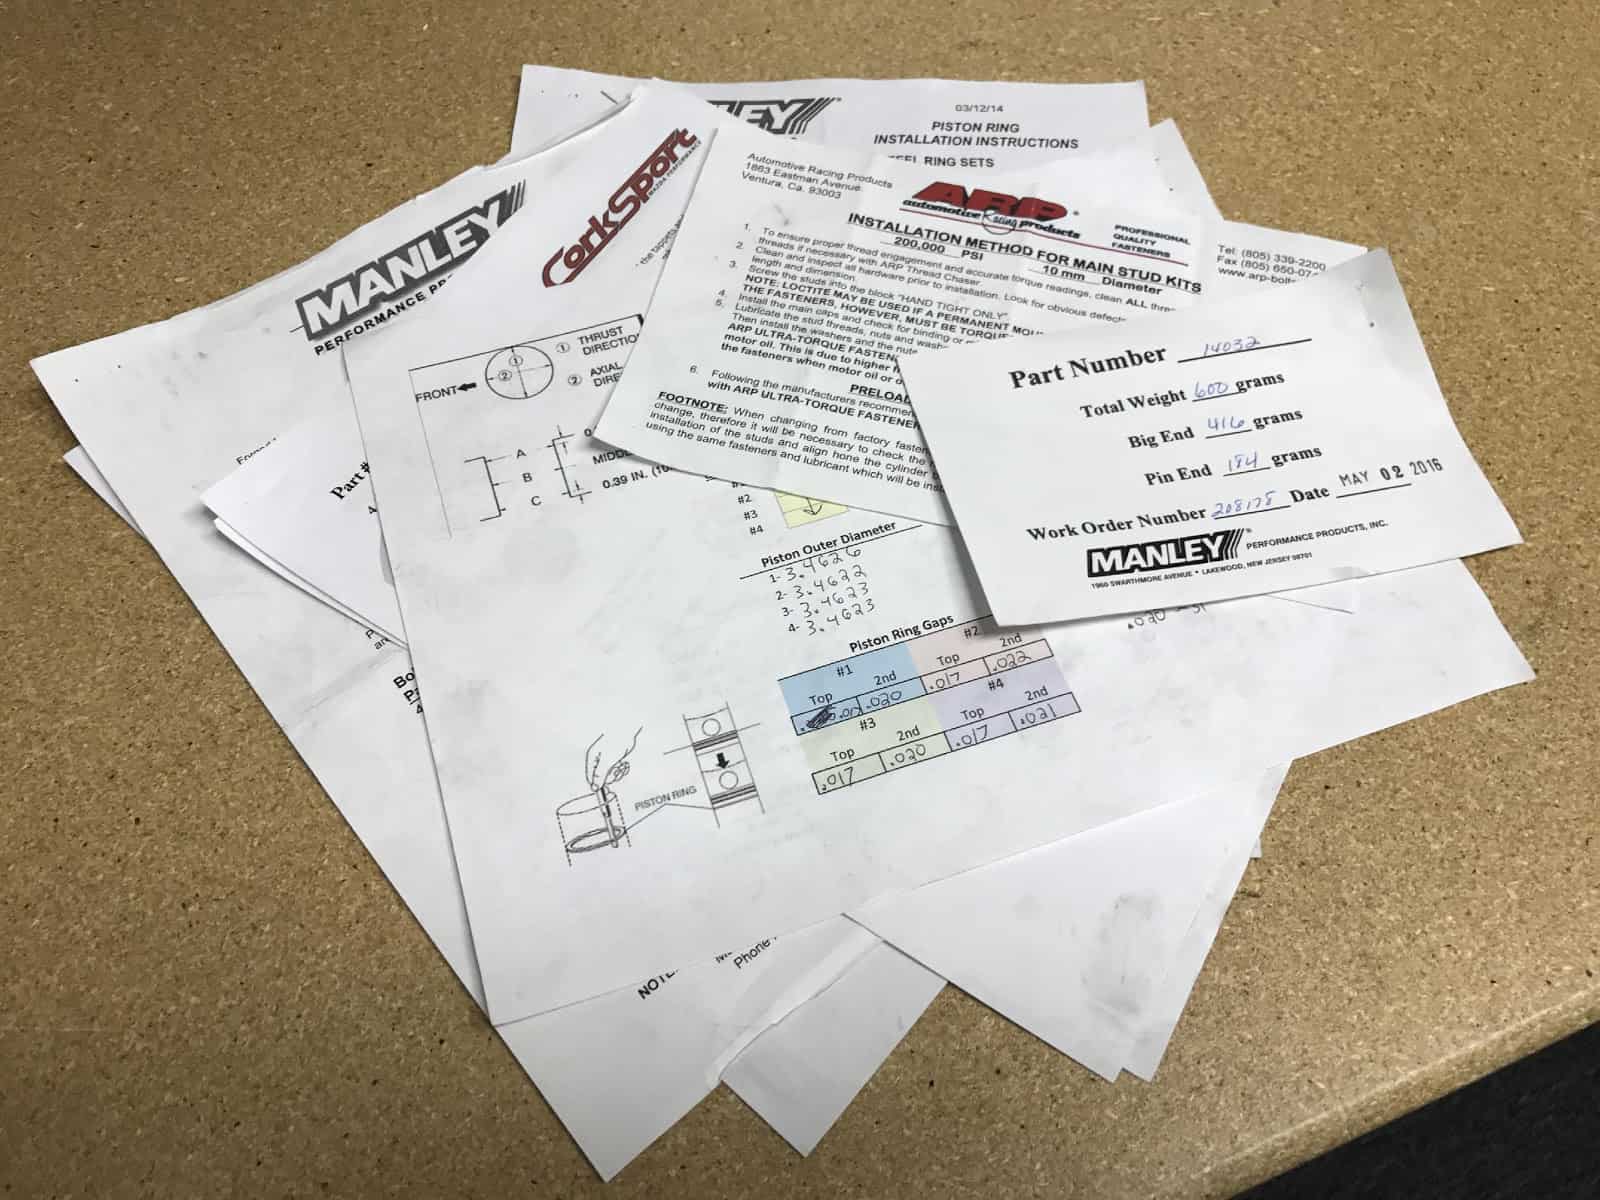
A month later I had a built engine (and significantly less money) that was ready to take on 600+ HP and more than eager to continue eating away at my bank account.  A built engine wasn’t enough though. I cut up the front of the car for the custom CS Crashbar with/Big Core Intercooler so I could support my new power goal of 500WHP.  I have the engine, so I might as well use it, right? (Note: This is the kind of logic that continues to cost you lots of money) To do this, I go the car setup with a larger turbocharger and an AEM Methanol Injection System.  

The single 16 GPH nozzle was quickly at its power capacity so without even considering the cost I moved to a port meth injection system that is getting set up as I write this.  

Anyways…why does my story matter to you? Well because it’s not just my story, it’s the story of damn near every guy and gal that gets into modding their Mazda.  Maybe power isn’t your goal like mine is, but if you’re a motoring enthusiast, then it doesn’t matter. There are so many awesome ways to slide down the proverbial hill.  

For all of you at the top still… this is your warning.  Enjoy the ride with its bumps and bruises, but most importantly appreciate the experiences and friends you gain along the way.

-Barett 

Connect with us

Stay up-to-date on the latest news and product updates from CorkSport.

* indicates required

The Engine Build Process on a 2009 MazdaSpeed 3

A Mazdaspeed bent valve.
The bent valve on my Mazdaspeed.

What’s up, fellow Mazda enthusiasts!

You’ve probably heard the phrase “built block” lately on social media or at your local car meet, but you might be wondering what that actually means. In fact, you’ve probably heard it enough times that you don’t even notice it. For you newbies, it’s when the engine internals are replaced with performance parts. Whether you do or don’t understand what a built block is, I thought I would share my knowledge and experience through the engine building process for my 2009 Mazdaspeed 3.

The incident

The moment we all dread (or maybe even look forward to?) finally happened … zoom zoom BOOM (ZZB).  I was merging onto the highway, within the speed limit, when the engine went silent and my dashboard became a Christmas tree of lights. I tried to start it … nothing. Well, shit.

I called the tow truck and brought my Mazdaspeed back to CorkSport HQ. A compression test gave me the quick, sad story. It was 0 0 0 0 across the board. Obviously, something gave out. That something turned out to be the friction washers on the crankshaft.

I now pronounce you piston and valve. You may kiss the valve.

The diagnosis

The engine slipped timing and bent all of the valves. Luckily, I didn’t vent the engine block in the process, so that could be reused. After all this, I didn’t trust the engine. So it was time to get built!

A 2009 Mazdaspeed bare block.
The bare block from my Mazdaspeed.

I pulled the engine and transmission from the vehicle and stripped them down to the bare components so the machine shop could do their magic. But, before we could let them start, I had to get some parts ordered for the machine shop to consider in the build tolerance. Just look at that stack of money … I mean parts.

The engine build parts

Forged Mazdaspeed internals.
Forged internals for the Mazdaspeed.

The bare engine block, a new used cylinder head, ACT 6-Puck clutch, and forged internals were sent to M & B Cylinder Heads for some much-needed love. The block was bored and cross-hatched to match up with the pistons, the main bearing journals were line honed where needed, and the deck surface was cut down just a hair to provide a new surface that’s true and flat. Since I wasn’t going for just a bare bones build, I opted to have some added processes done to help with reliability and performance.

  1. I planned to run without the balance shaft, commonly called a BSD (balance shaft delete), to increase the oil capacity of the oil pan. This would remove some rotating mass to help the engine rev more freely. However, this does come with some compromises, mainly in severe NVH (noise, vibration, harshness) the driver experiences. For this reason, I had the rotating assembly (crankshaft, connecting rods, pistons, clutch assembly, and crank pulley) balanced to further reduce vibrations.
  2. My build goal was at least 450 whp to further benefit the effect of the CorkSport Mazdaspeed camshafts, so I had the cylinder head ported to improve flow. The intake runners were opened up and cut to a single runner setup along with the exhaust ports. Both intake and exhaust had most of the work performed on the “bowl” area of the runners — the area just above the valve seat. To top it off, the combustion chamber was touched up to remove any sharp points to help reduce hot spots that may cause detonation.

Check out the cylinder head porting:

Mazdaspeed single runner.
Here’s the single runner.
Mazdaspeed exhaust runner.
And here’s the exhaust runner.

The engine build operation

After what felt like an eternity, we got all the completed parts back from M & B and were ready to begin the assembly process. This is when I really stepped back and let Vincent take the lead. He’s the master when it comes to engine blueprinting and assembly.

The blueprinting process is arguably the most critical and time-consuming process of the engine build process. Each cylinder diameter is measured at three different vertical locations to determine cylinder taper, then measured again 90 degrees from the previous locations to determine cylinder roundness.  The piston outer diameter is measured as well and verified for the cylinder it was matched to at the machine shop. Once the block and pistons are confirmed, then the finer details are set in motion with the piston ring gaps, the main bearing and connecting rod bearing crush, and setting the main and head studs. I’m just skimming the surface here. Please note that all of this is measured down to the tens-of-thousandths of an inch. That’s 0.0001” for clarity. This really is a precise art.

Mazdaspeed engine build blueprint papers.
Precision means paperwork. Here are the blueprint papers for the Mazdaspeed engine build.

With the short block assembled, it’s time to focus on the cylinder head. The cylinder head almost seems easy after the short block assembly. The cylinder head comes assembled with the seals, valves, and springs from the machine shop. What’s left to Vincent is the tappet and camshaft installation. The tappets are non-adjustable solid tappets and each has a specific and precise thickness. Once the camshafts are installed, the gap between the camshaft base circle and the tappet is measured and adjusted until the correct gap is achieved. Then the complete the cylinder head can be installed on the short block and the head tightening sequence performed.

If you want to see a really awesome video of this whole process, including a bunch of detail I haven’t added to this blog, you’re in luck (thanks to CorkSport’s Brett White).

I hope you enjoyed this tale as much as I enjoyed writing it. This not the end of my build, so hang tight for the rest of the engine and vehicle in a later post. We’d love to hear about your build, whether it’s a few bolt-on parts or a crazy built engine and car. Comment below and tell us about it!

Barrett @ CS

Connect with us

You may also like